
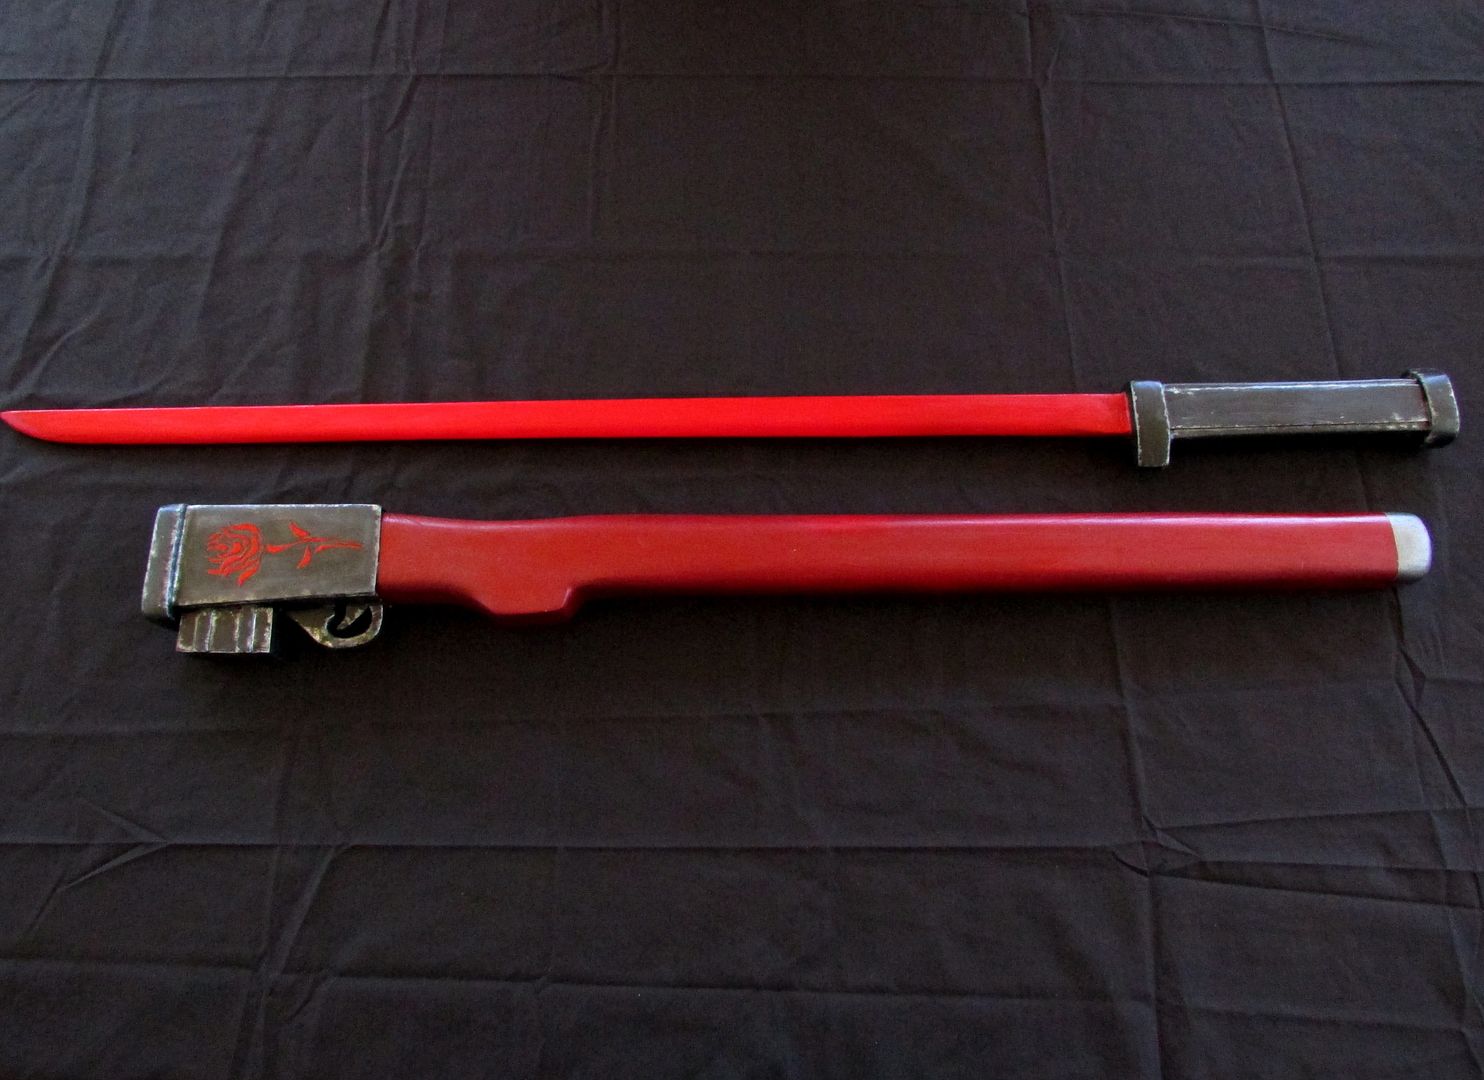
Wilt and Blush is the ornate gun sword weapon of the
enigmatic character Adam from the new series RWBY currently being put out by
the folks over at Roosterteeth, I’ve been meaning to get around to this one for
a while so let’s begin.

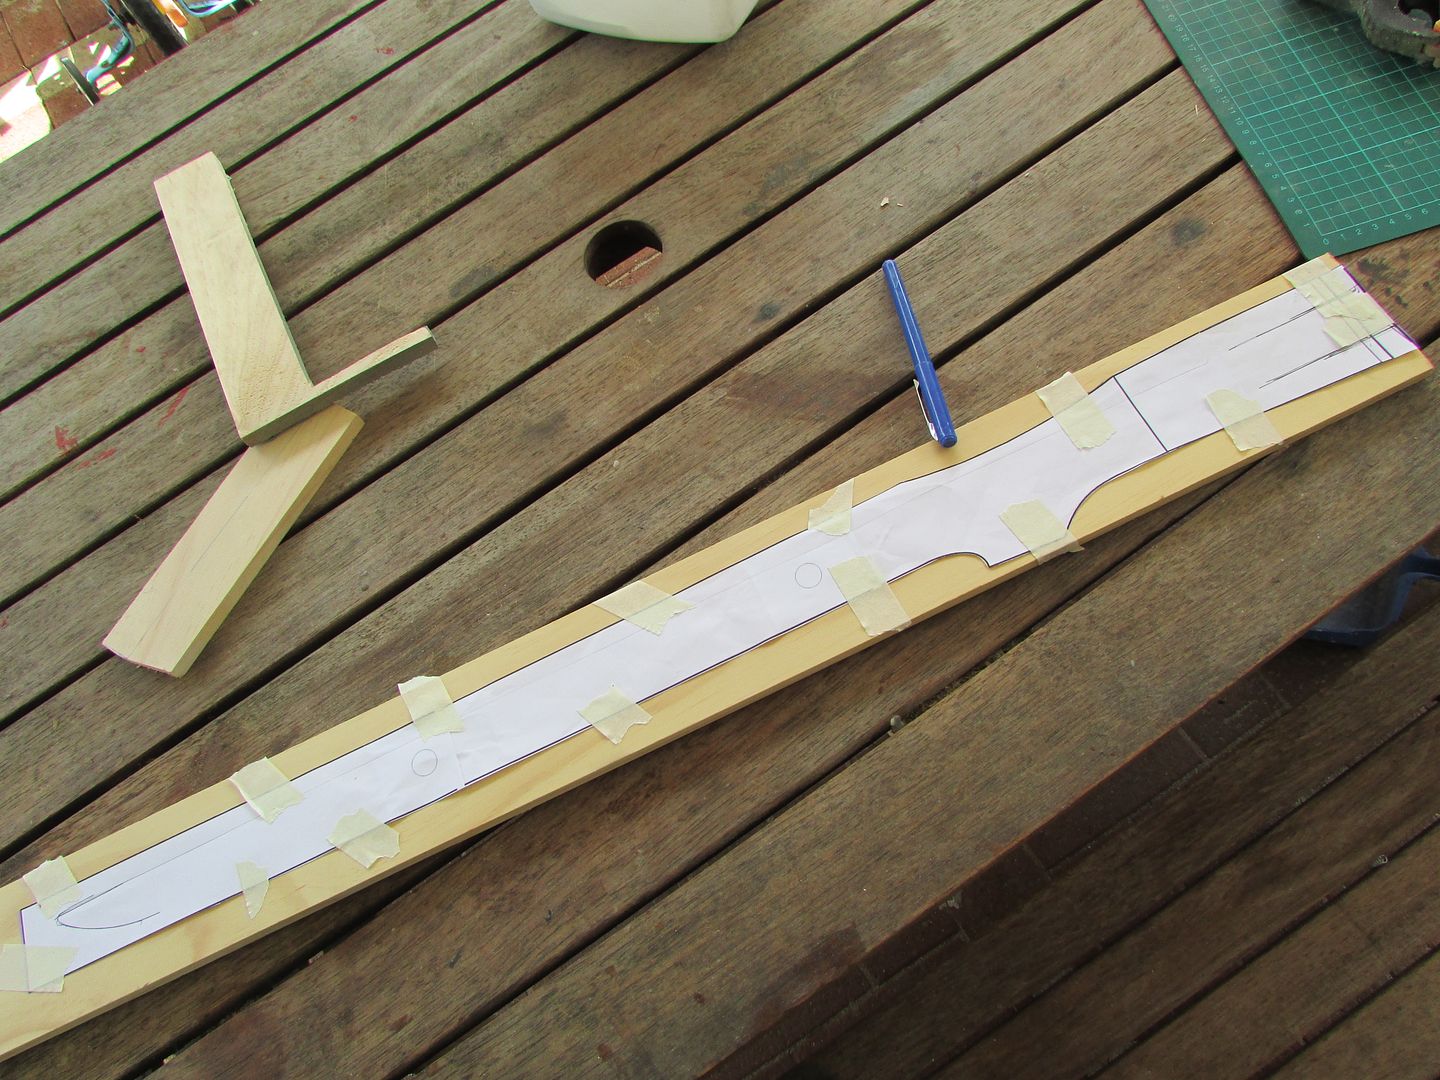
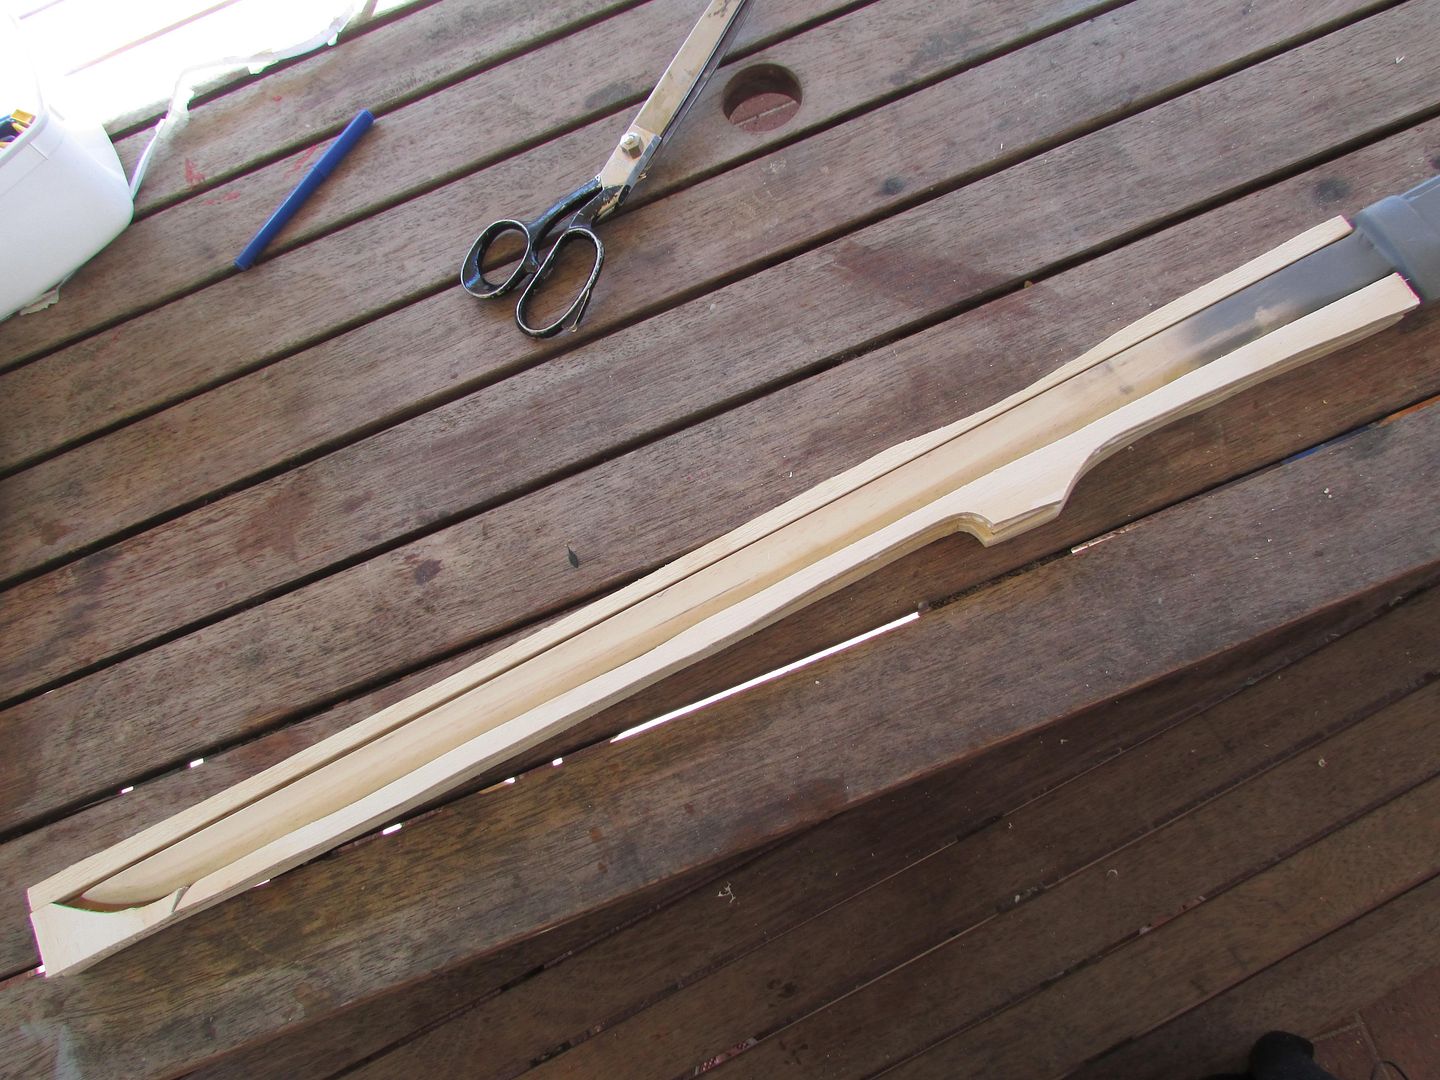
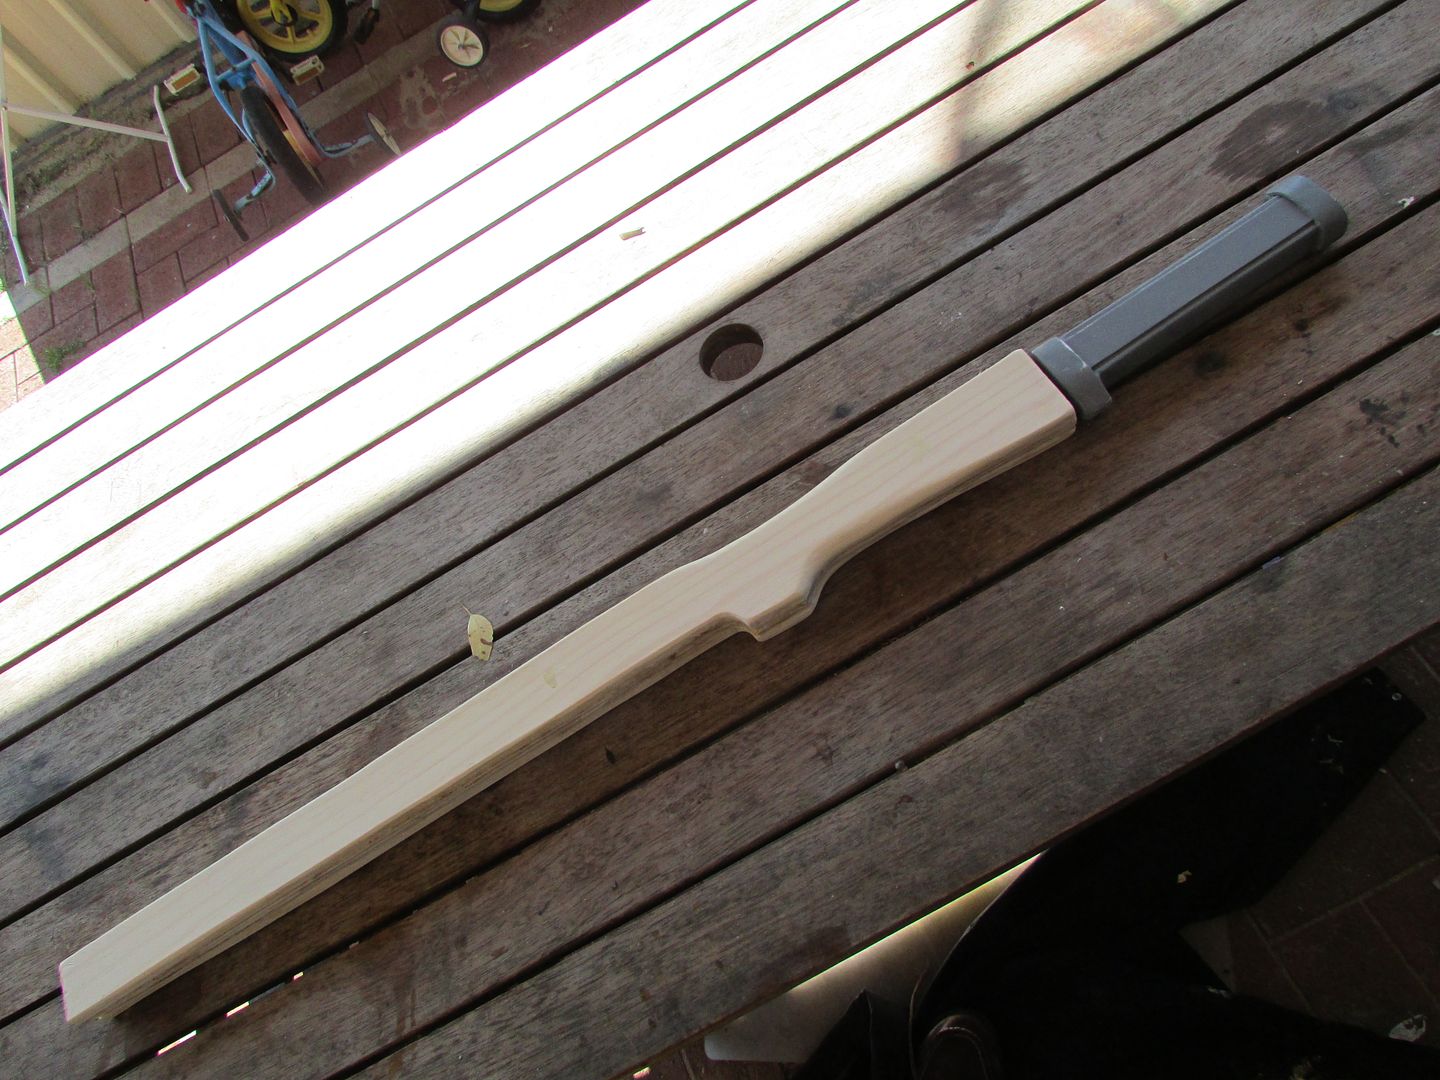
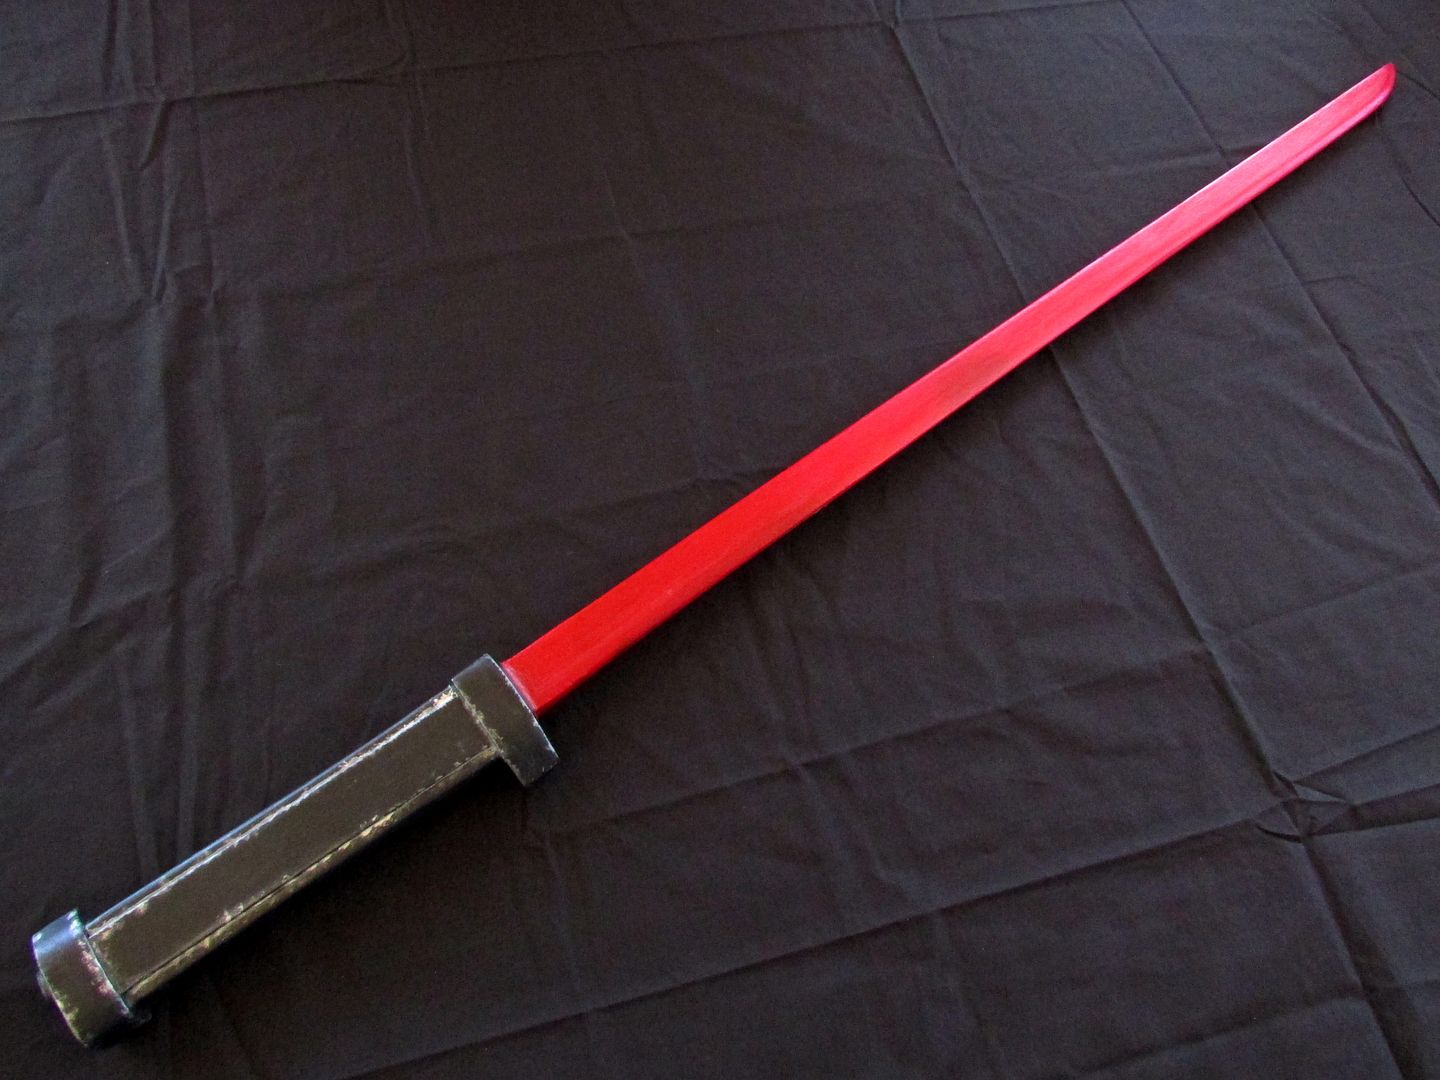
To start off the
katana side of the weapon, I first had to cut out the blade base out of a 12mm
thick plank of pine using a standard jigsaw.

For the bevel of the
blade that was made most with the use of a hand operated belt sander to shape out
most of the "V" shape and sandpaper to clean it up.


Now to make the
handle of the sword itself, firstly I traced out the outline of where the tang
would eventually sit and the rectangular shape of the handle onto another piece
of pine.
It is vitally
important that the grain of the wood is going in the same longitudinal direction
as the overall blade as this mainly helps in the forthcoming chiselling process
but also adds to structural integrity when handling.

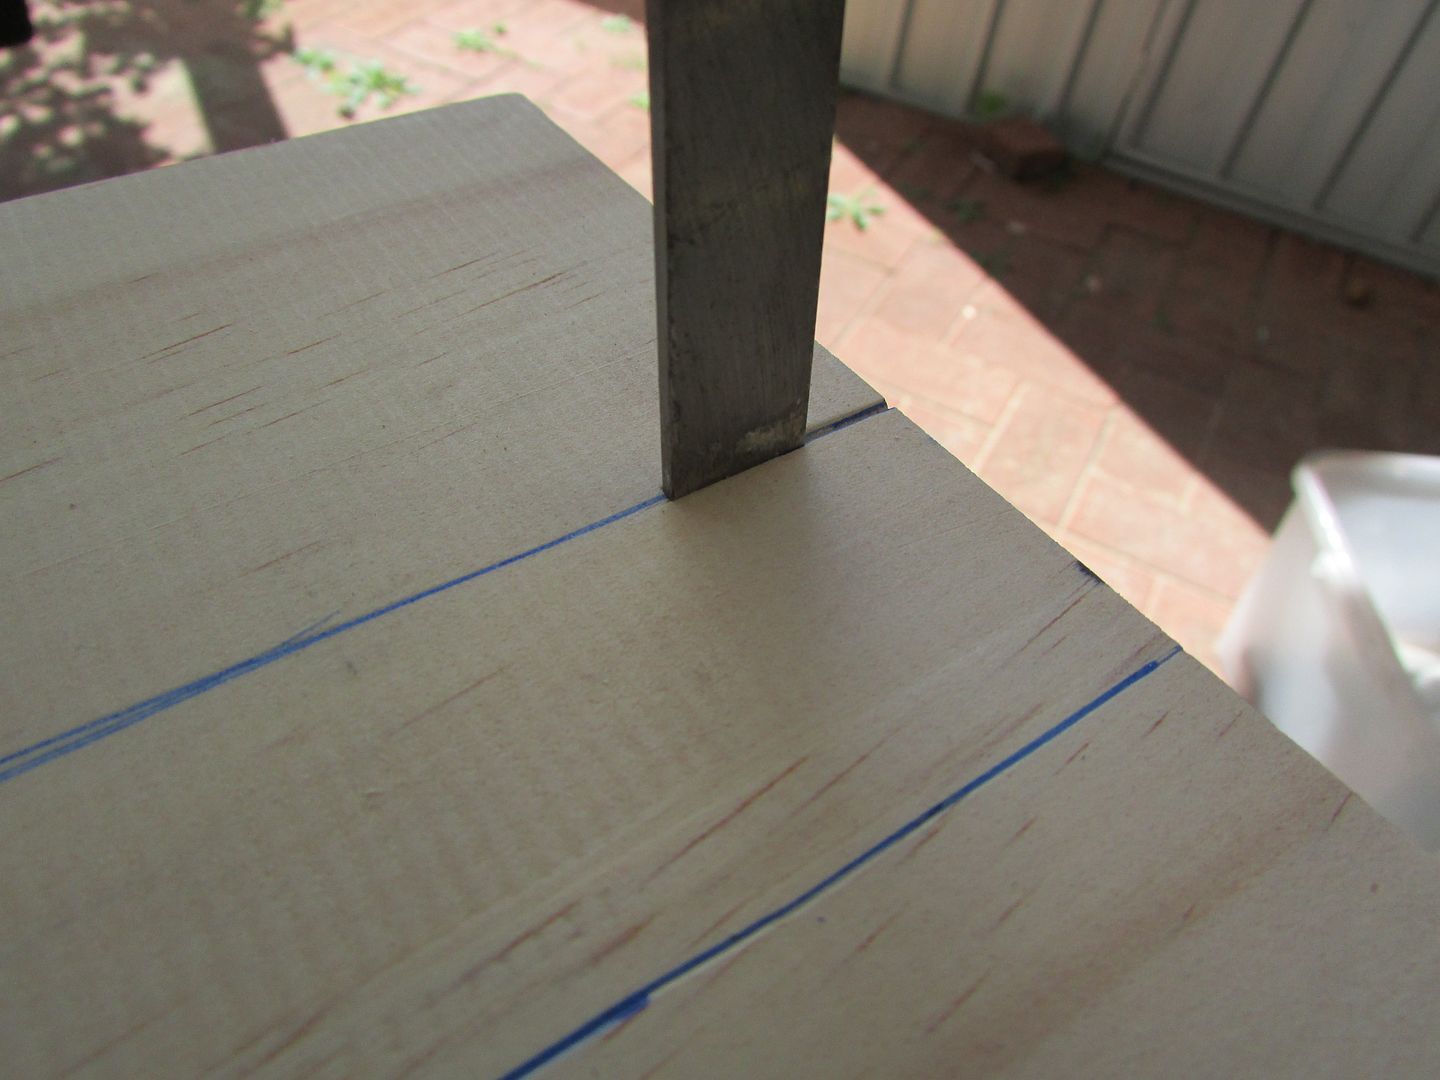
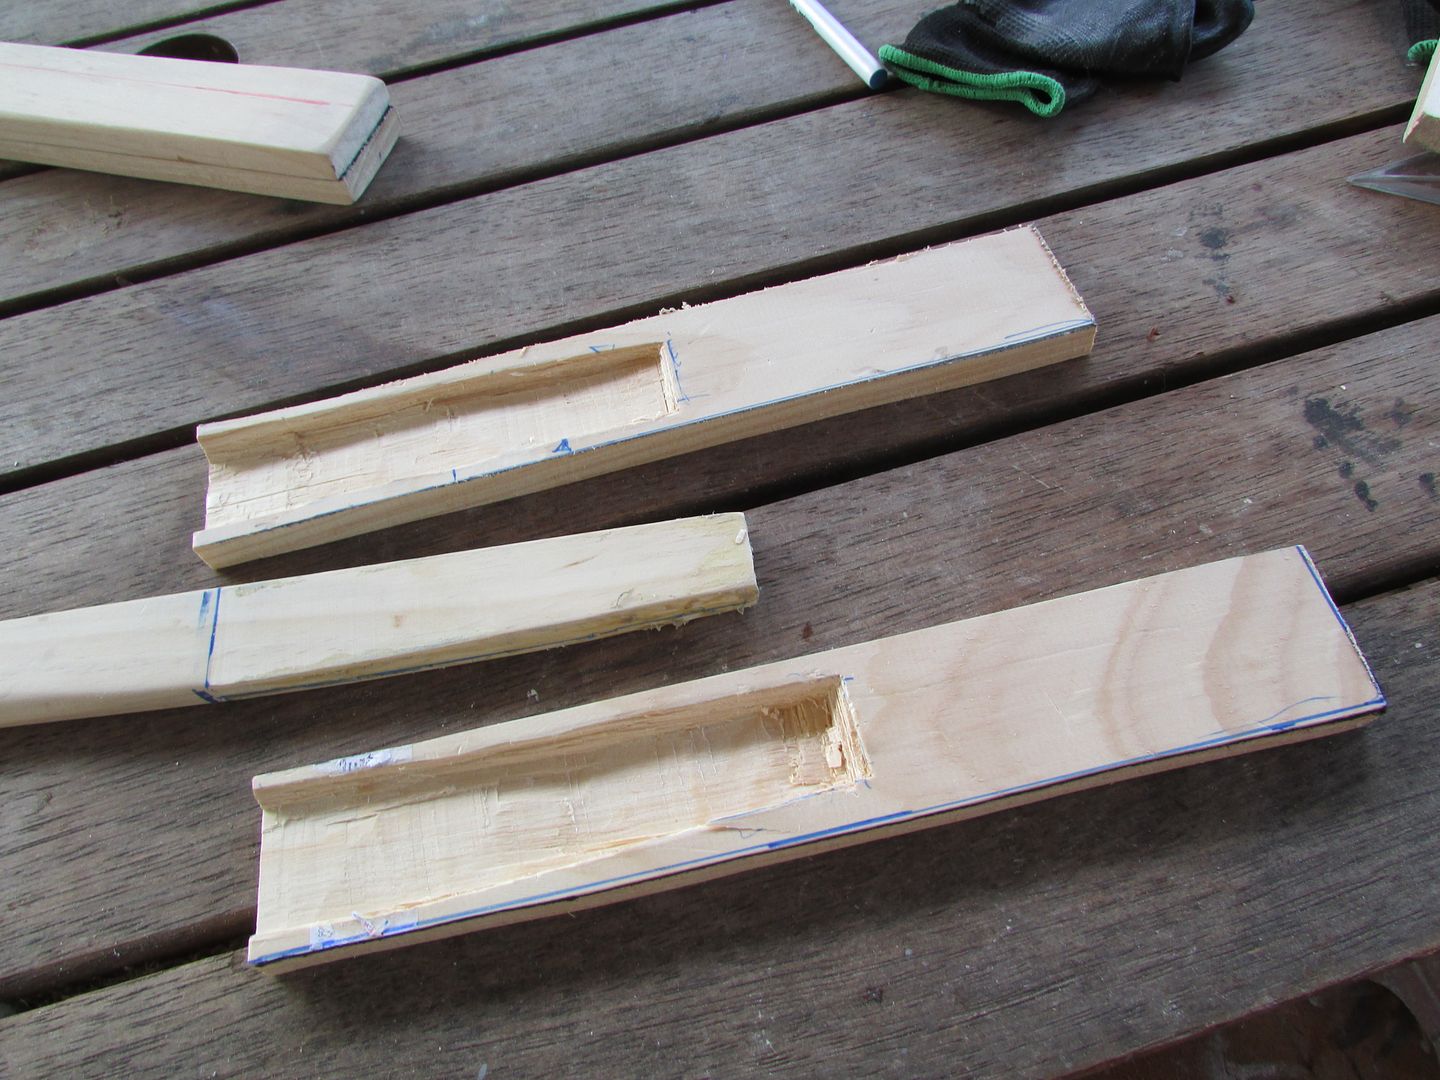
With the outlines marked, I could
then begin the process of chiselling, using a standard hammer and a basic
woodworkers chisel set.
Starting from the edge I gradually
tapped first downwards into the plank surface and moved along the outline establishing
the initial depth to chisel out later. Try not to hammer too deep or hard or
you will split the wood, all I can say is take your time and go about it
gradually, until you have a consistent depth all around.

With the initial
depth cut for the entire outline, I then started to chisel away at the surface,
gradually peeling away layer by layer.
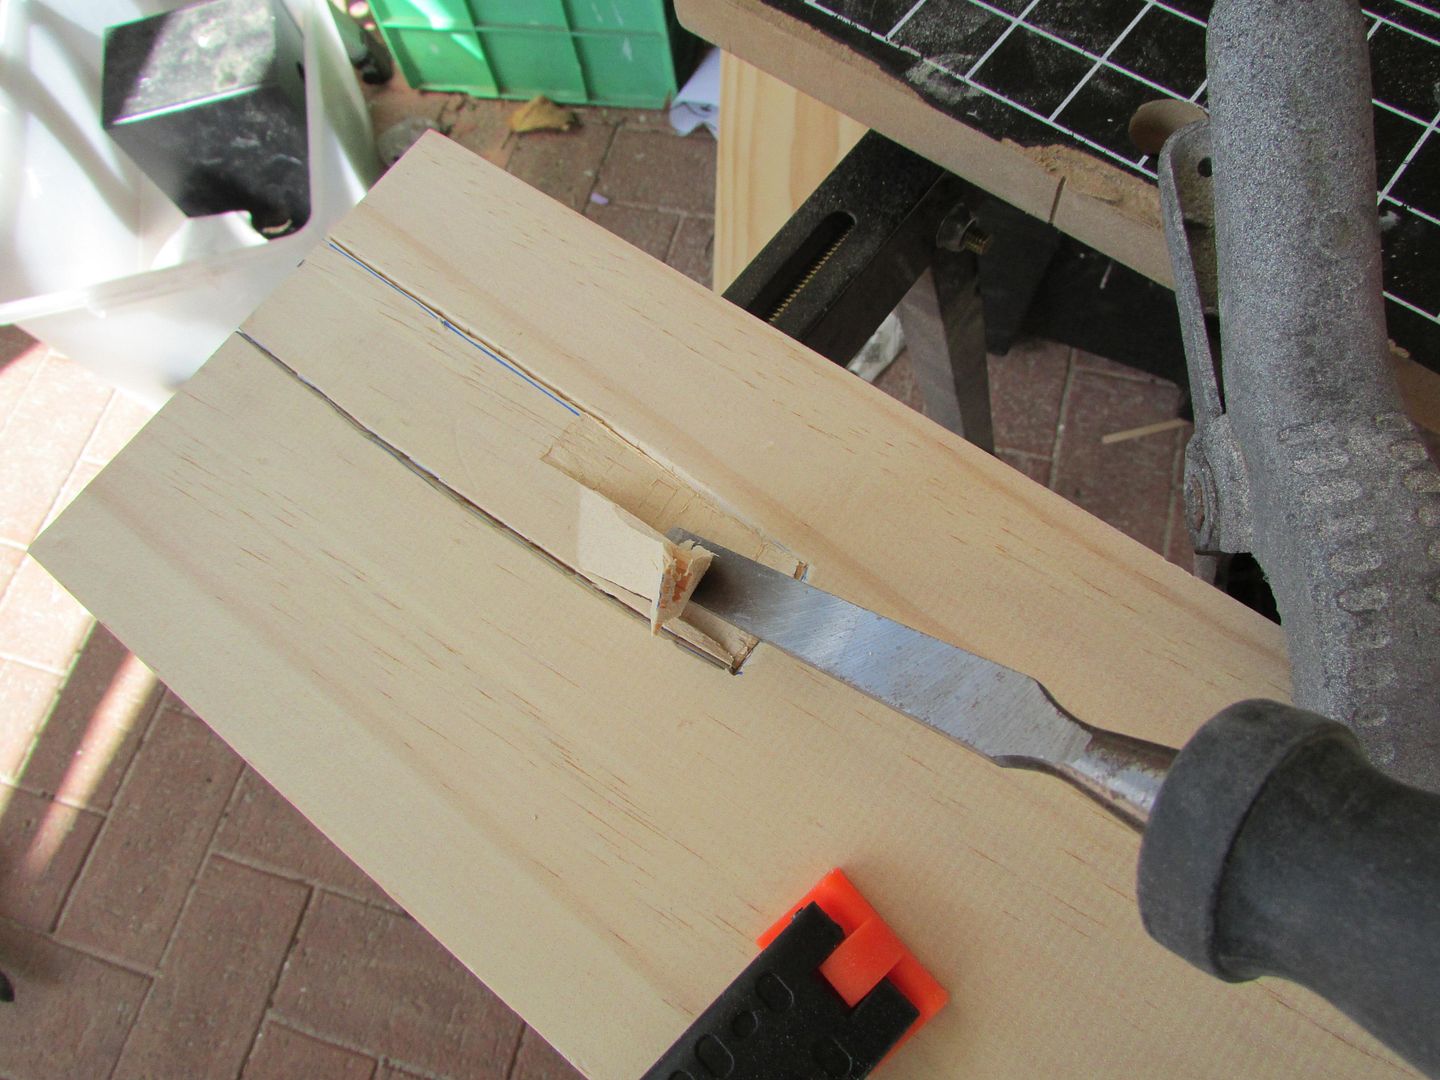
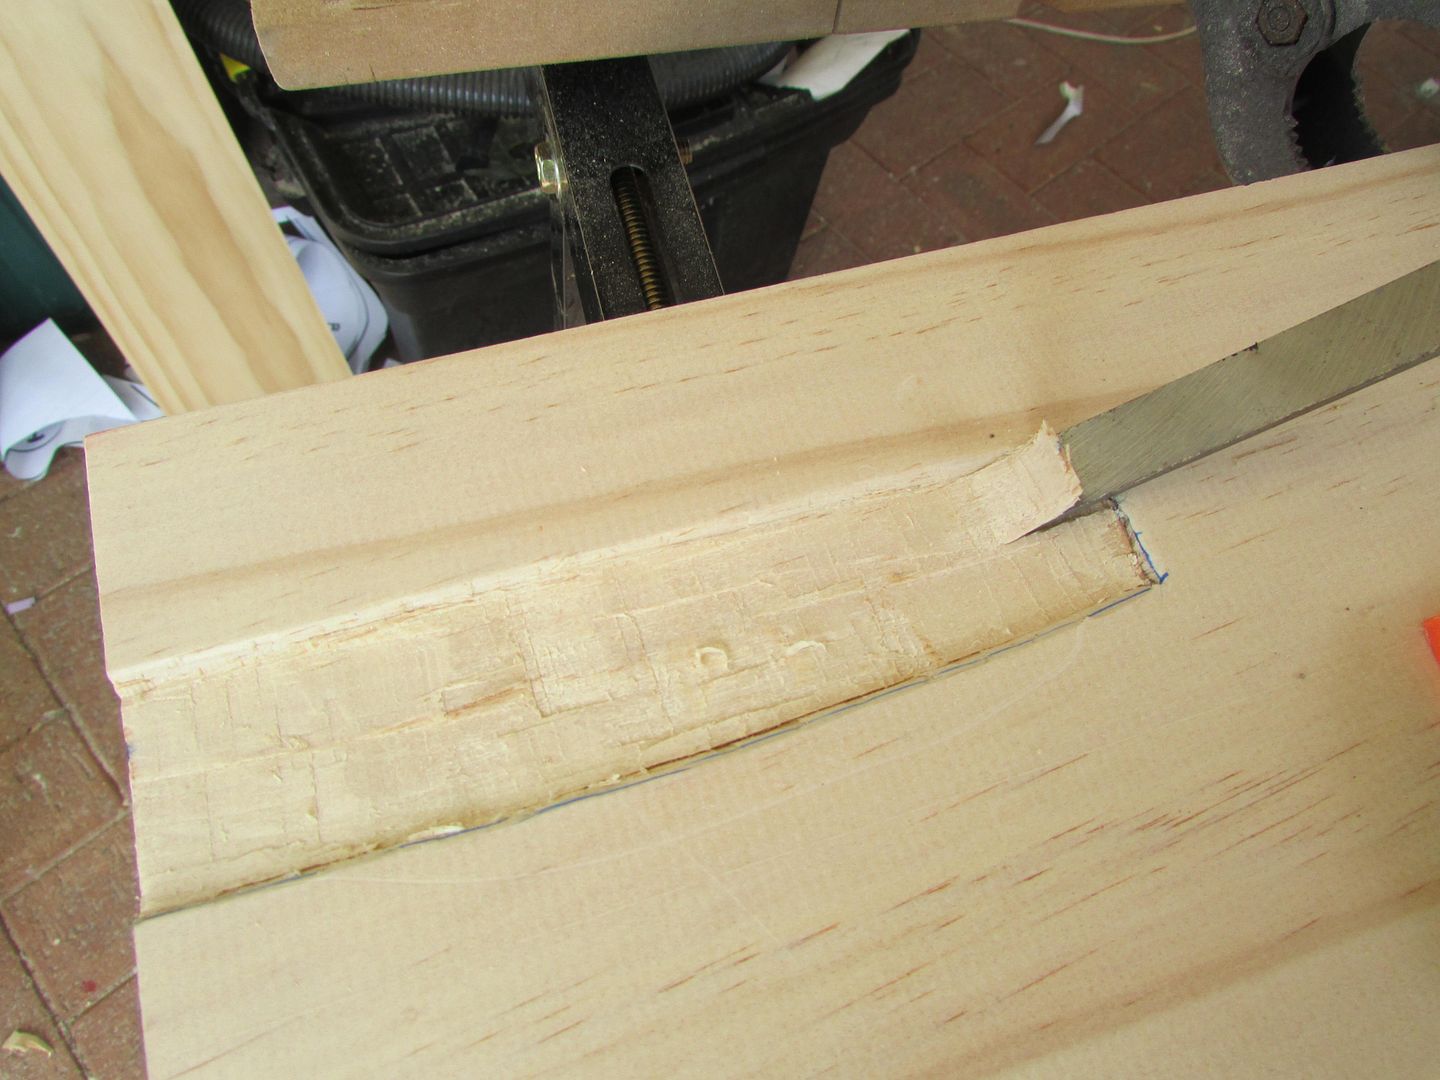
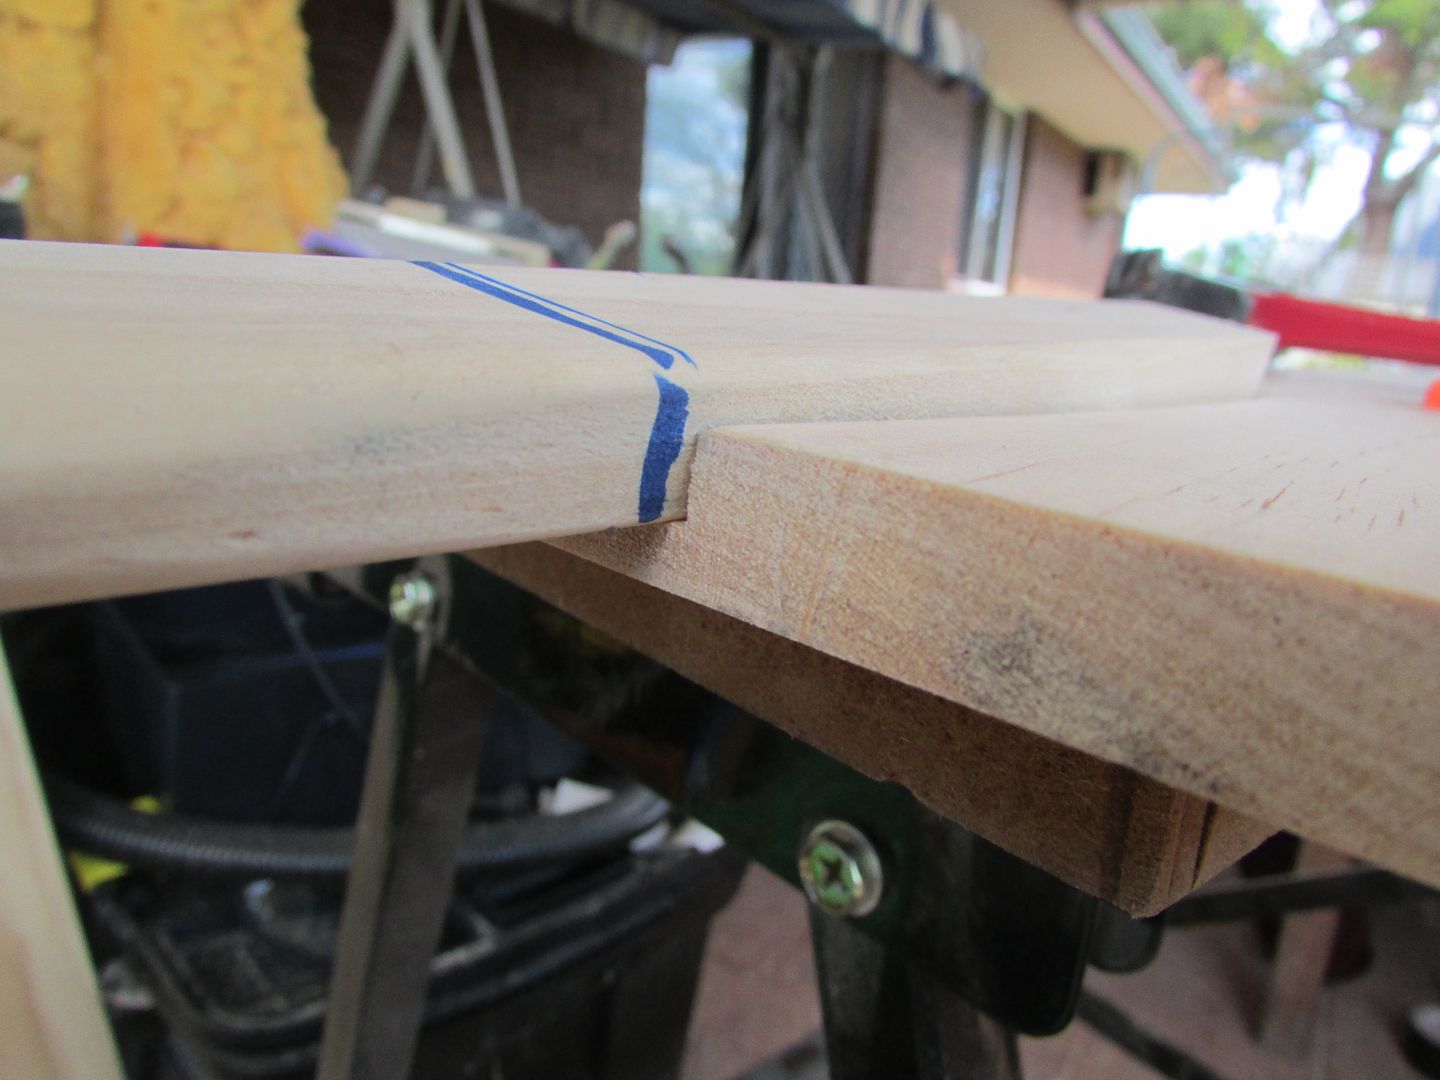
I underwent multiple runs of this entire process until the
tang sat snugly in the wooden gap, whilst at the same time making sure that it was
also enveloped to half its thickness.
With one half done I repeated this entire
process again for the opposite corresponding half making sure to mirror all the
parts accordingly.
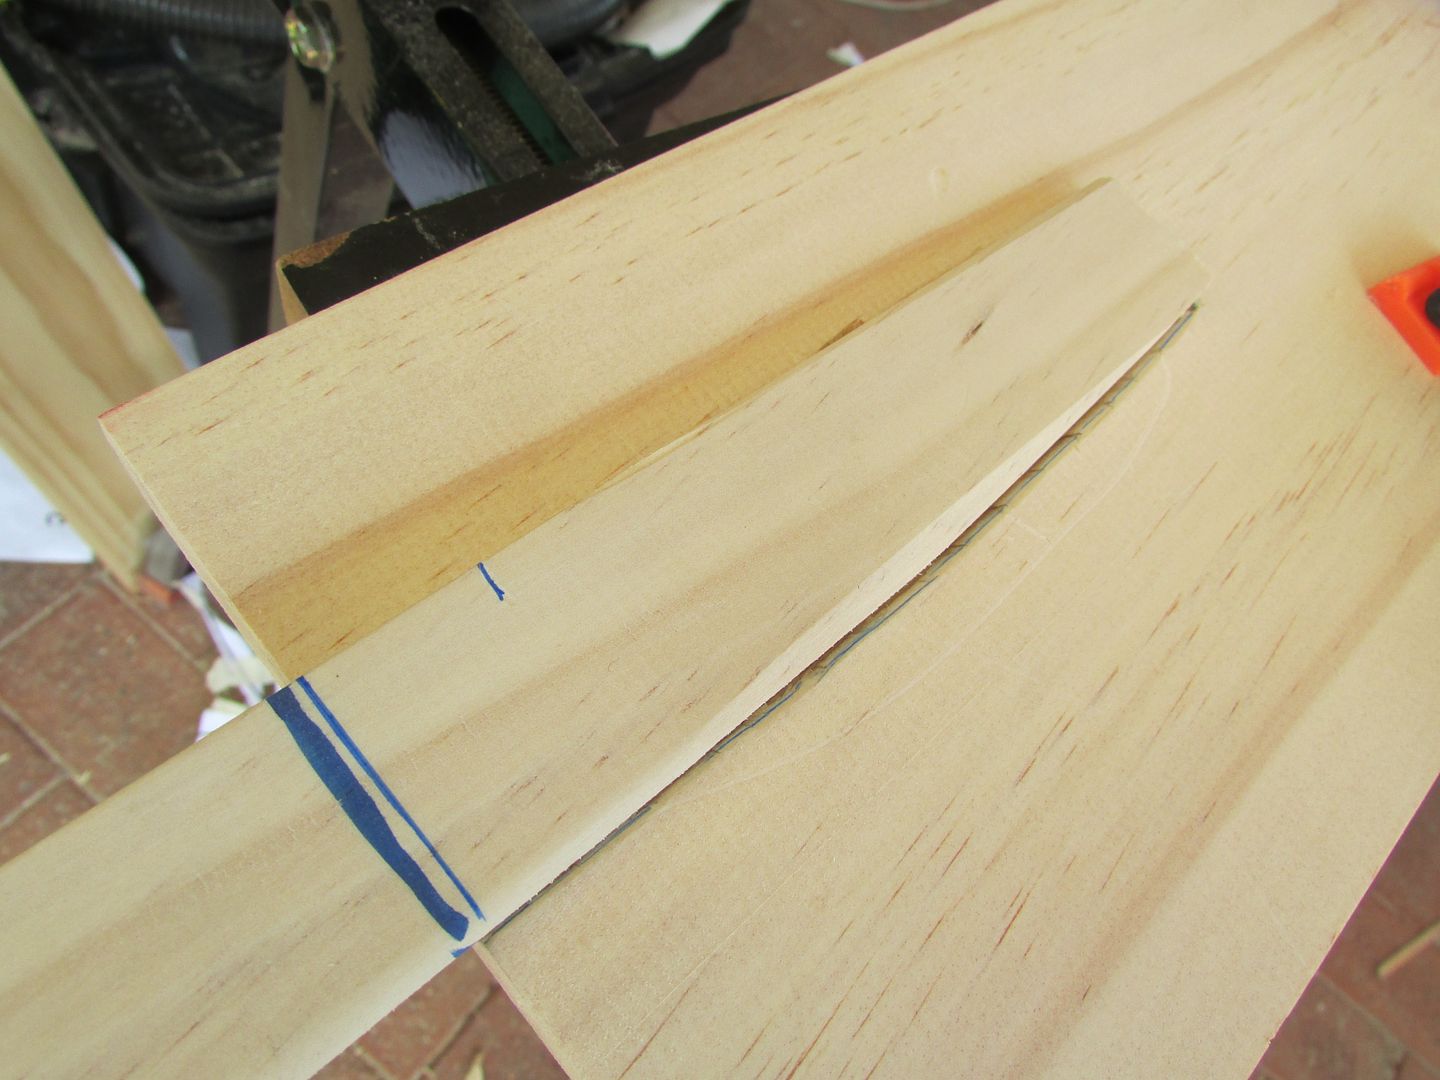
With both cavities carved out into the pre-cut planks, using
the jigsaw I then cut out along the outer rectangular shape of the handle itself.
The reason I left cutting out to last is because it is much easier to chisel,
in the plank form as opposed to how thin it is now.
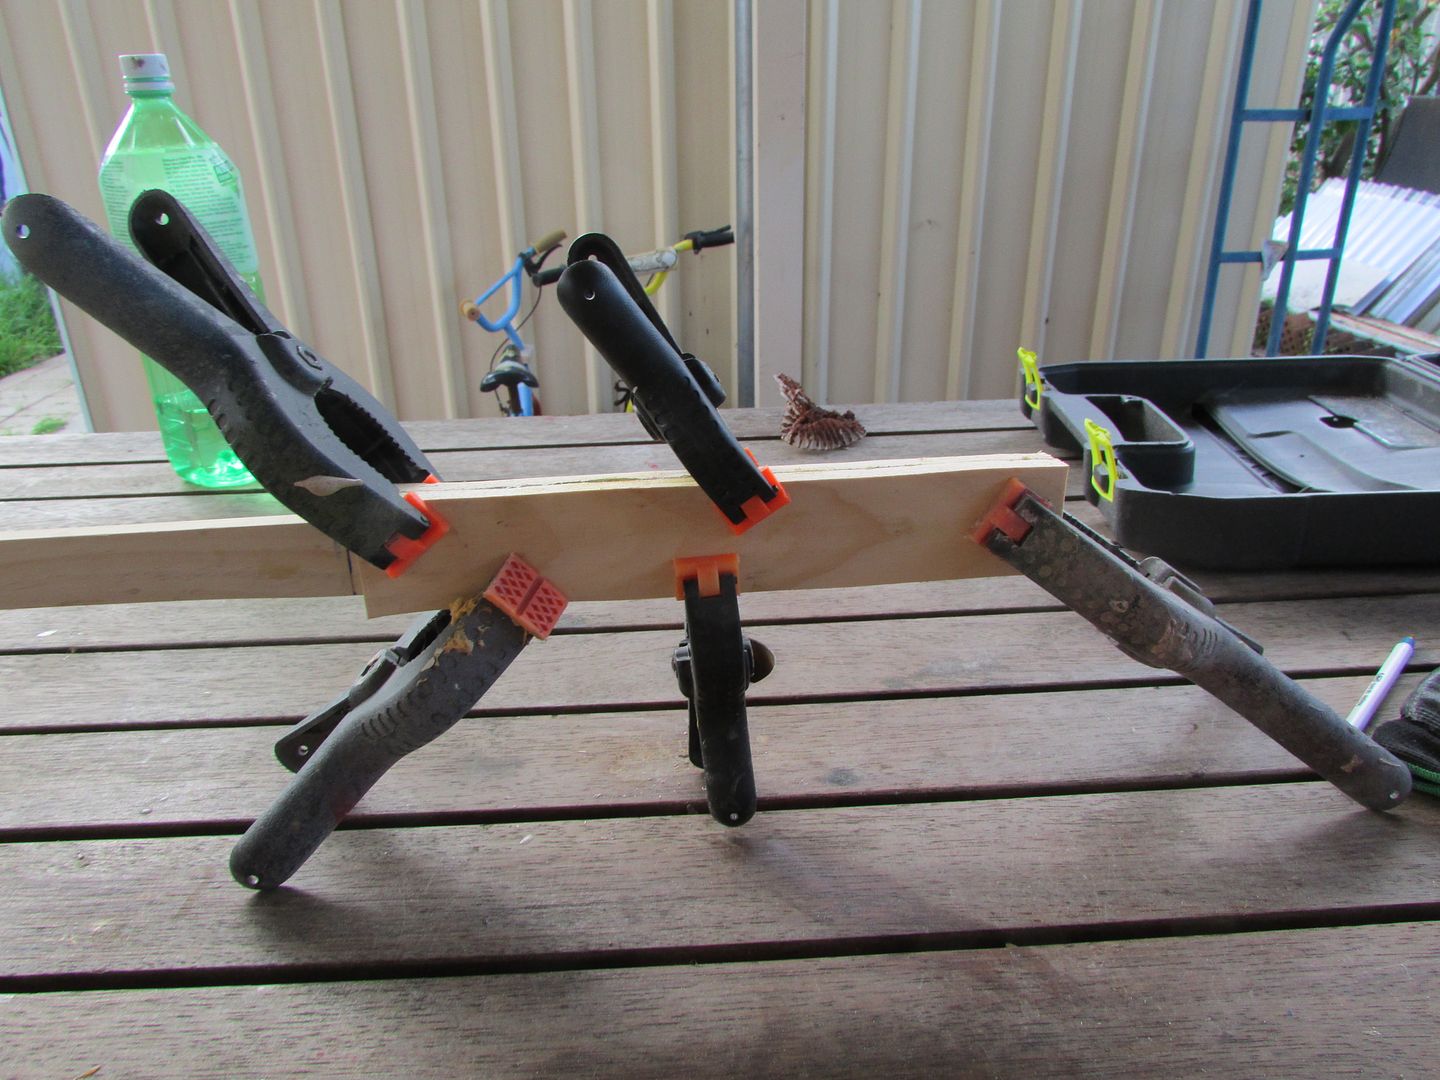
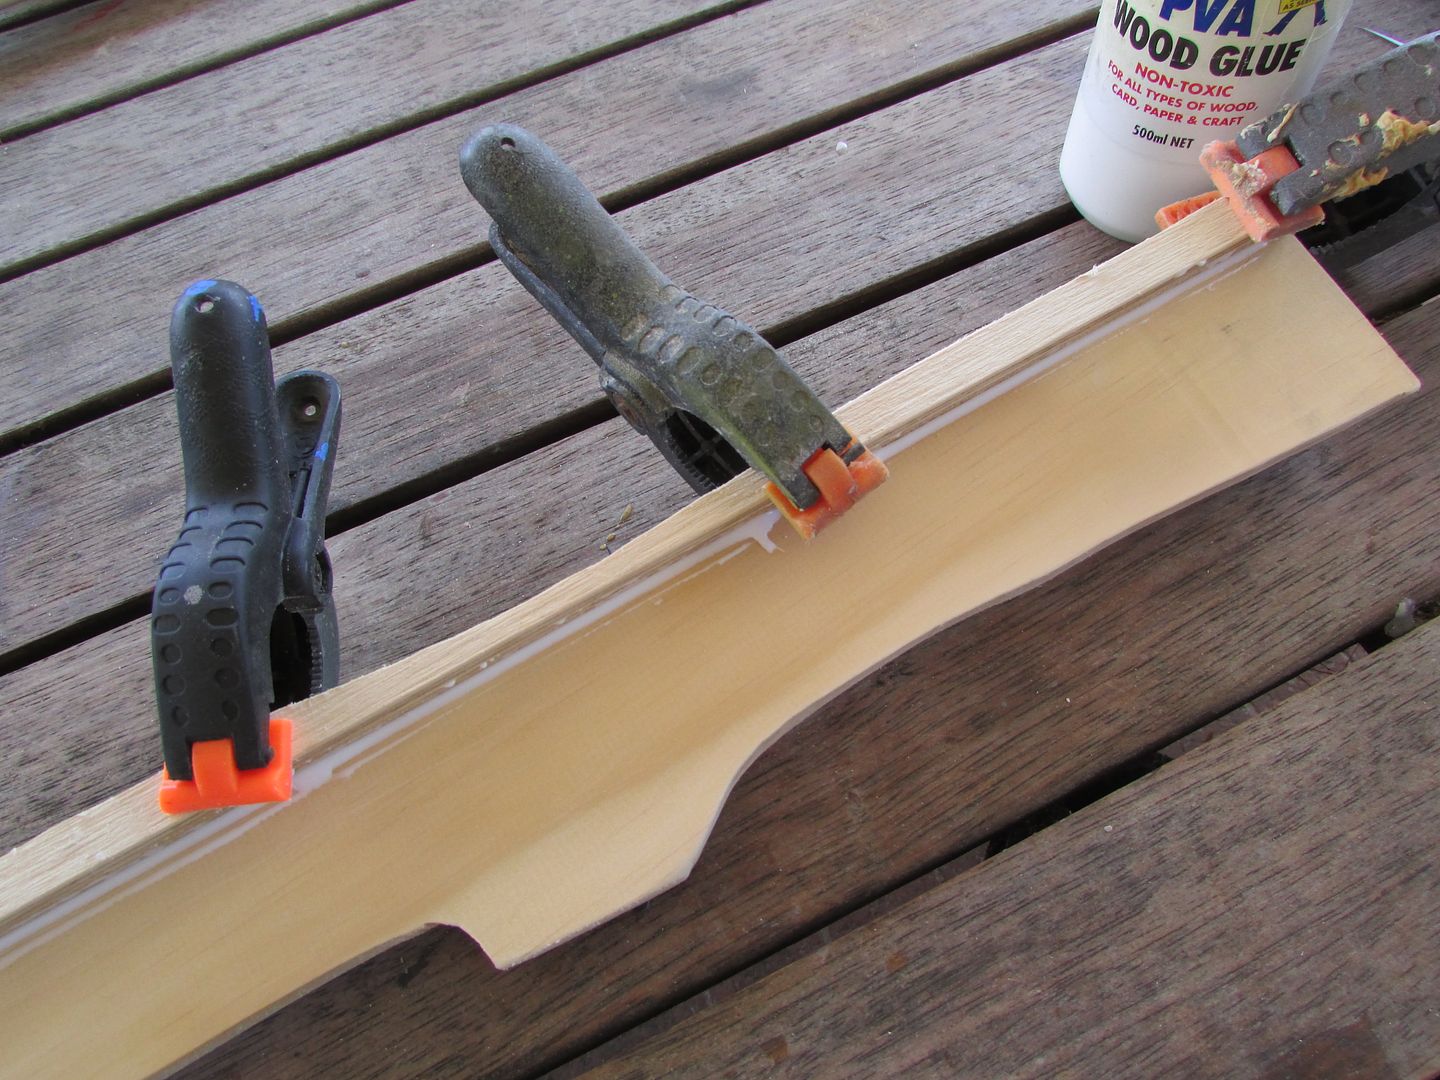
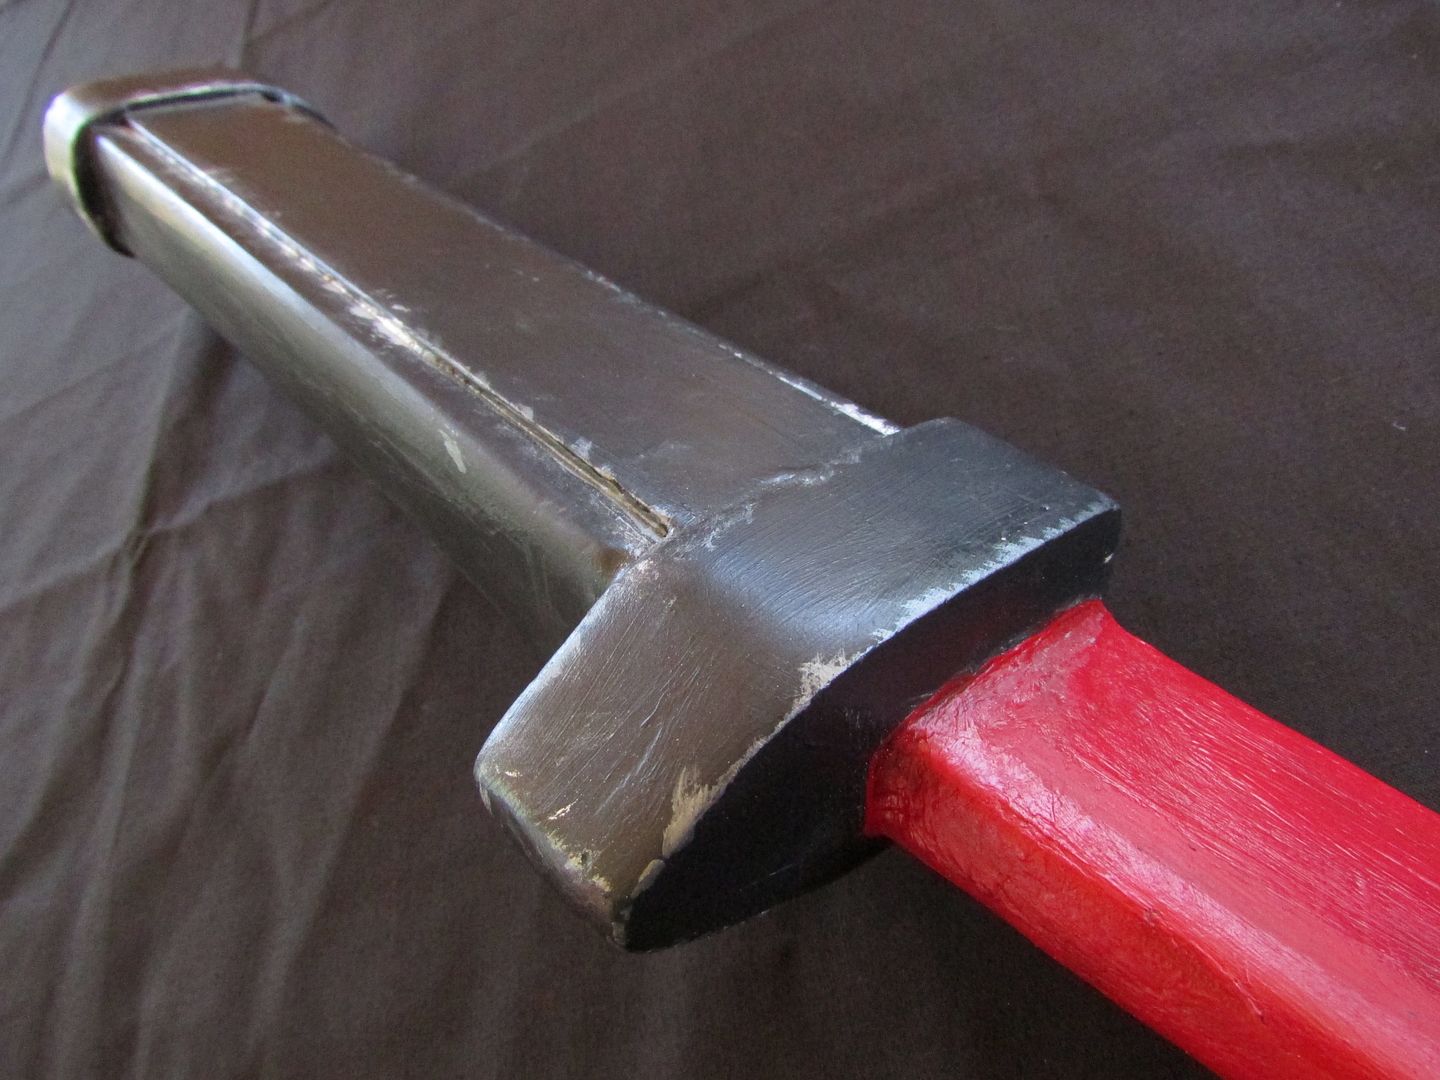
So the two halves were attached together with copious
amounts of wood glue with the aid of clamps, encasing the blade in between.
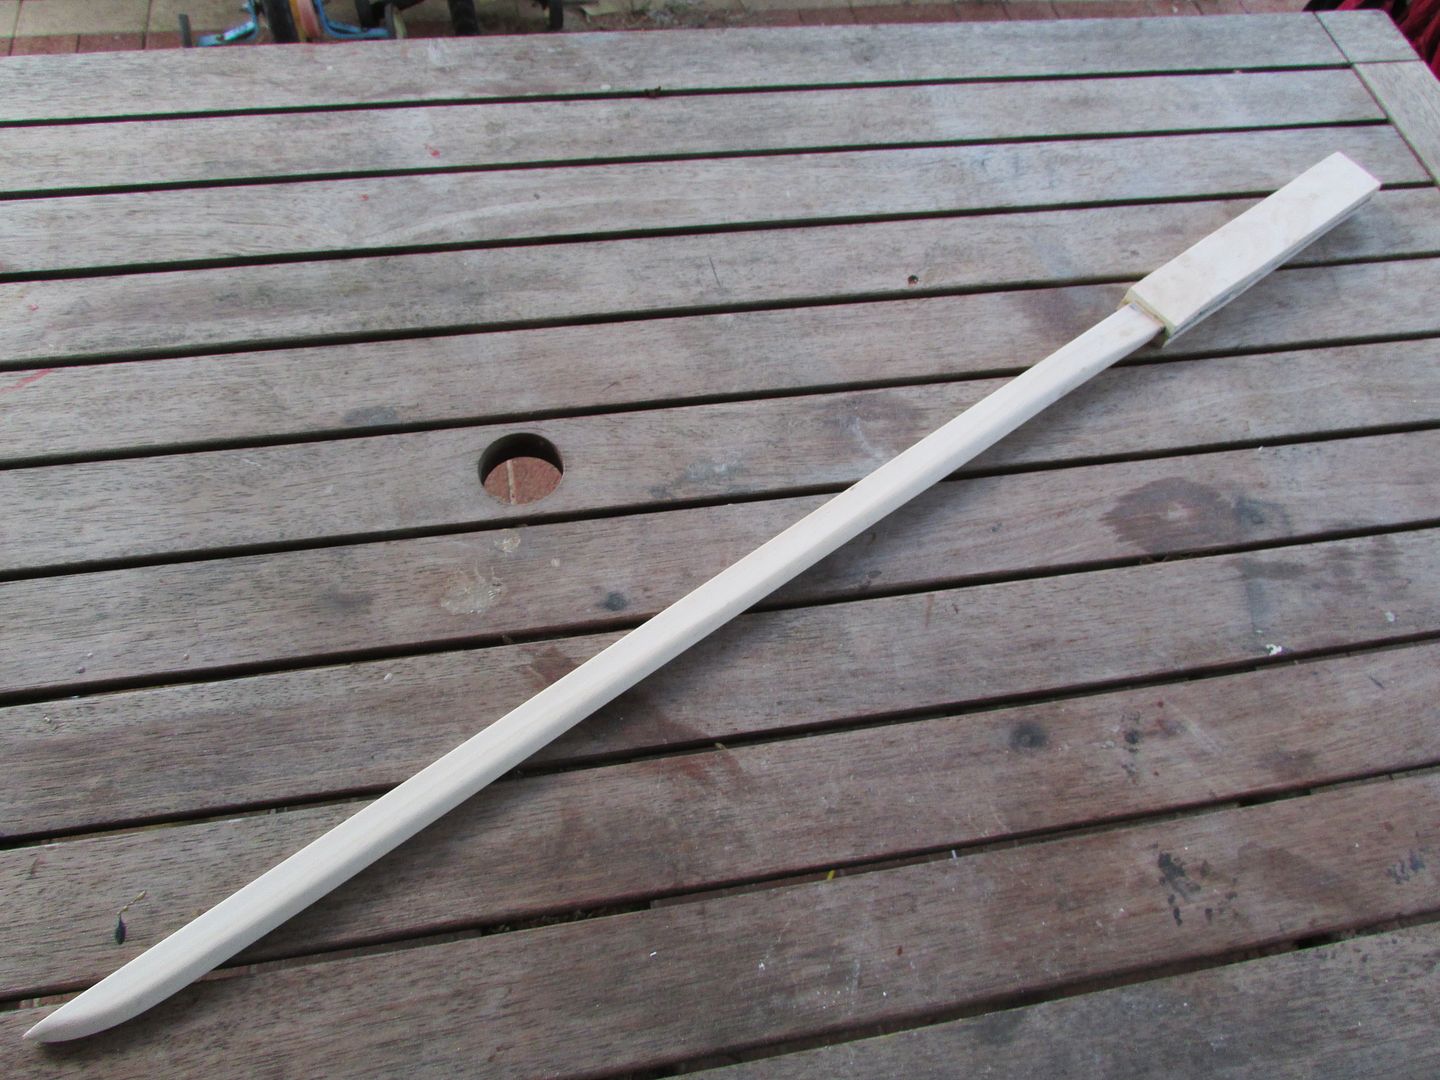
Starting on detailing on the handle I
first did a quick once over with sandpaper to clean off the sharp edges and
burs.
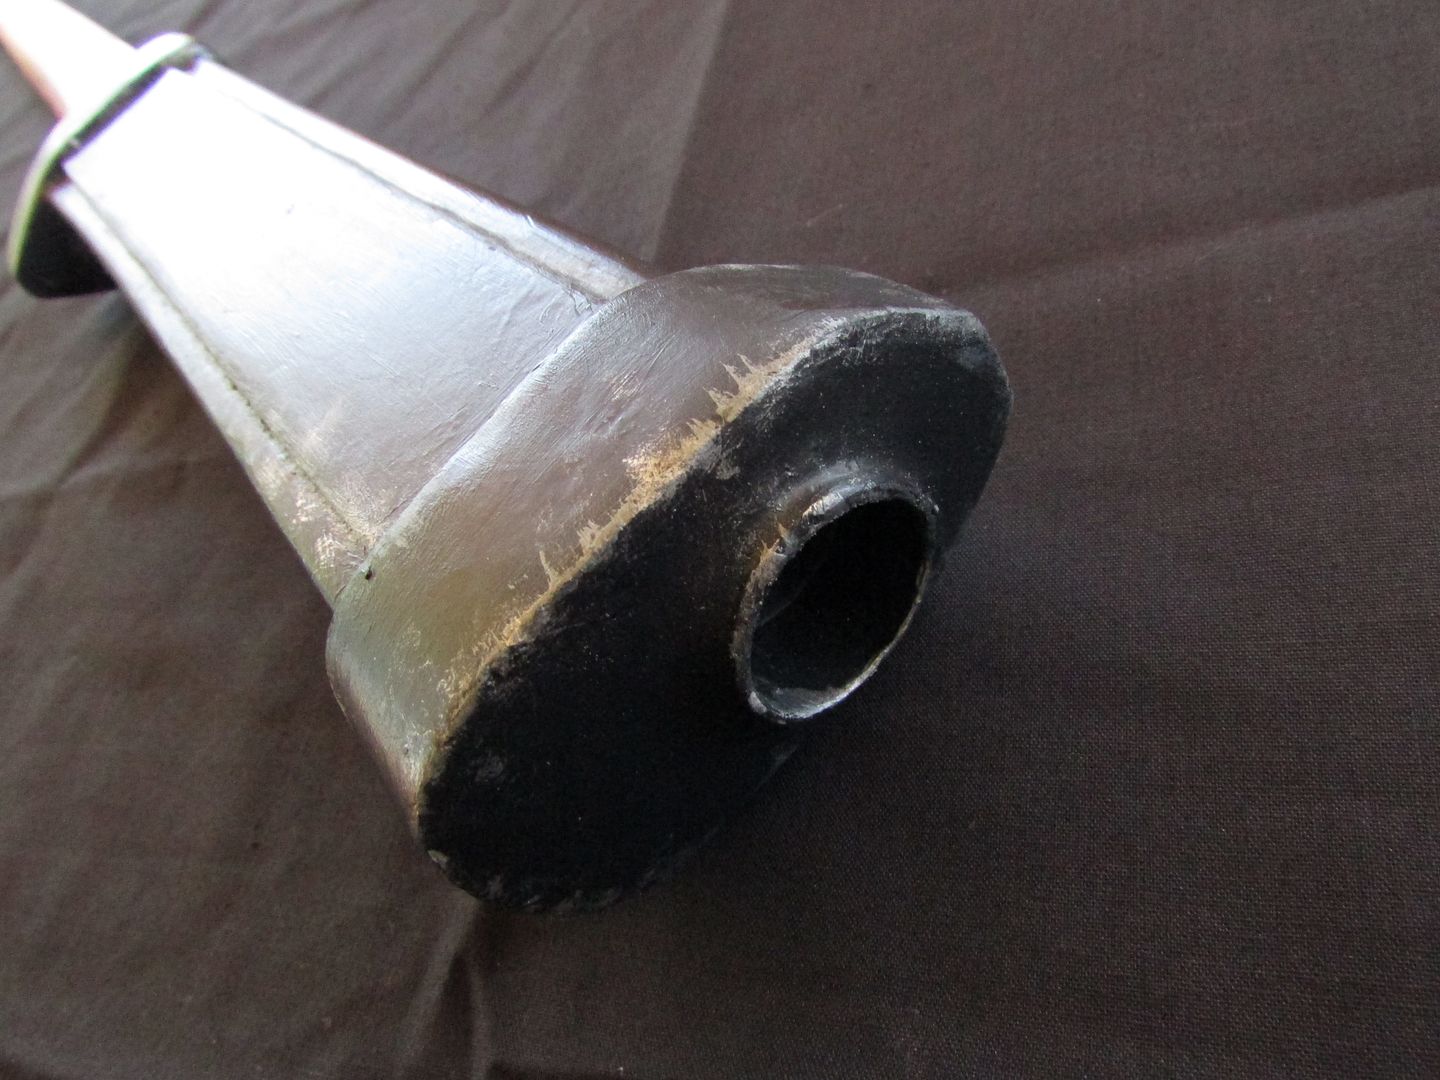
And then resorted to cutting out and attaching of PVC sheeting, some pieces where glued on directly whilst others were first bent with a heat gun then attached, namely the muzzle end and the hand guard.
And then resorted to cutting out and attaching of PVC sheeting, some pieces where glued on directly whilst others were first bent with a heat gun then attached, namely the muzzle end and the hand guard.
The small gun barrel was cut from a thin PVC pipe and glued
to the wooden base structure, after which I then started sealing up all the
gaps with apoxie sculpt.
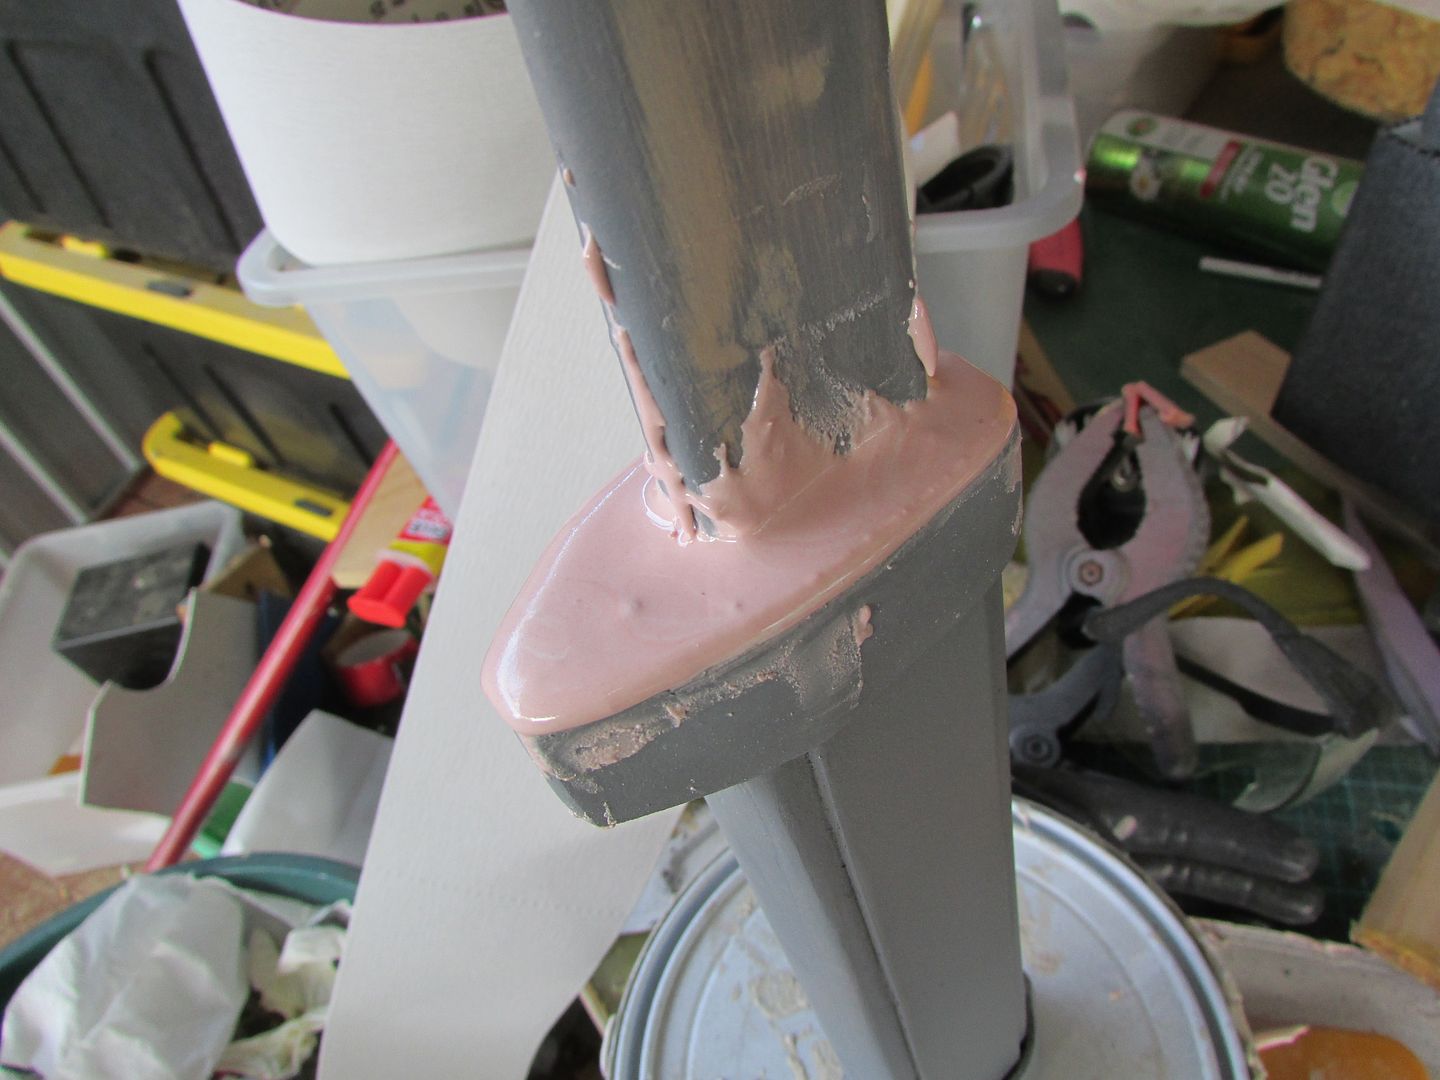
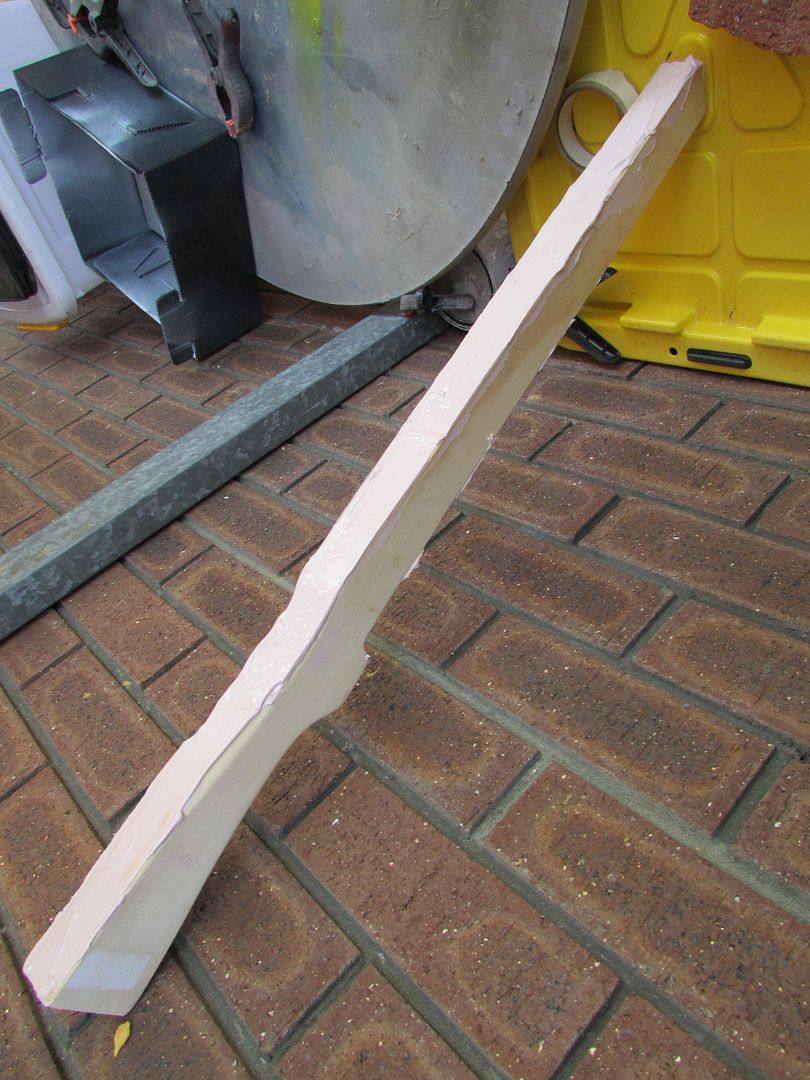
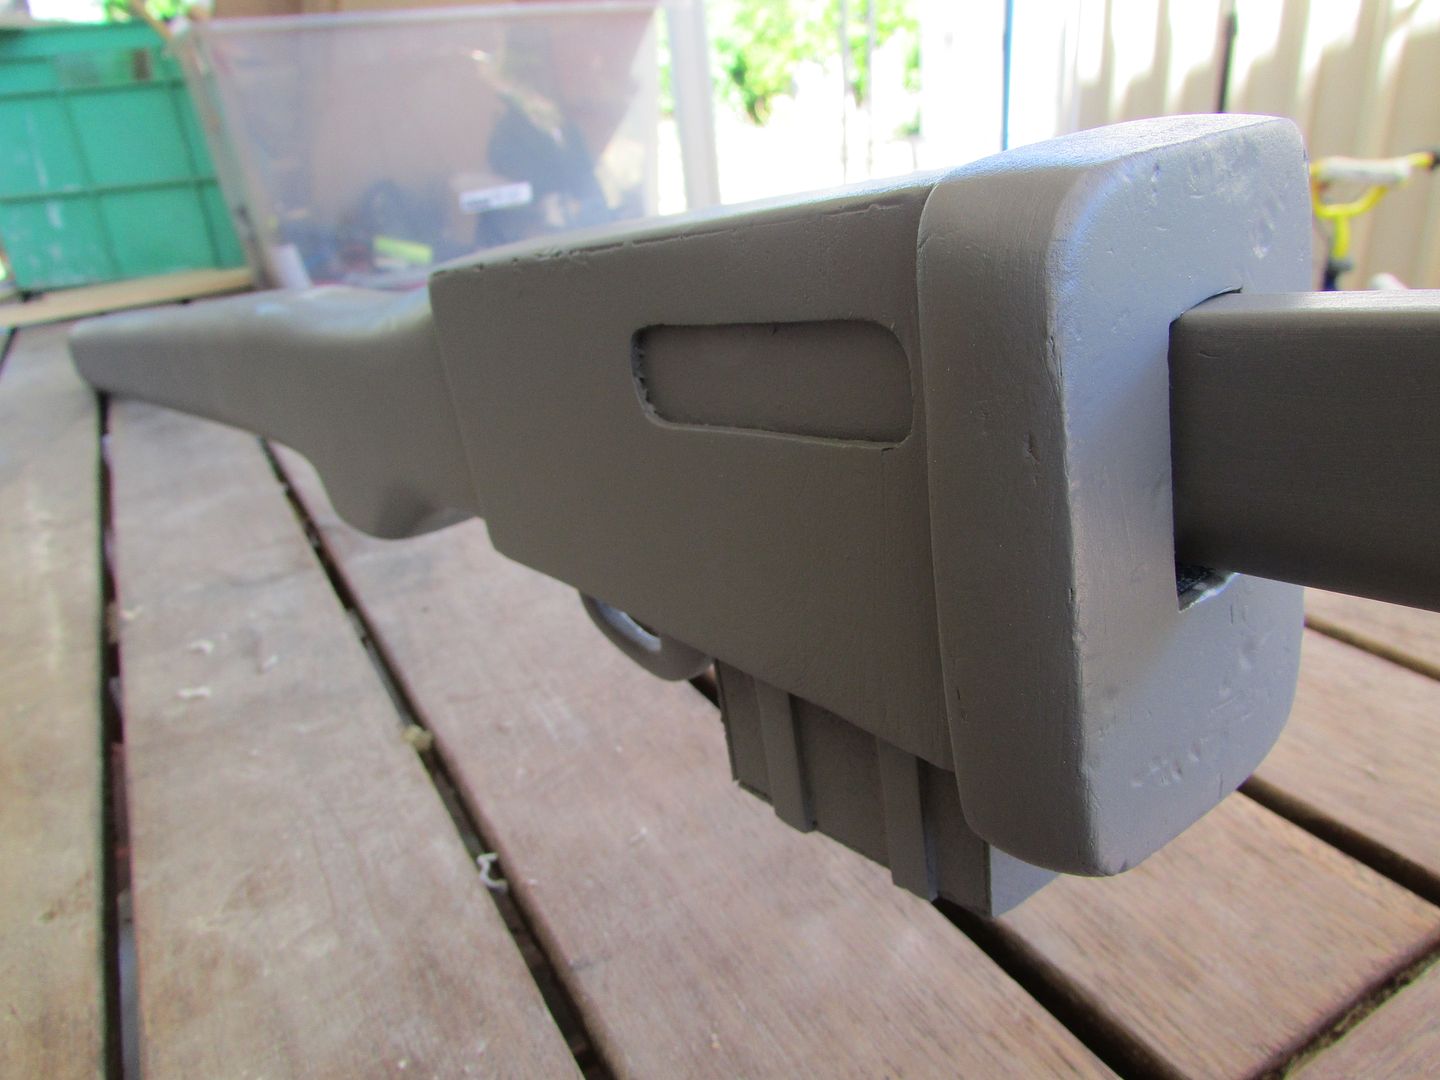
The sealing of the gaps leads into the next major section
where I started with the application of the body filler, to start cleaning up
all the ugly unwanted seams.
A lot of sanding took place as well as a lot of filling. I
used the automotive filler to make up the mass around the muzzle and the hand
guard and then sanded it down to match the contours of the PVC sheeting.
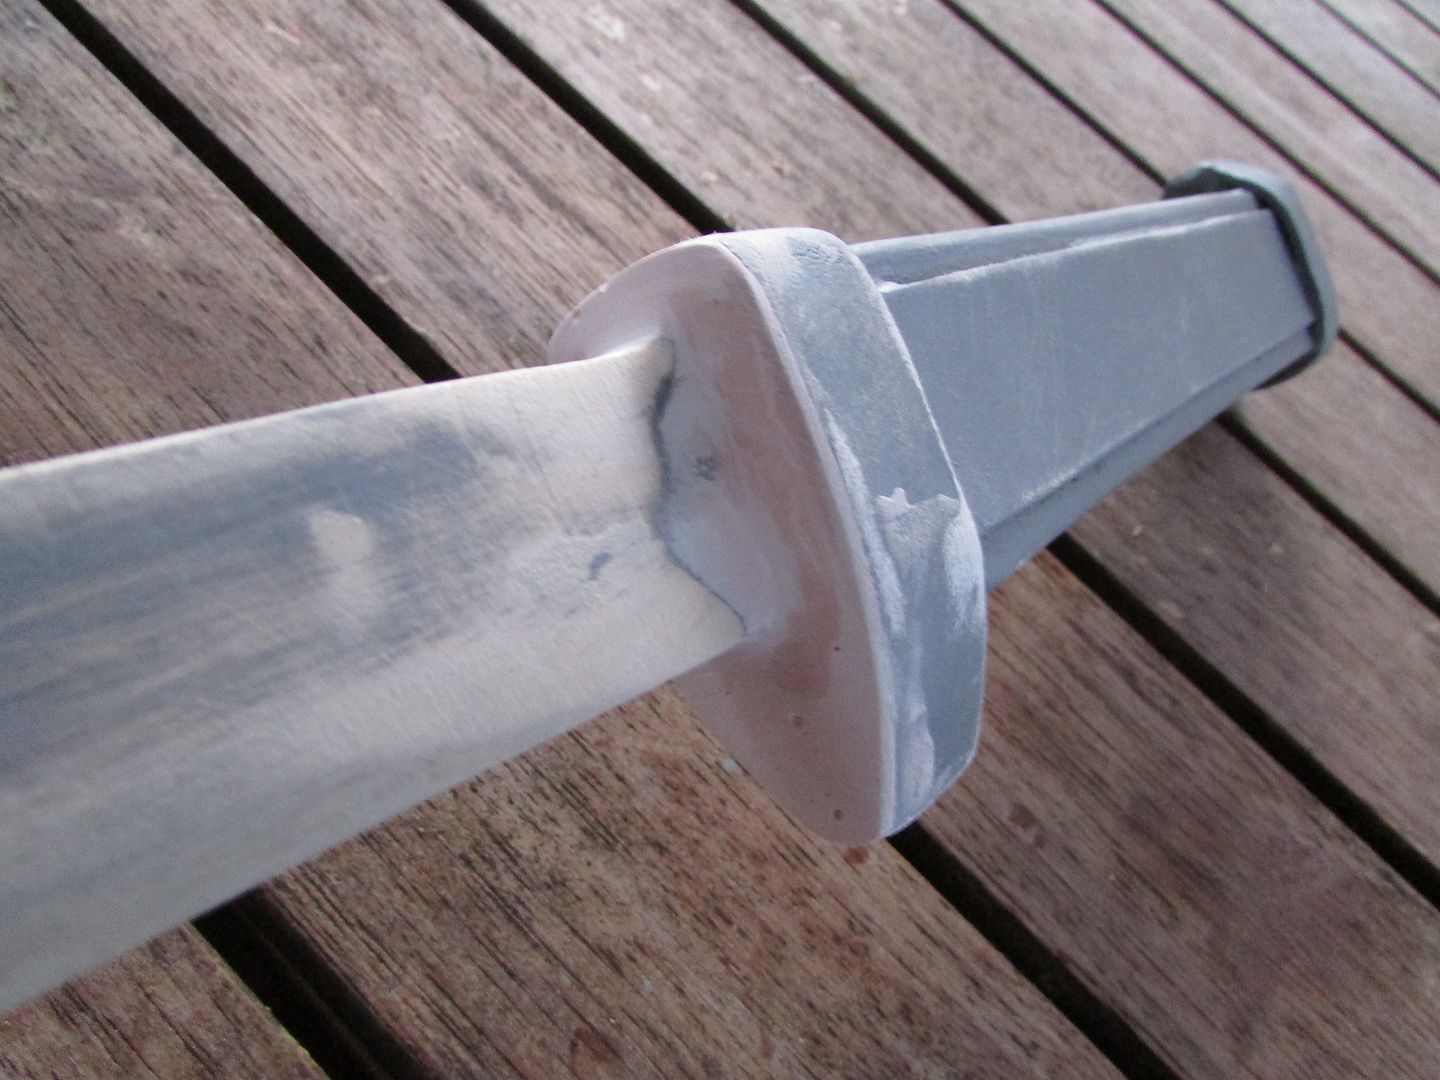
Before a quick intermittent coat of primer to highlight and fill-in
any major defects that I might have missed.
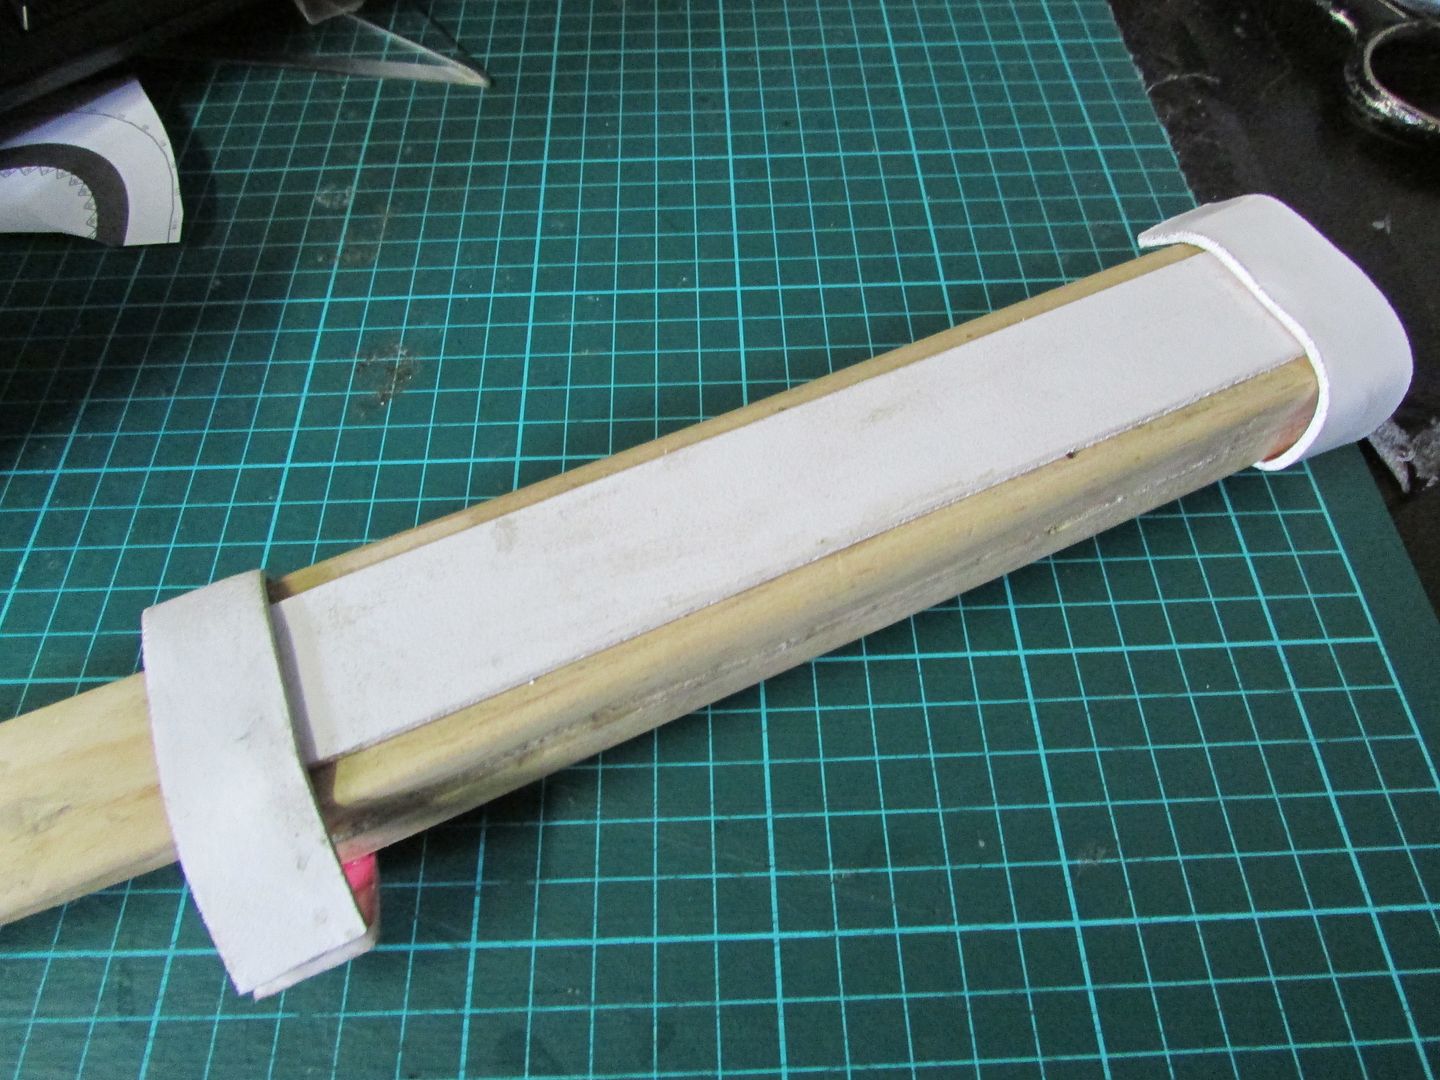
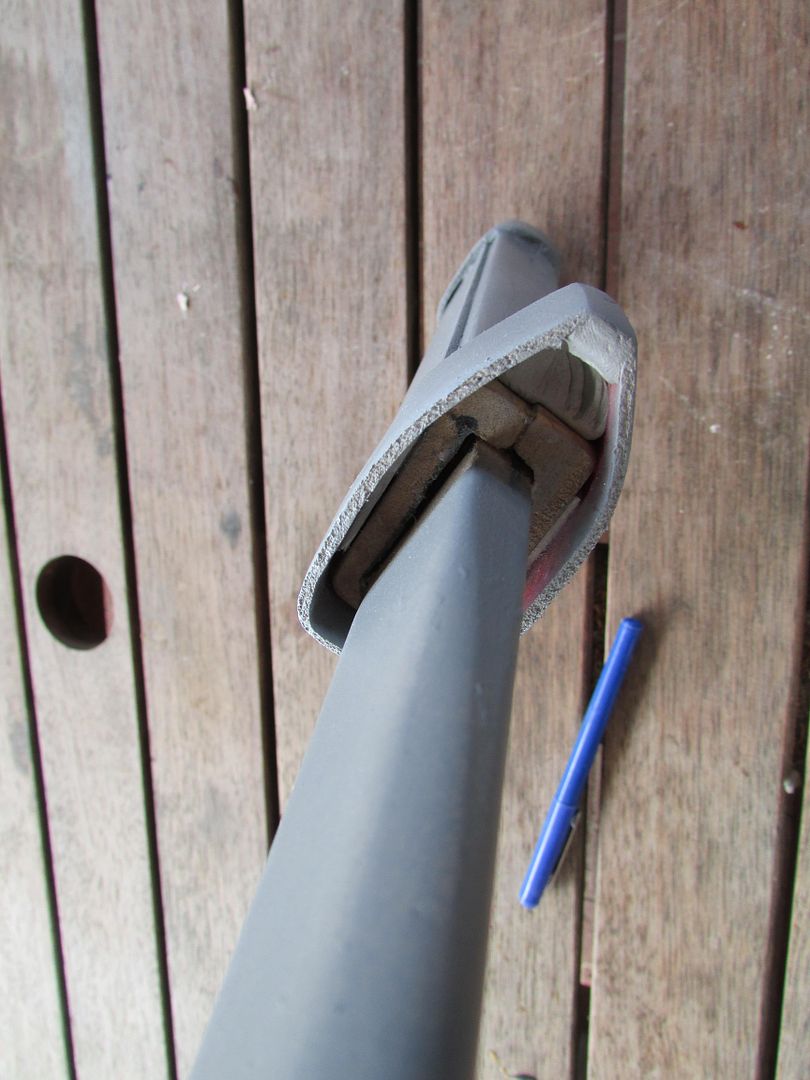
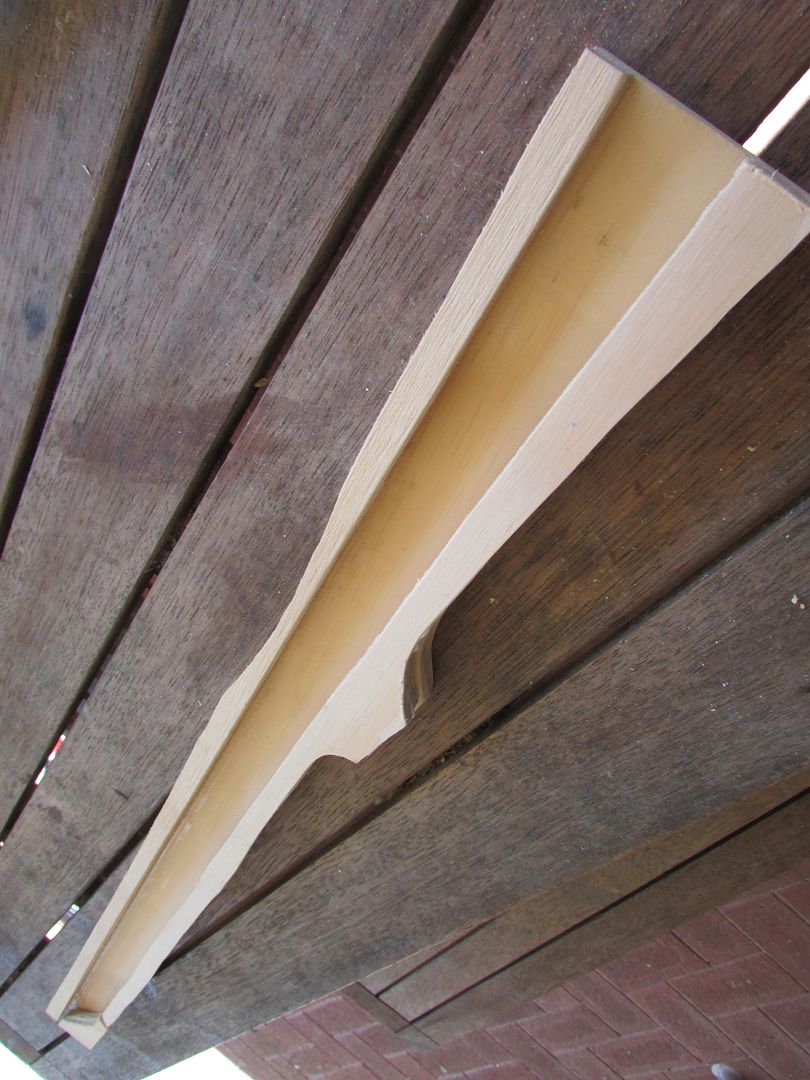
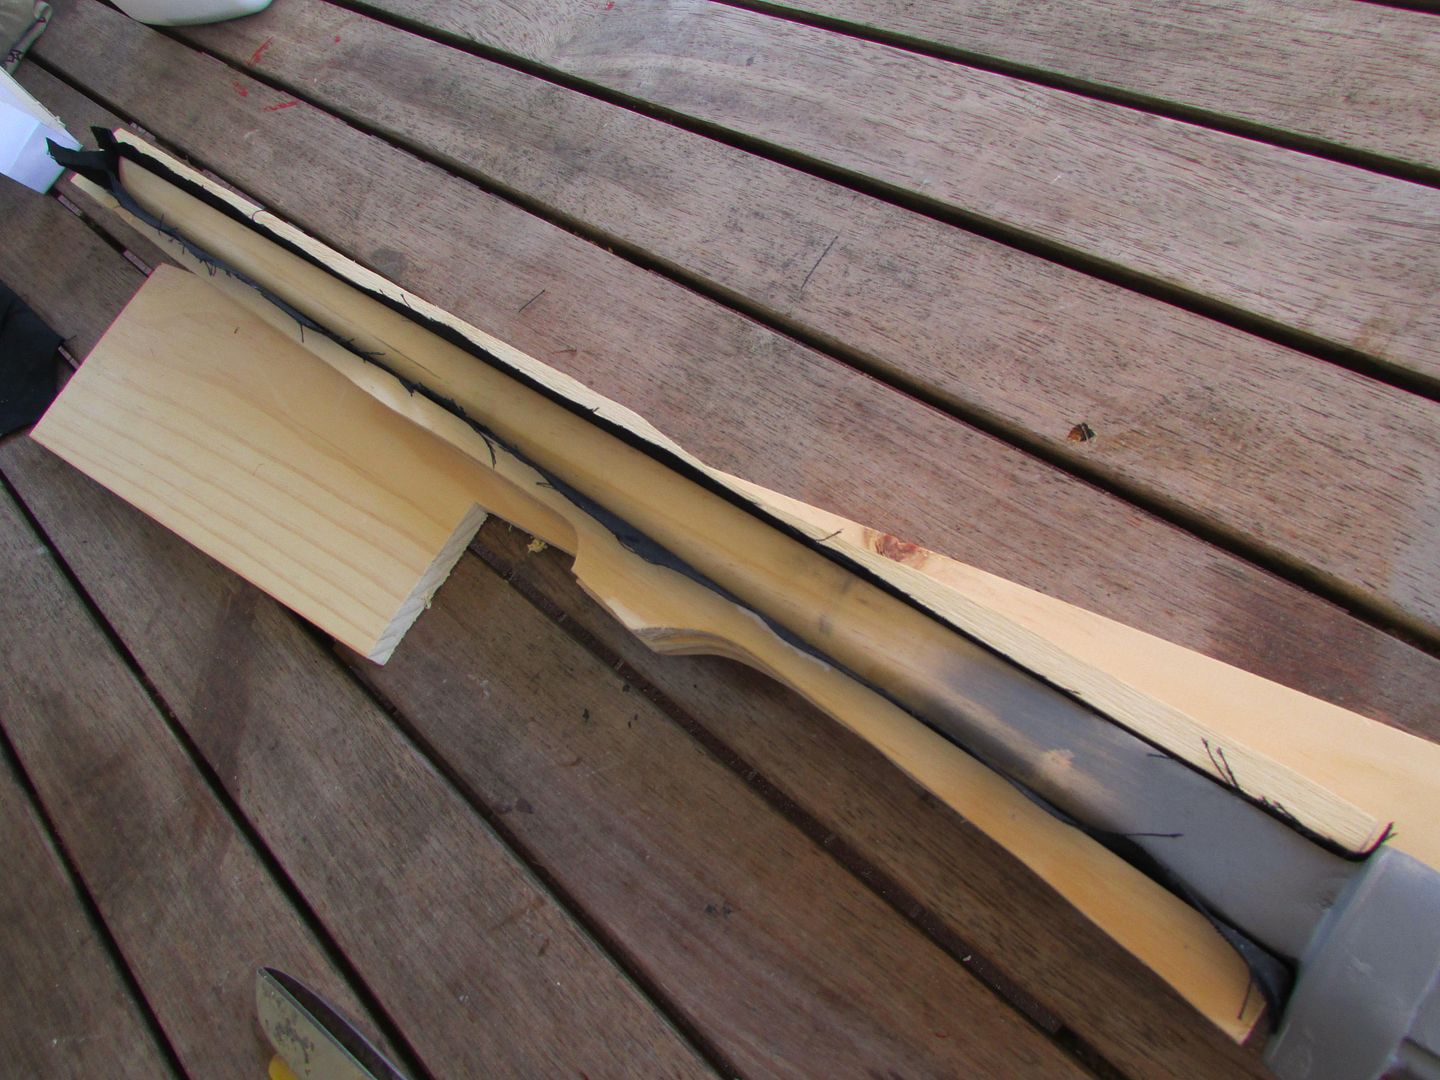
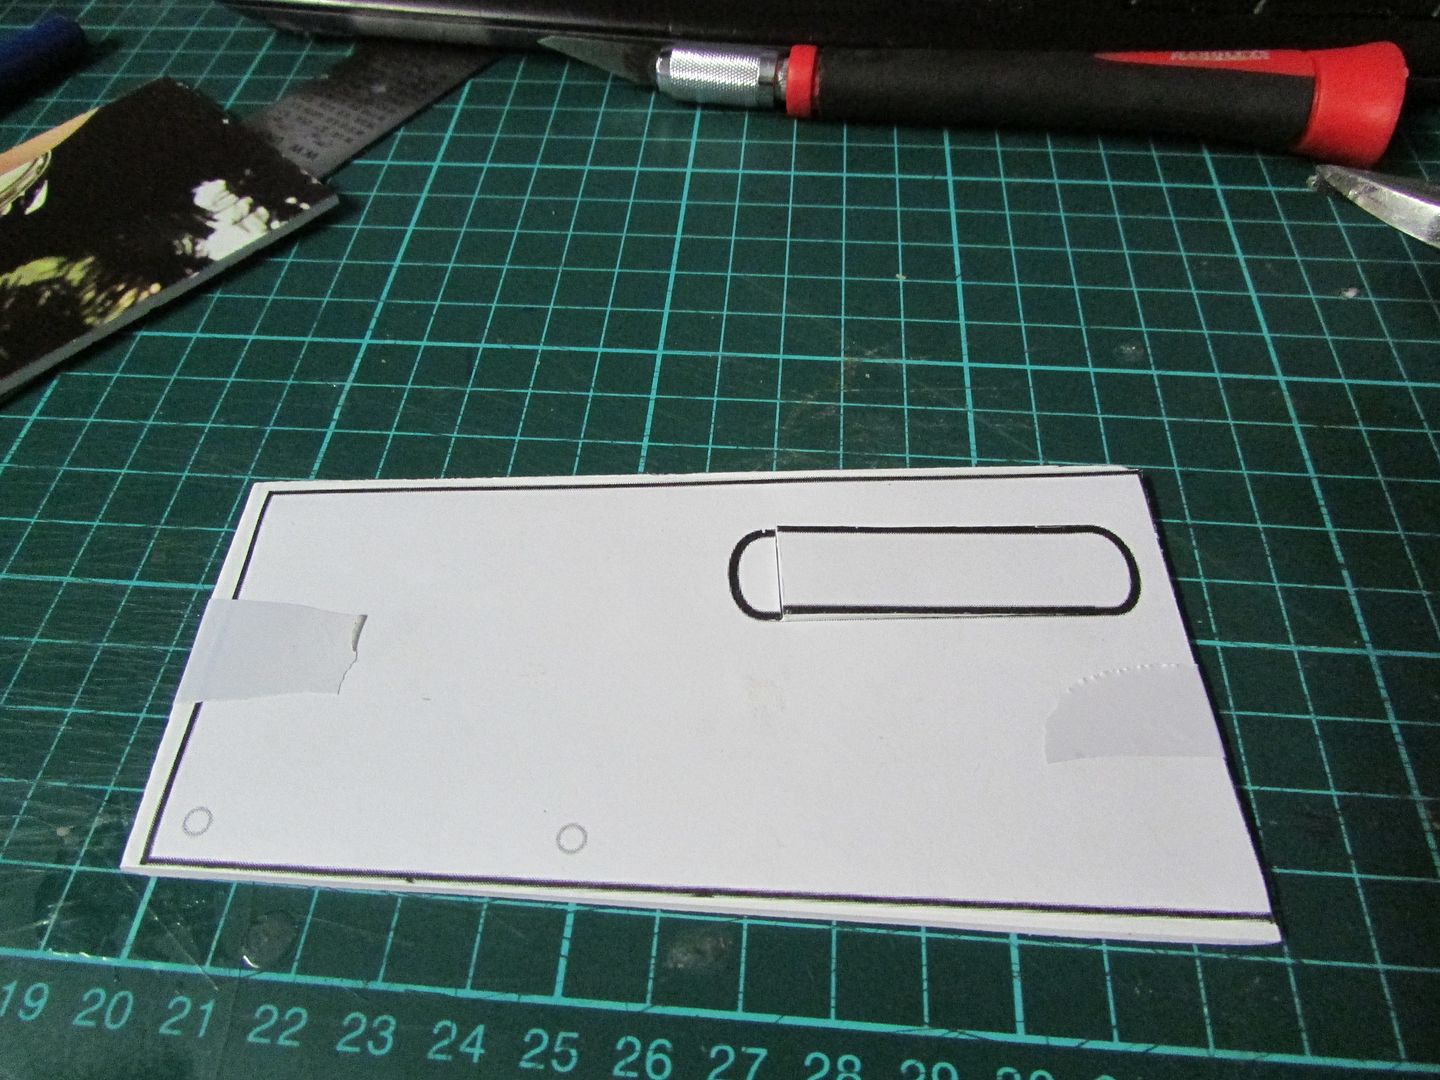
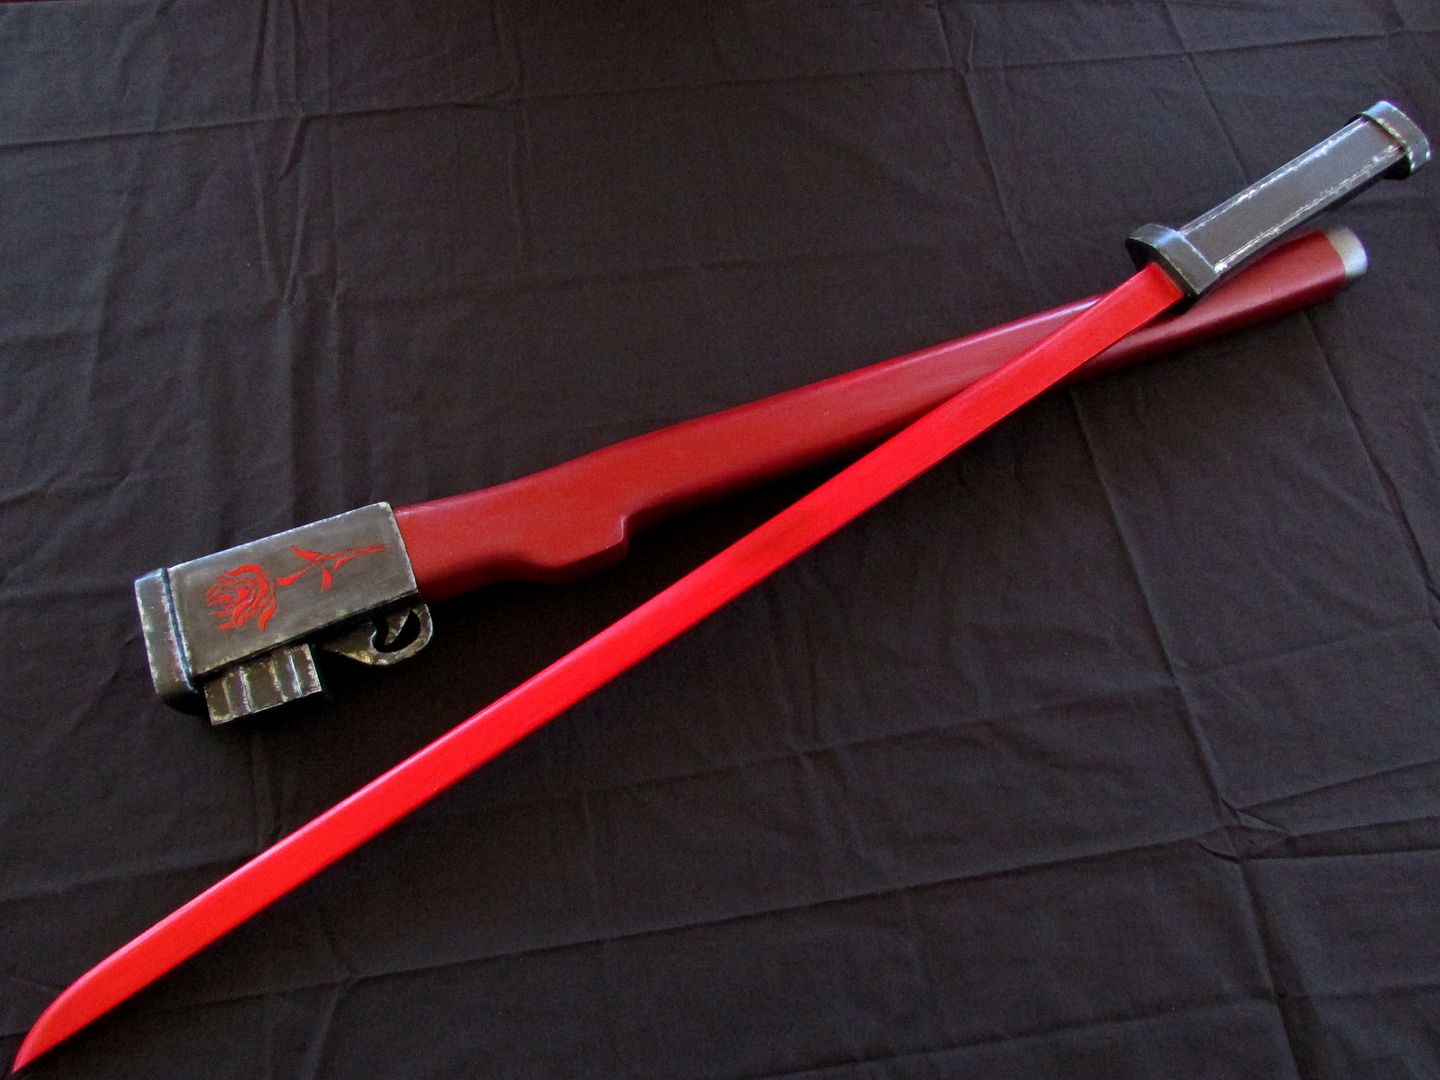
For the scabbard aspect of the prop, that involved first
cutting out two similar side pieces out of pine and then having to make
a sort of box to encase the pre-existing blade.
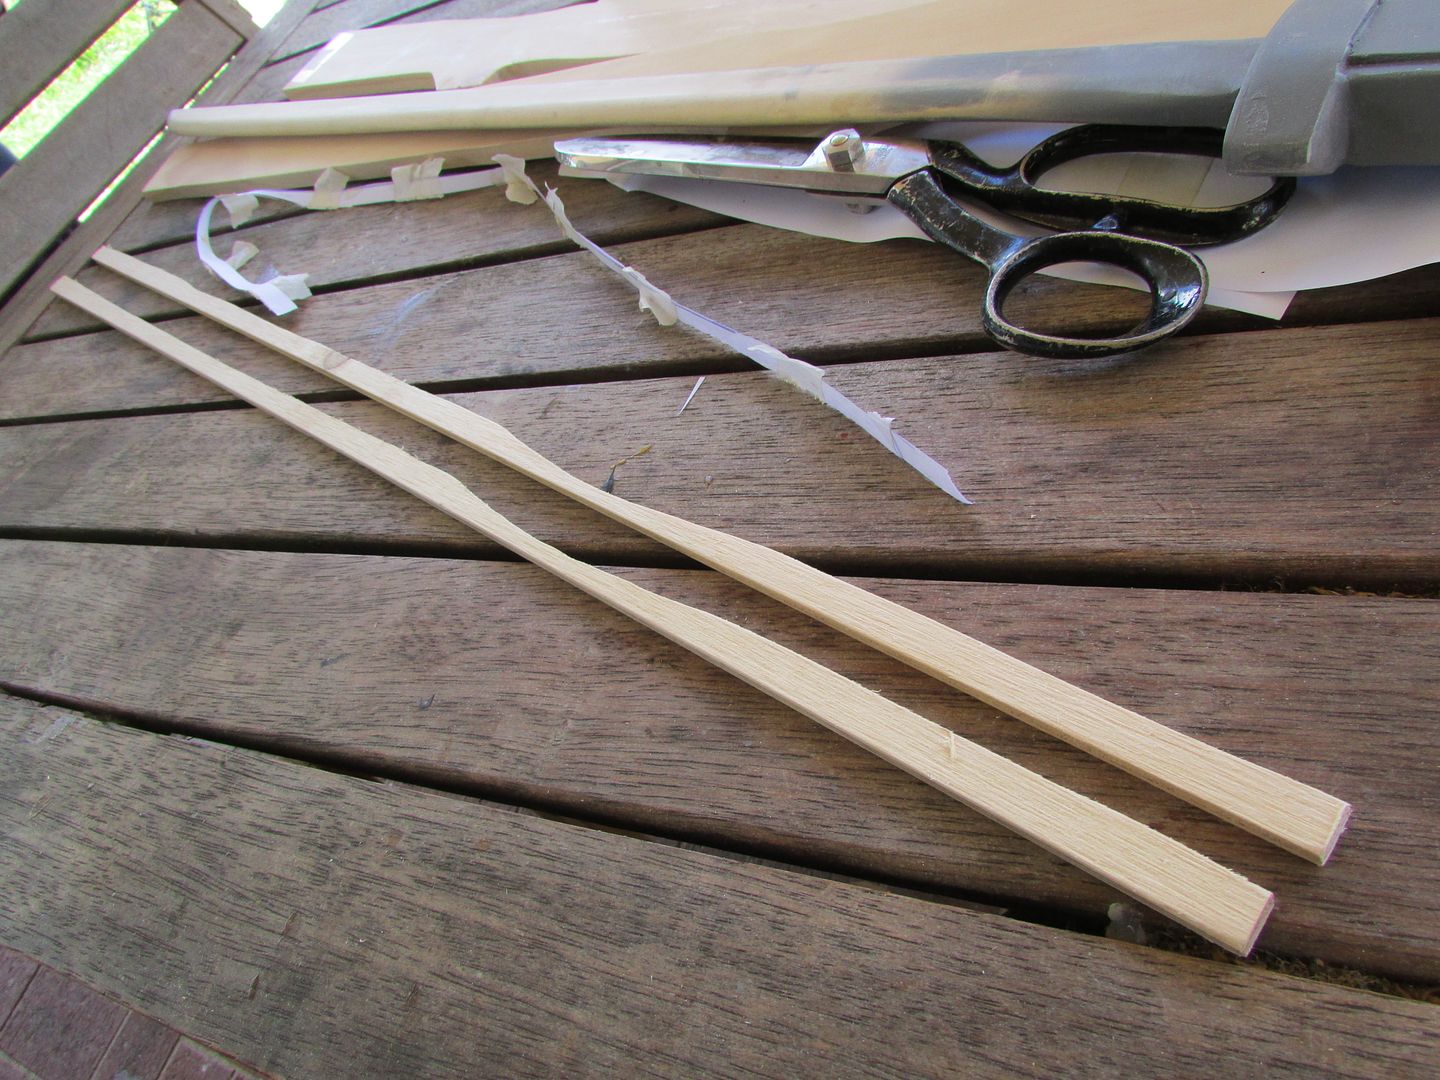
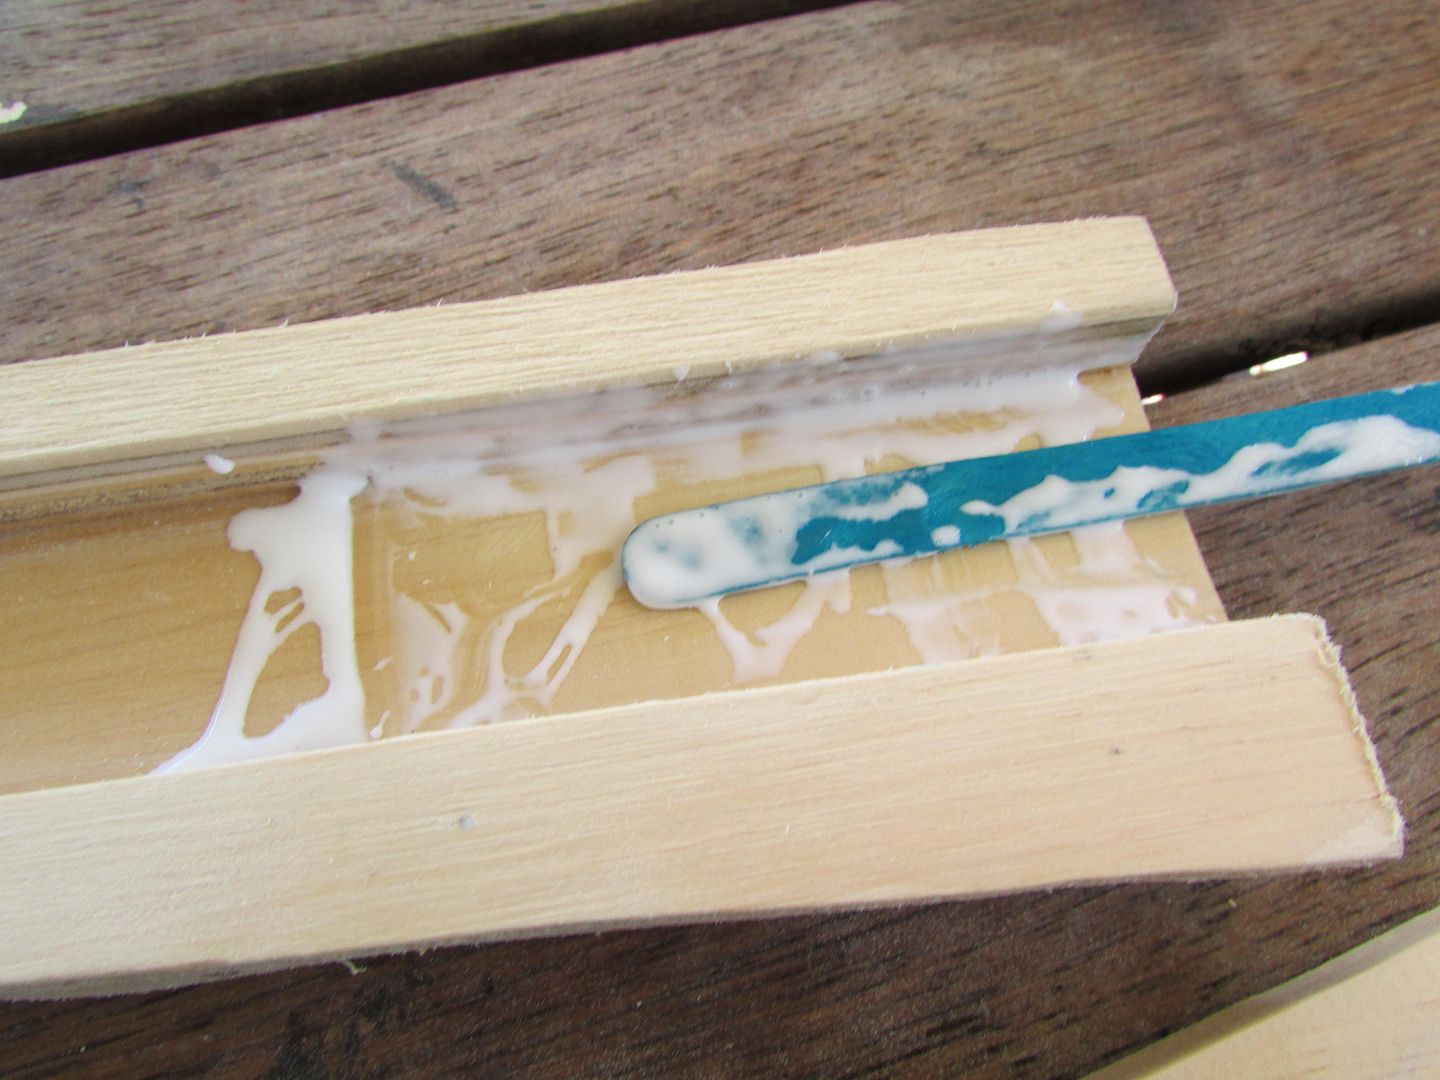
To make the depth of the “box”, I cut from plywood some thin
strips that matched the contours of the blade and then glued them atop one another
to achieve the thickness required.
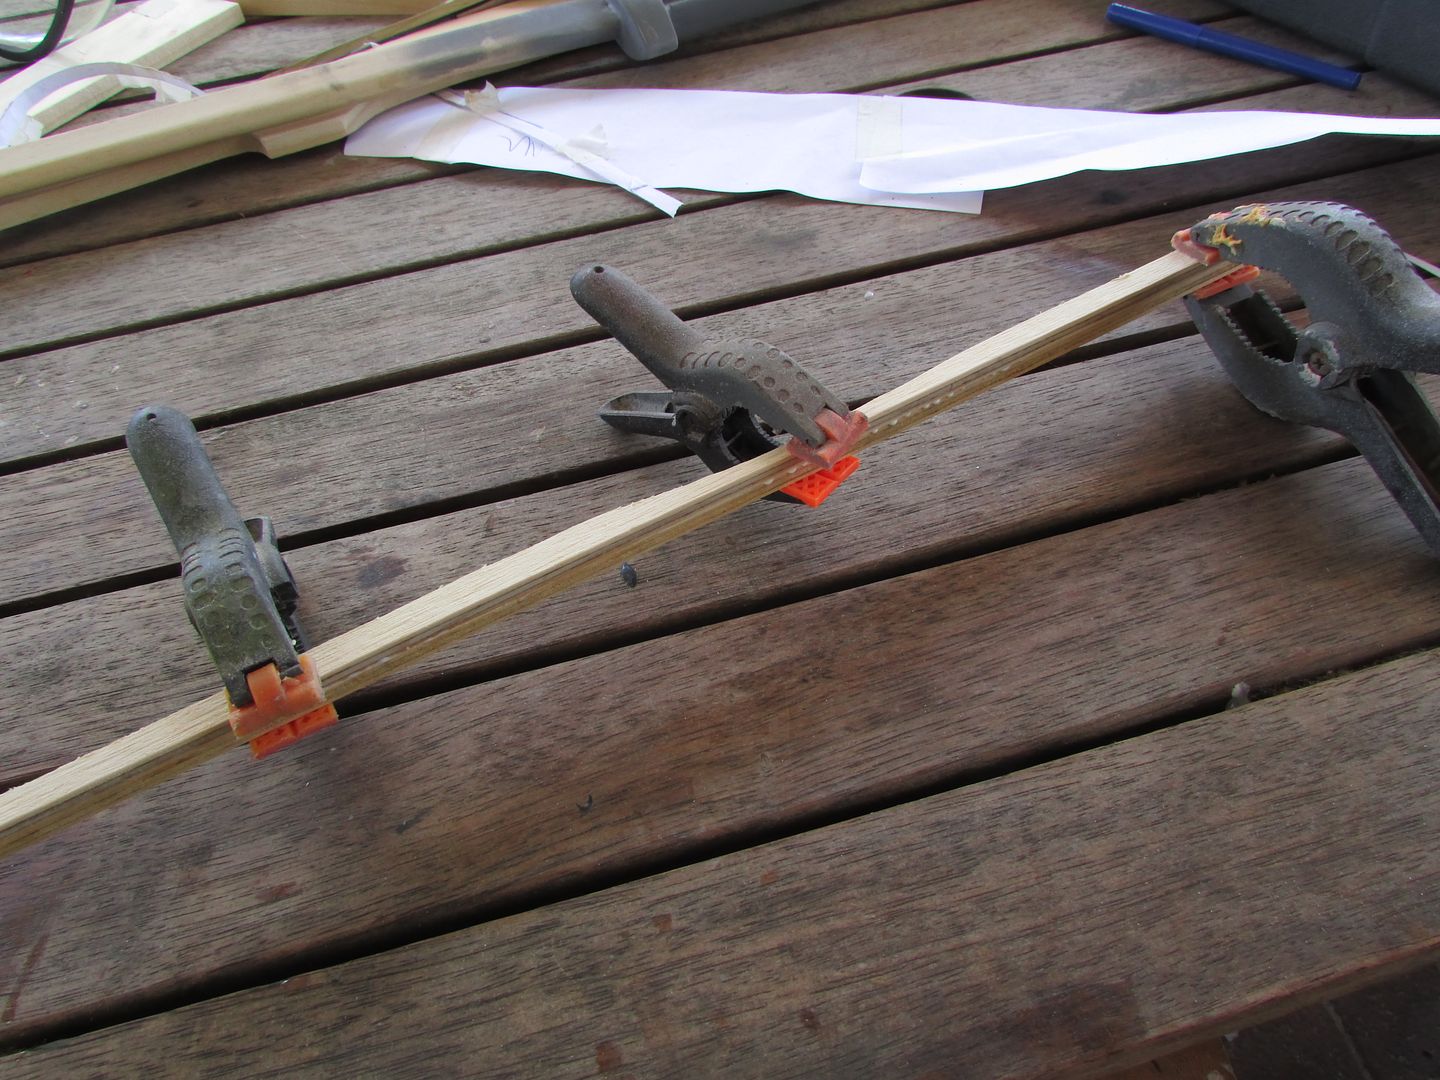
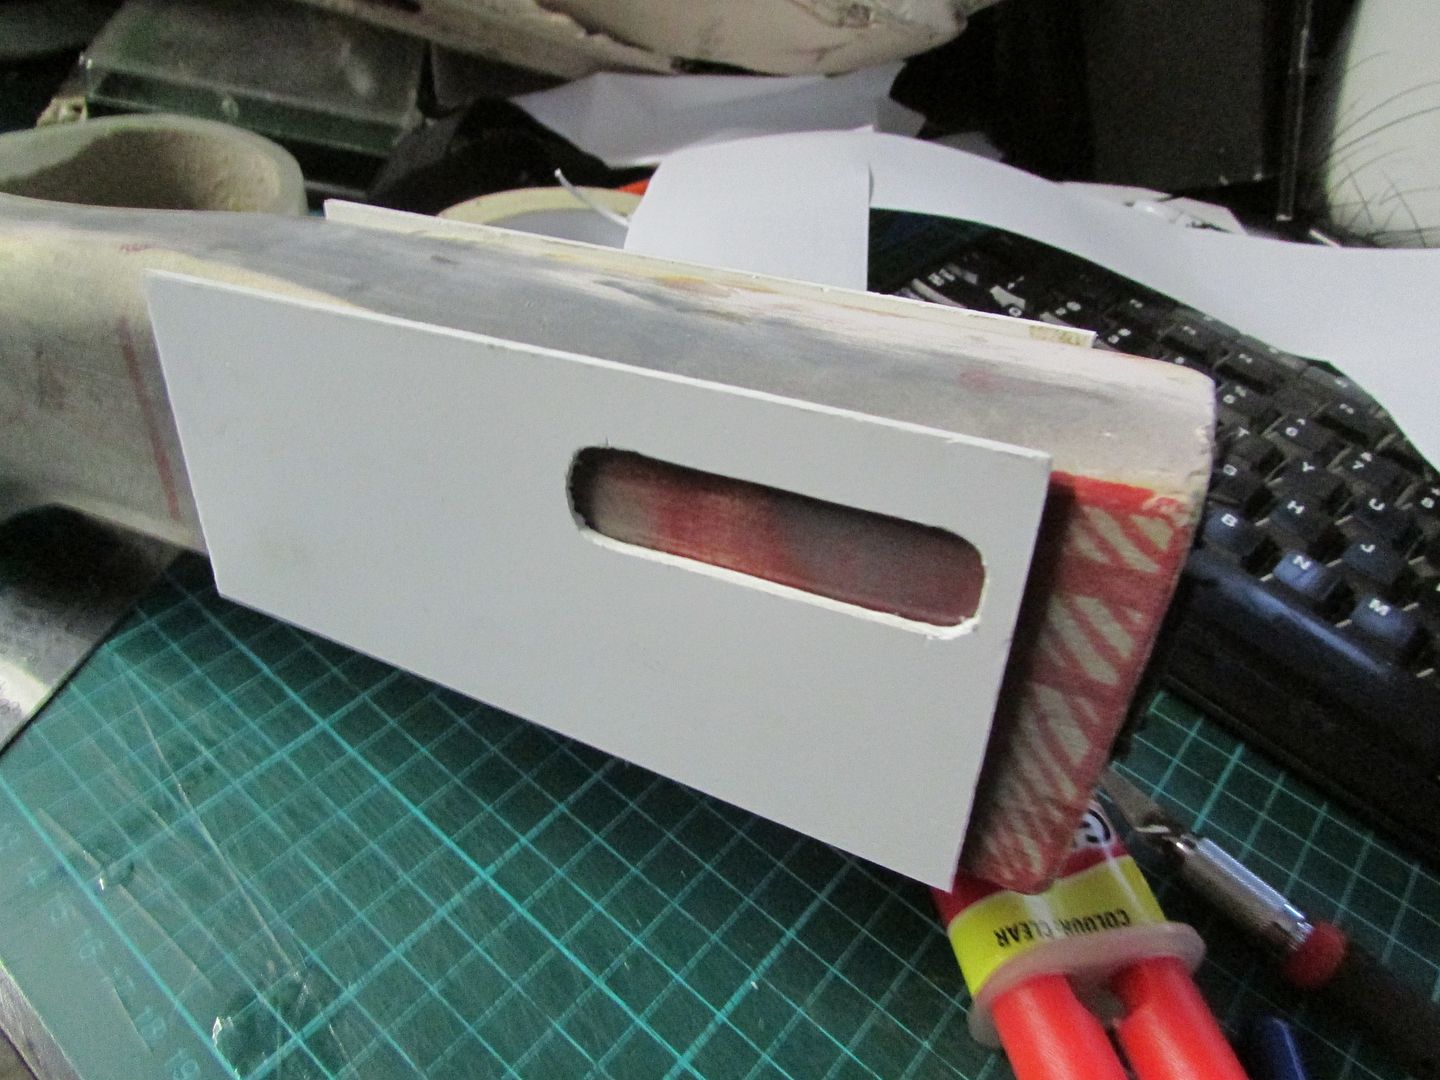
These strips were glued to the side face of the scabbard,
creating a similar cavity effect much like the one created by the chiselling earlier.
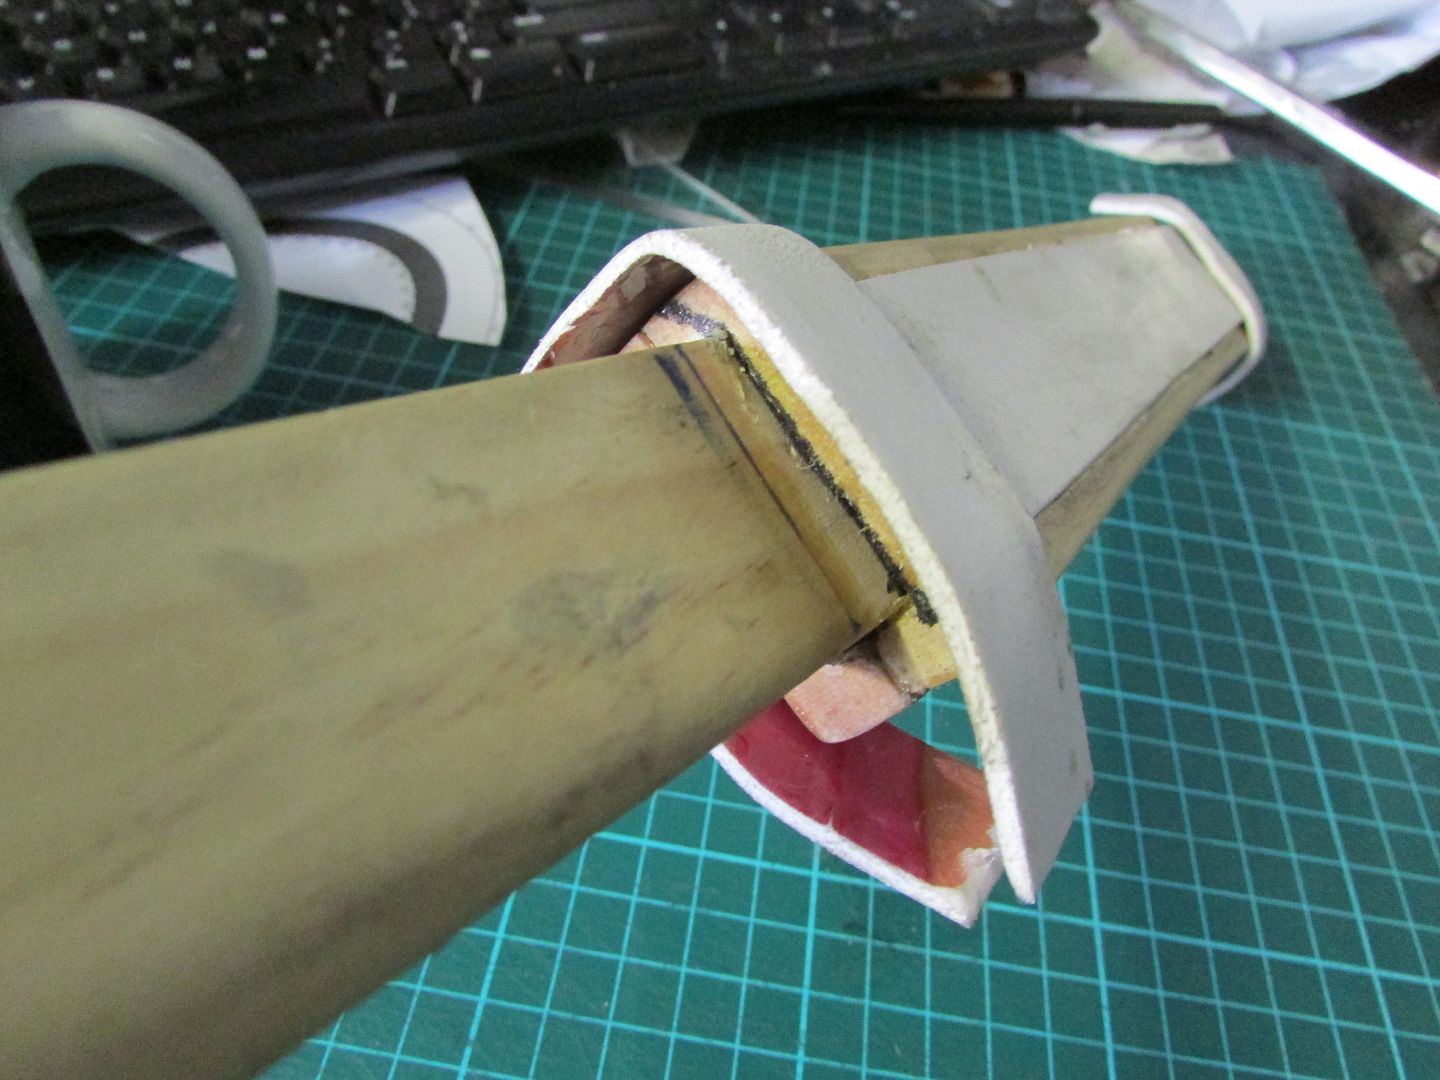
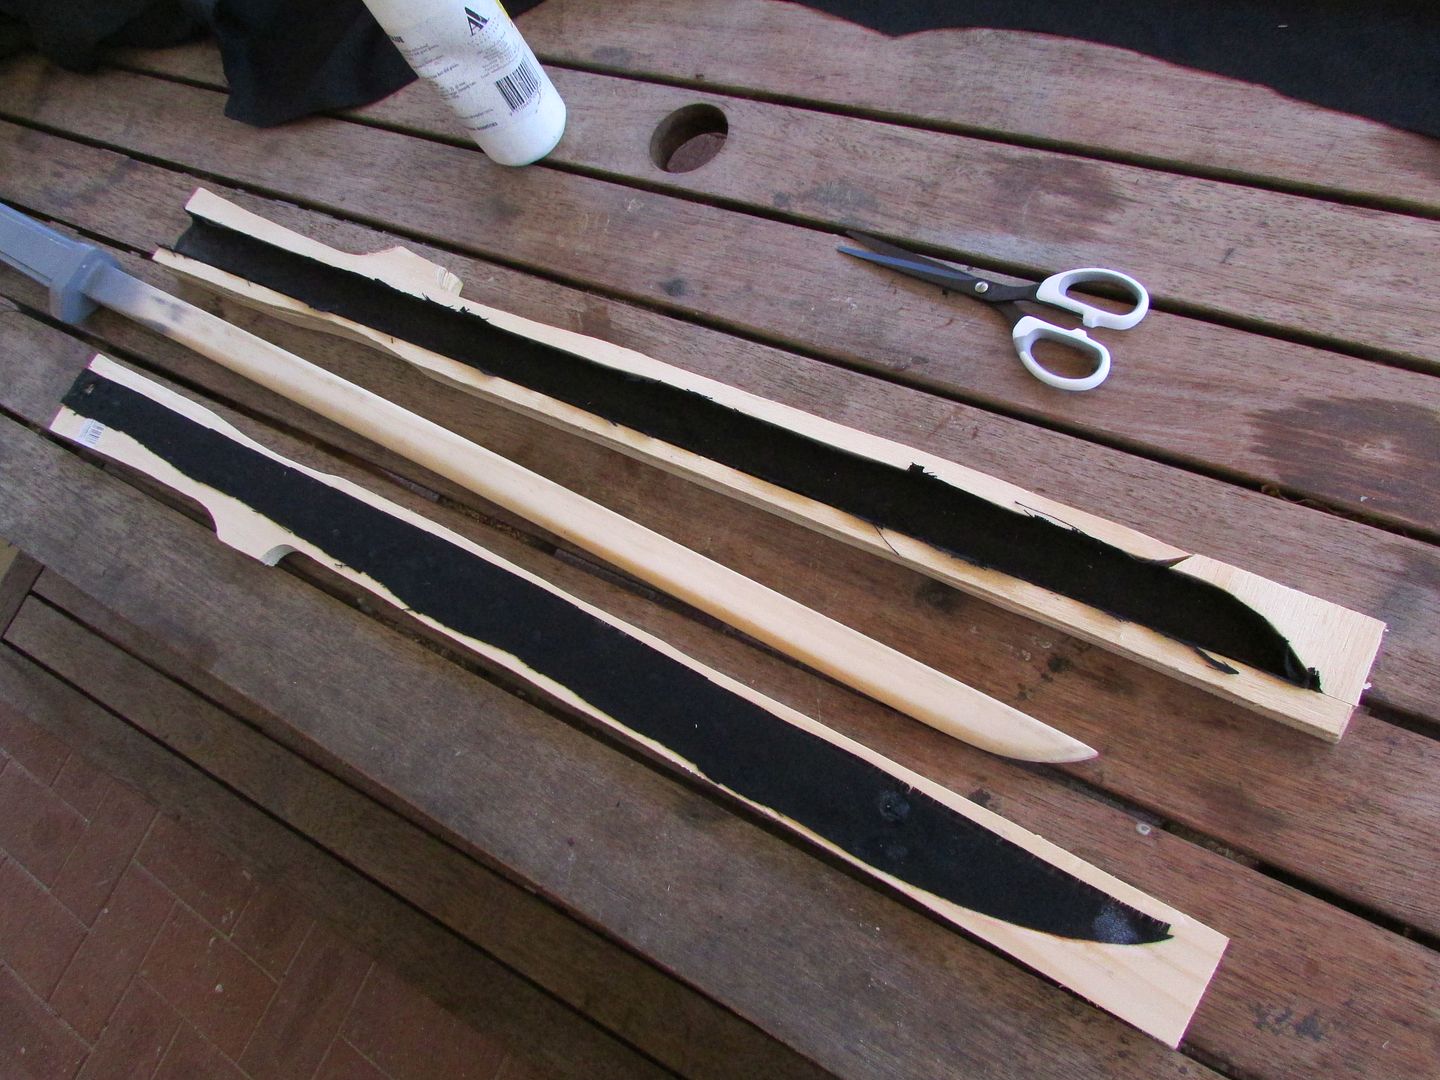
Some light sanding took place along the inner rims of the
scabbard to make sure the sword fit snug without rattling, but was still able
to slide in an out.
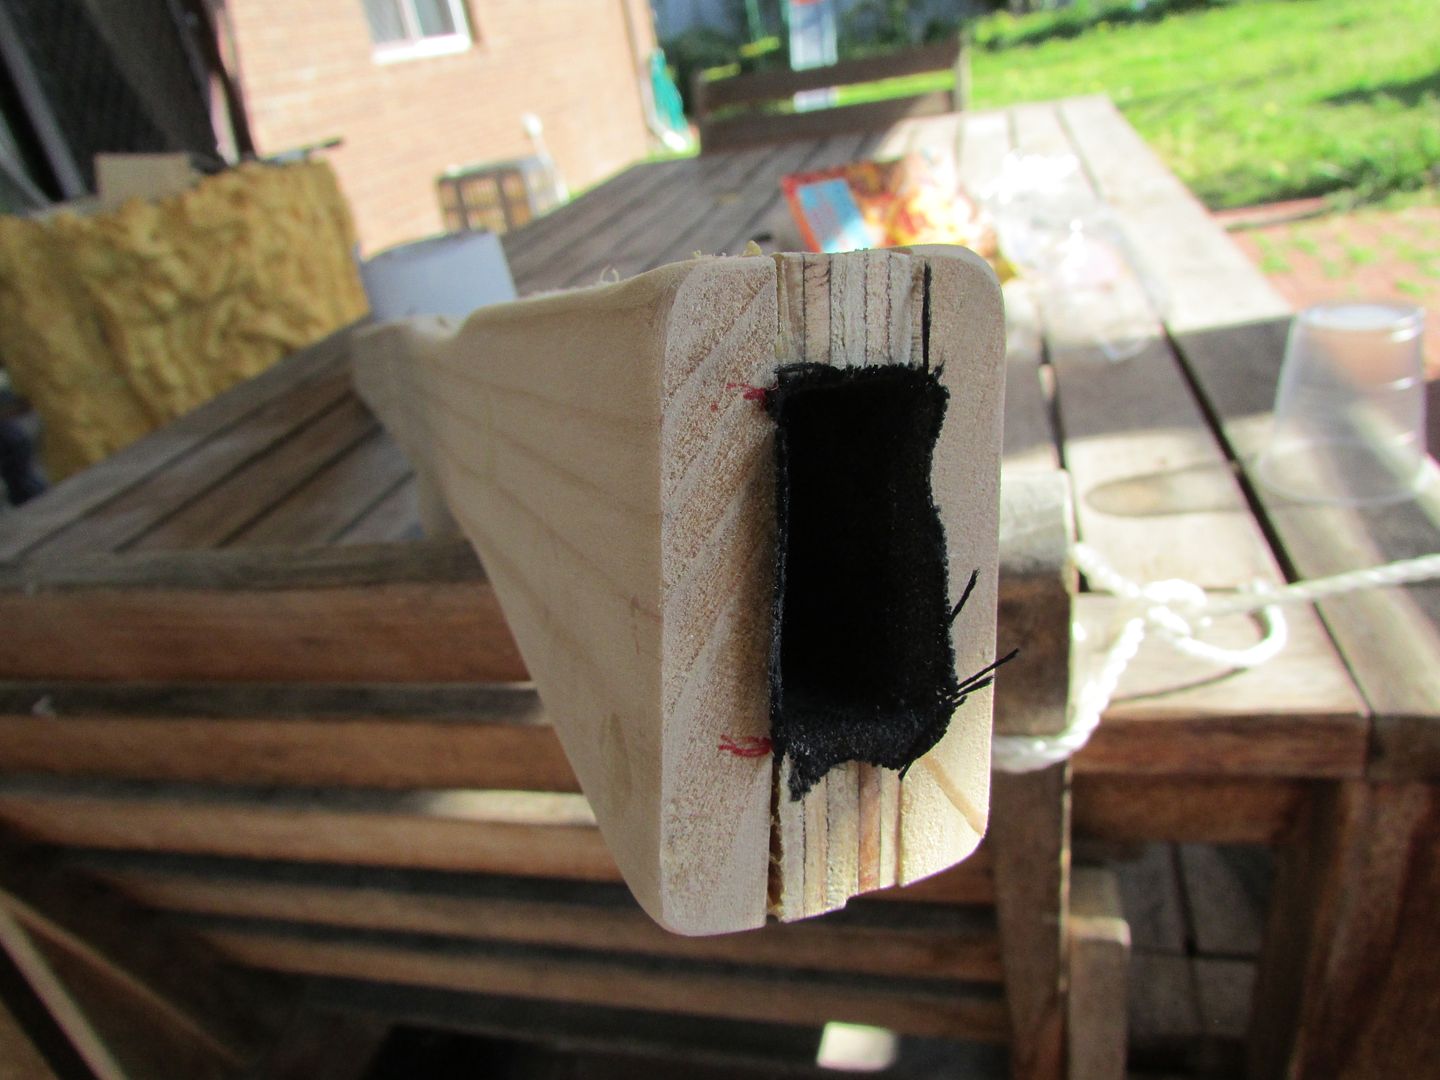
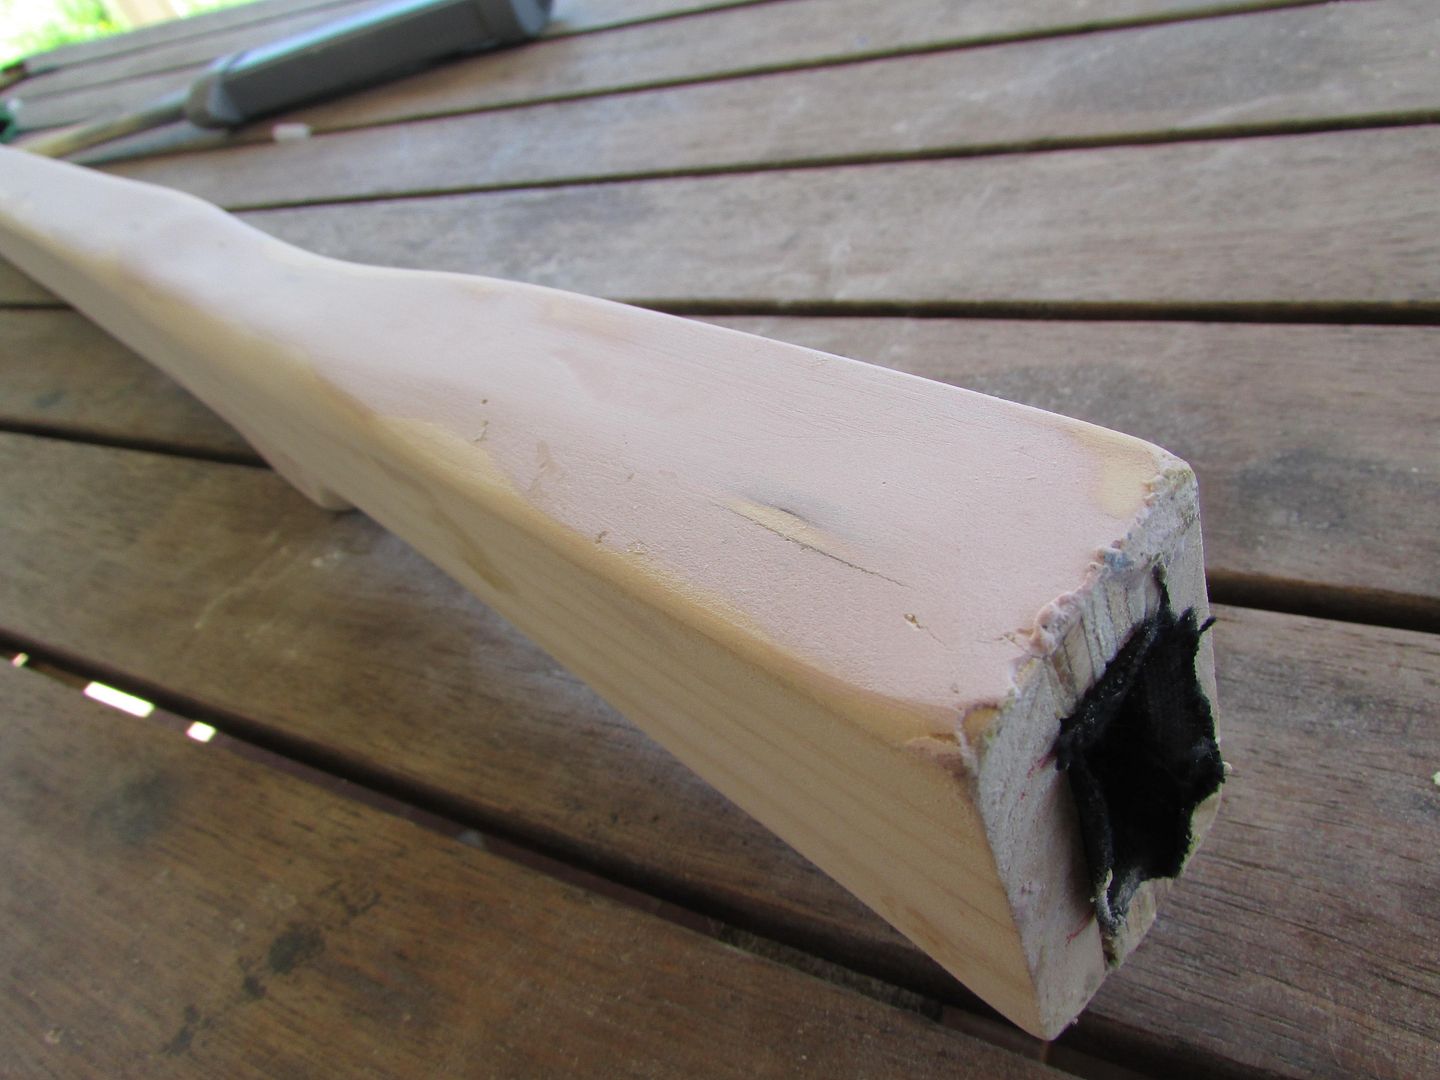
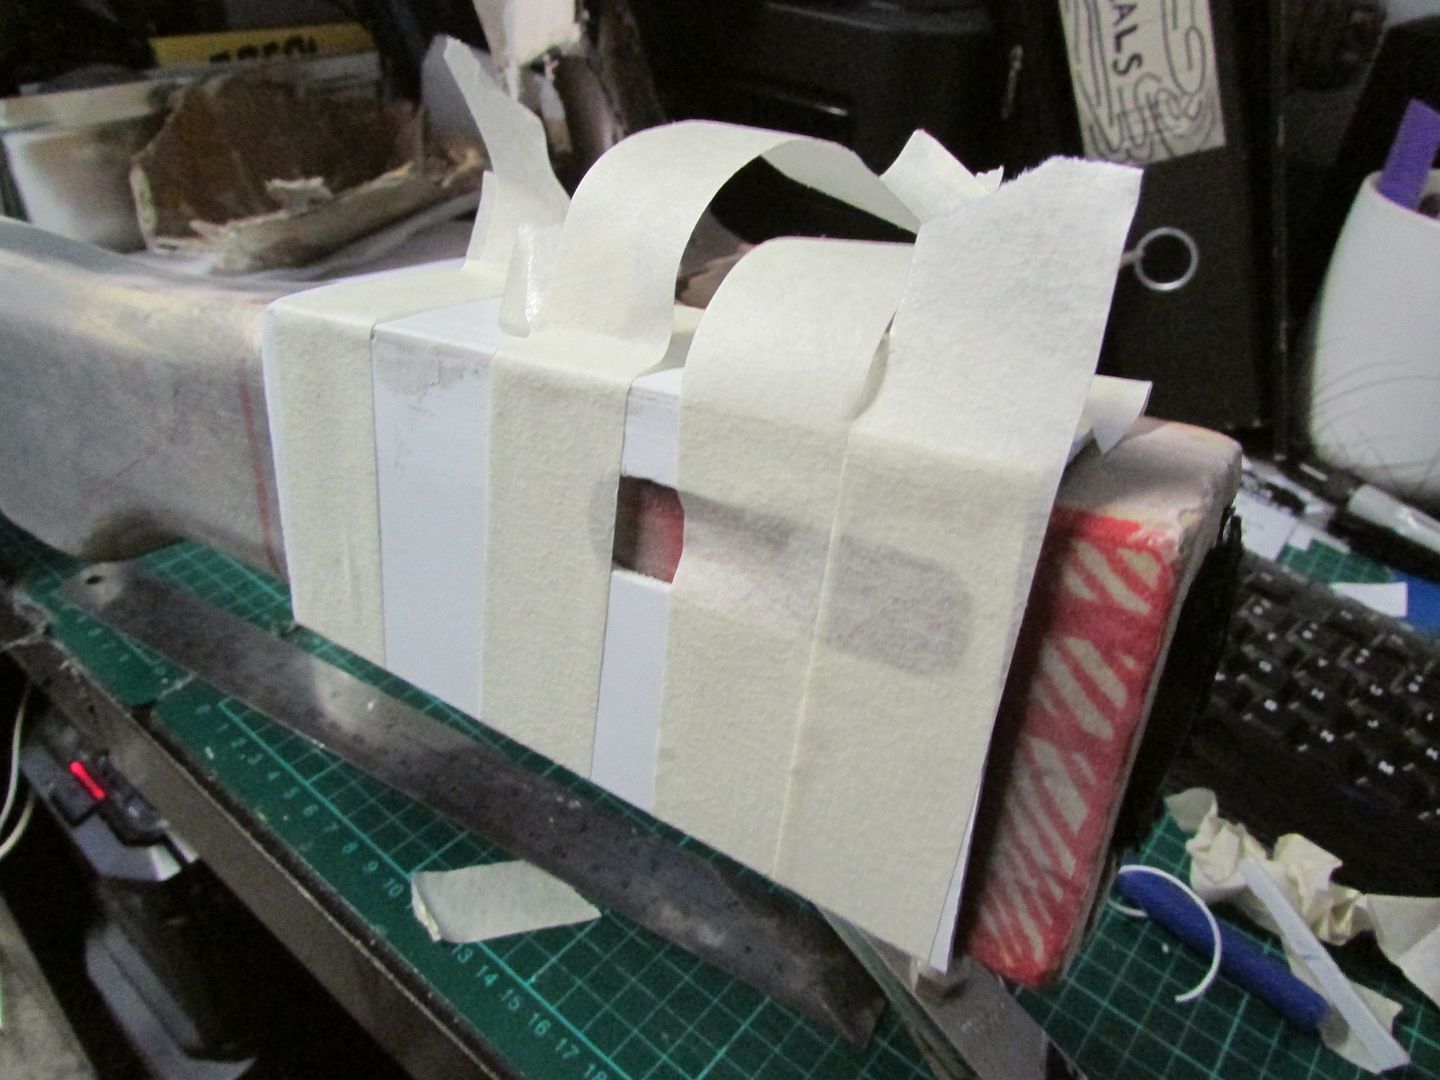
Now to protect the future paintjob I decided to glue in some
black cloth to the inner chamber of the scabbard.
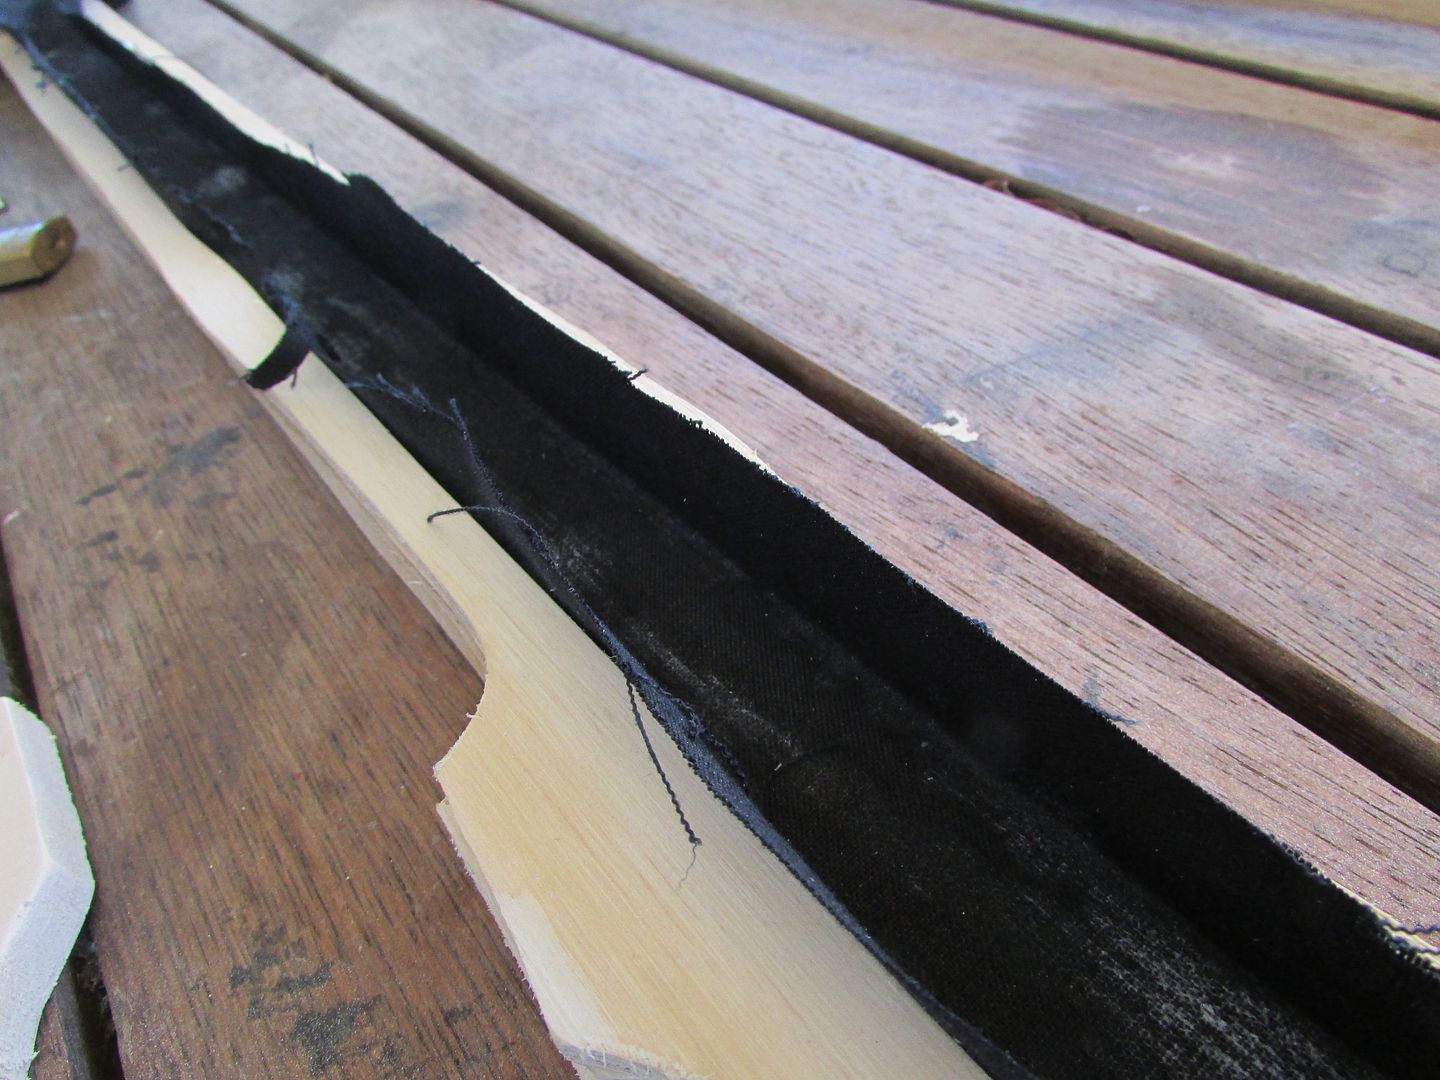

This like I said acts as a
major barrier against paint stripping off as you sheath and unsheath, but also
to a degree prevent the sword from sliding out unnecessarily.
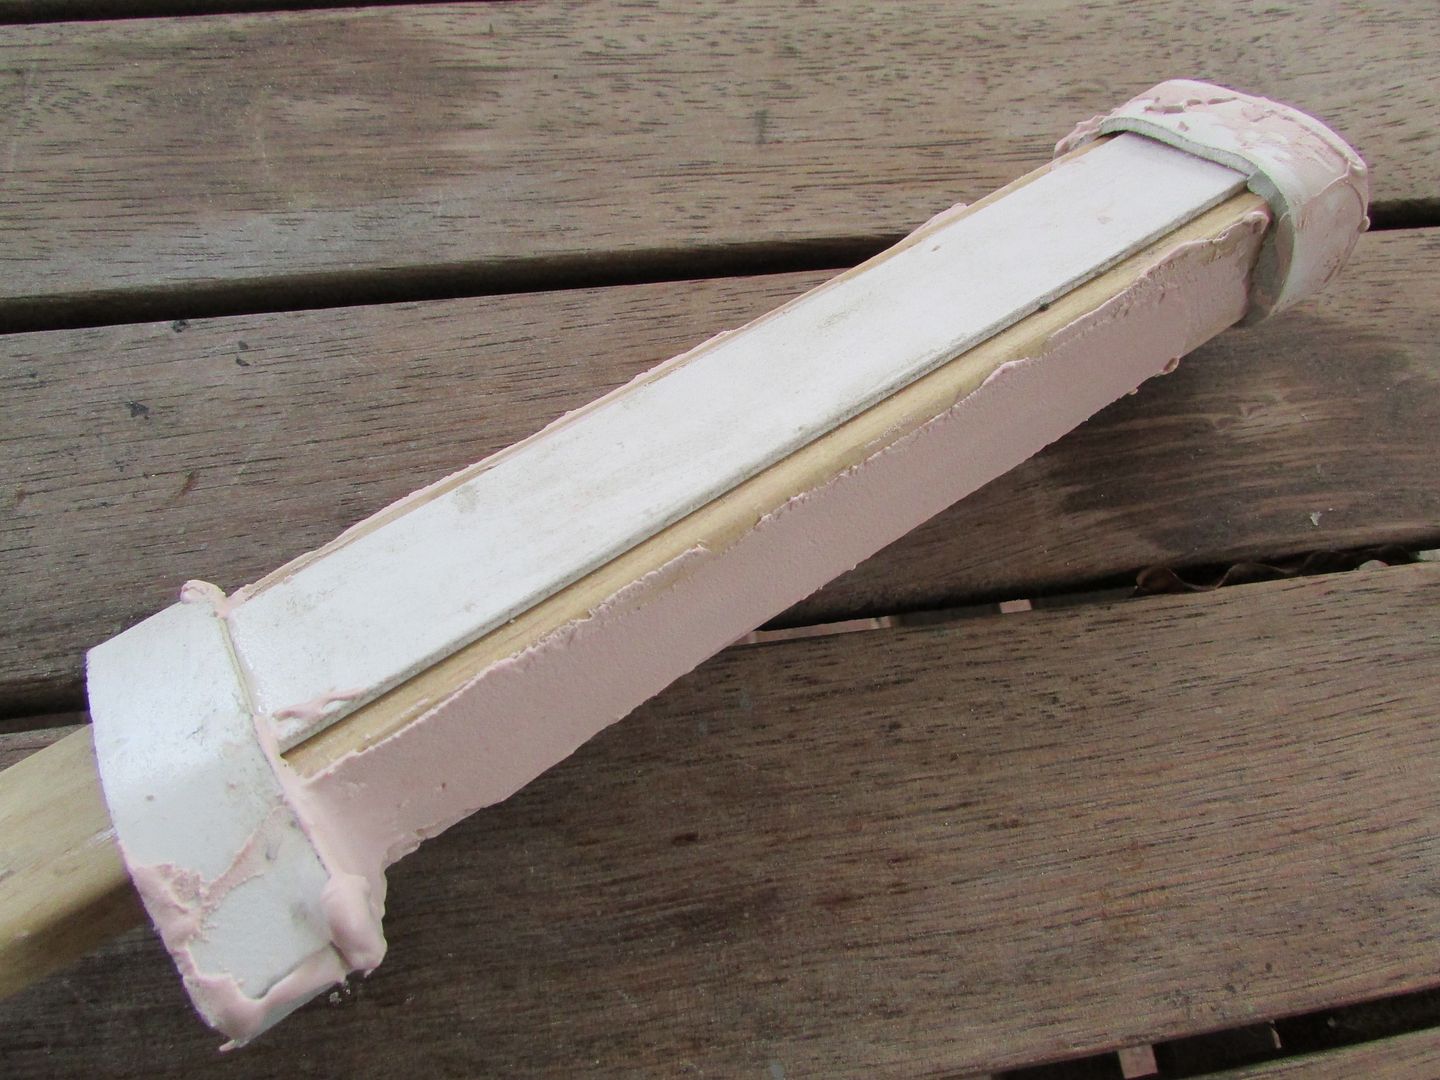
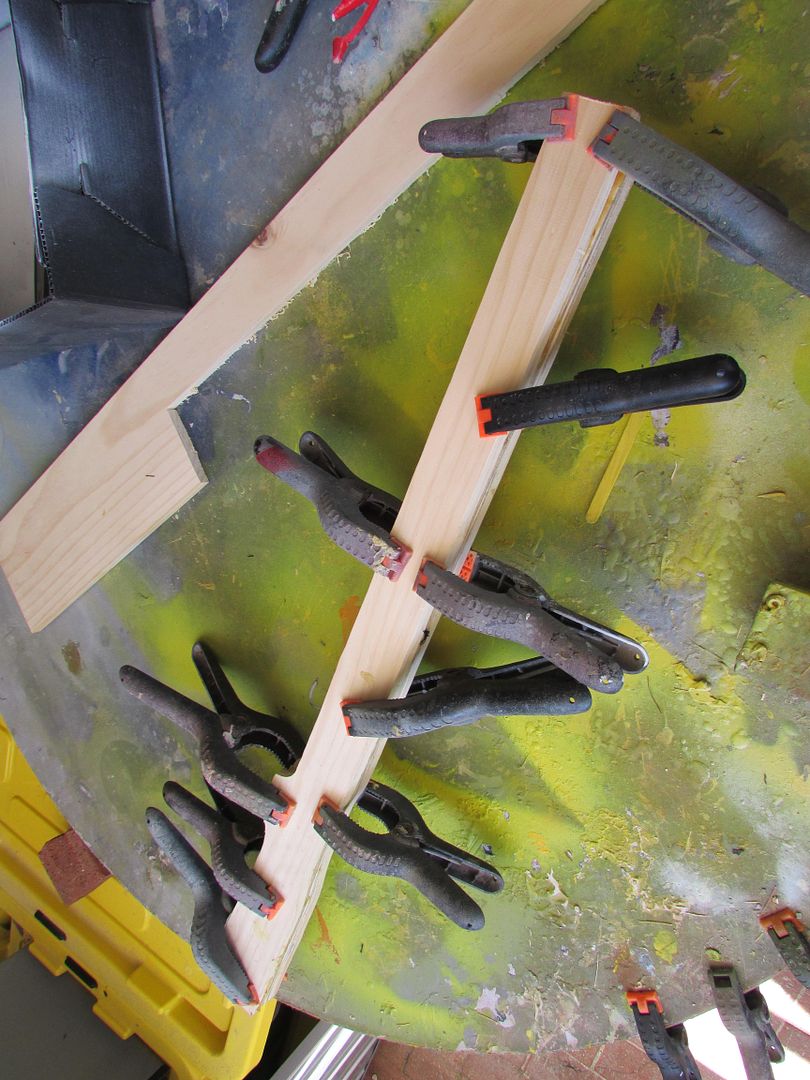
With the cloth glue dry, the two halves were then attached
to one another using powerful clamps and again copious amount of wood glue.
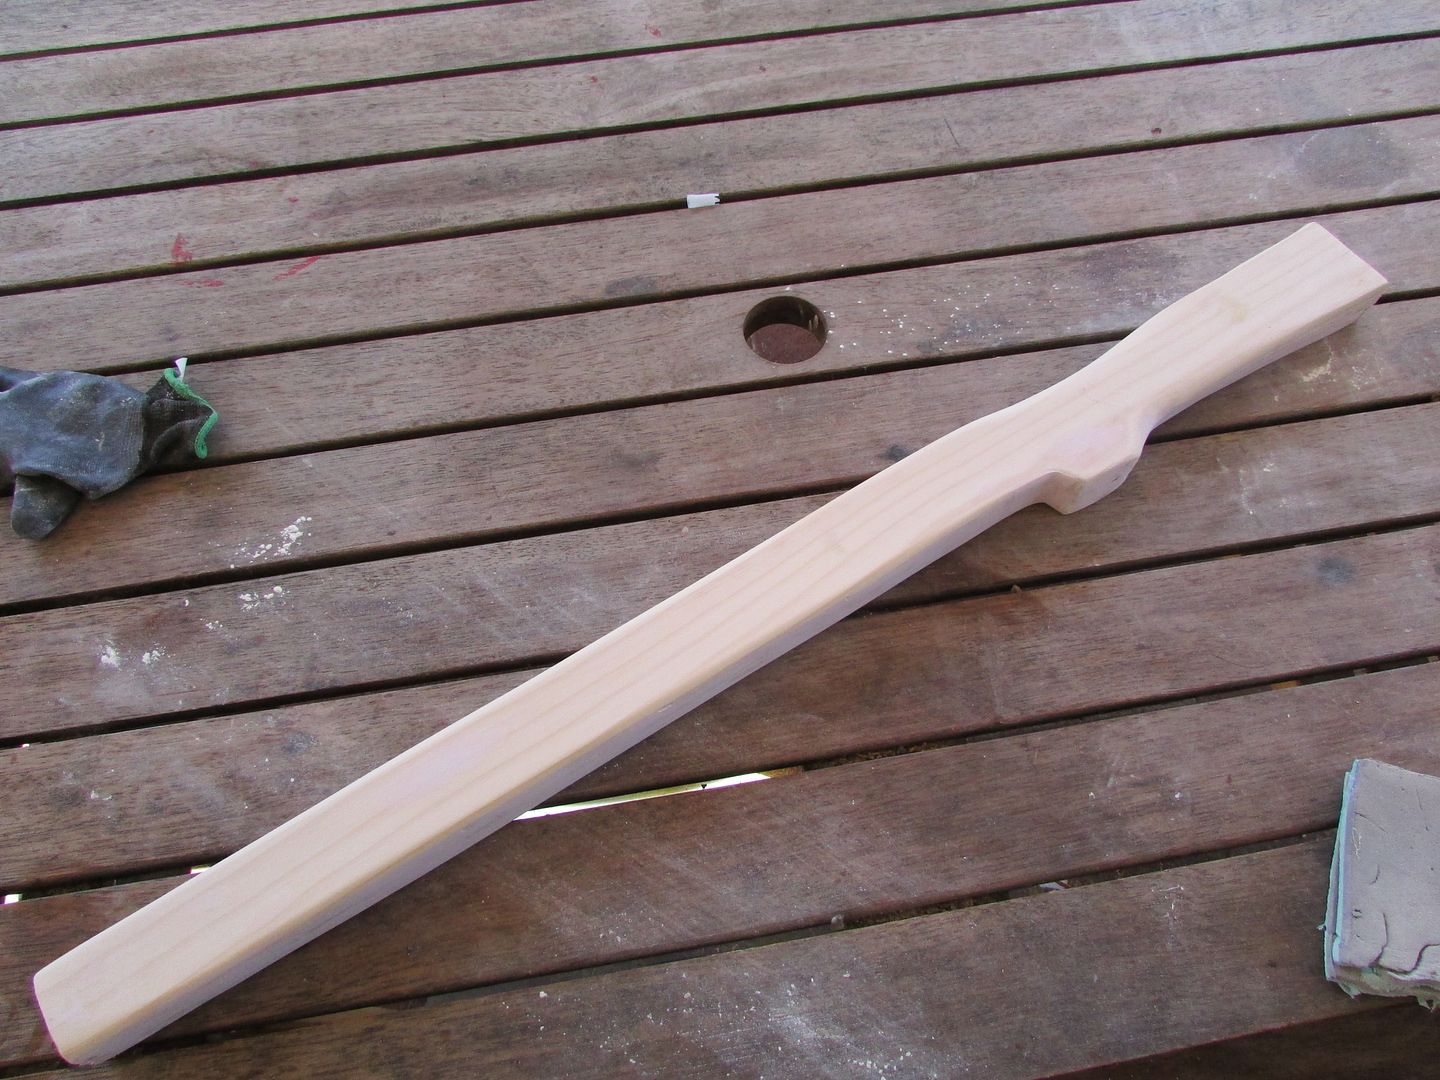
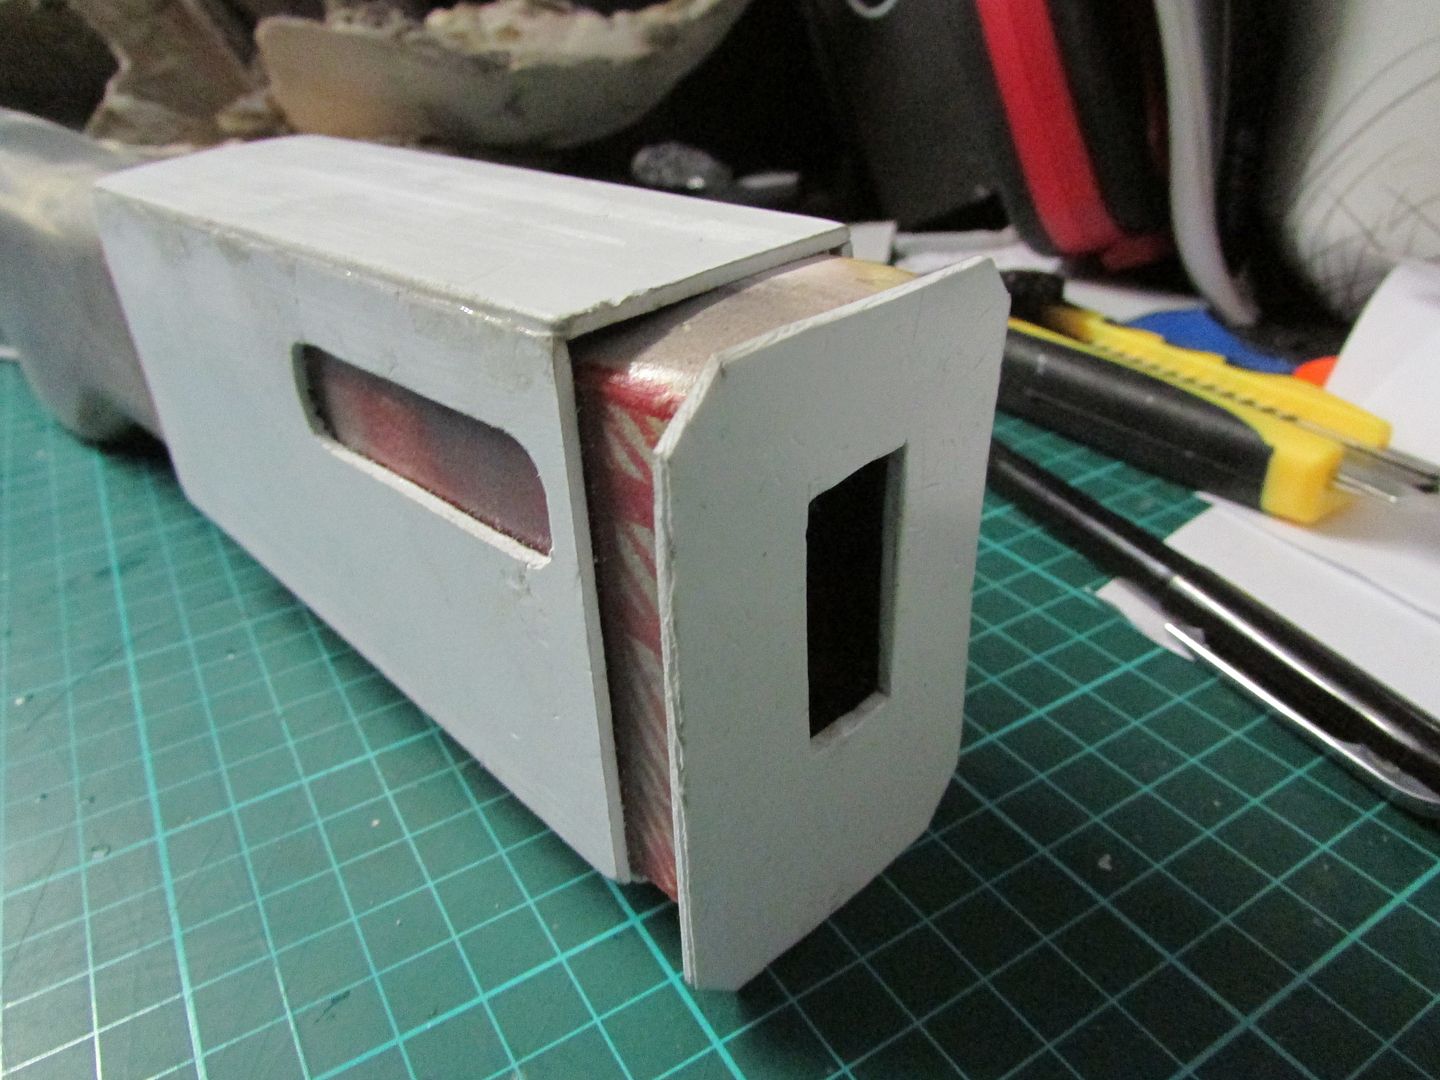
Now that I have this base scabbard, I had to again start cleaning
up all the exposed seams and start shaping the contours of its body using
sandpaper and body filler.
The arduous process of detailing and sanding was done until a
desired ergonomic shape and contour was achieved.
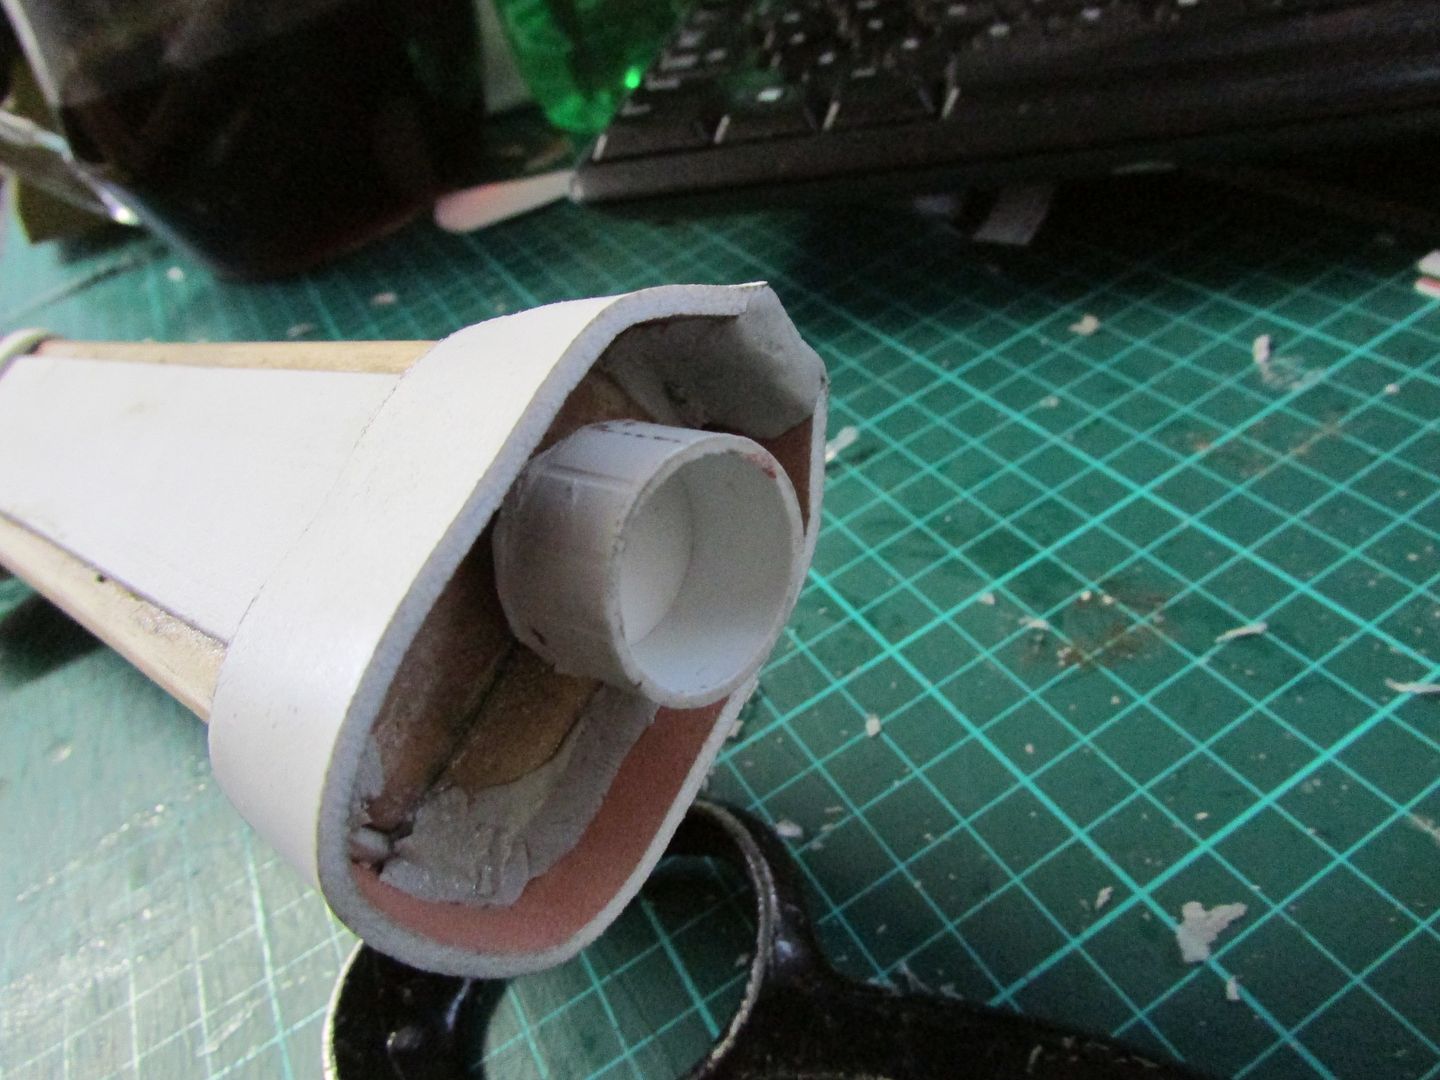
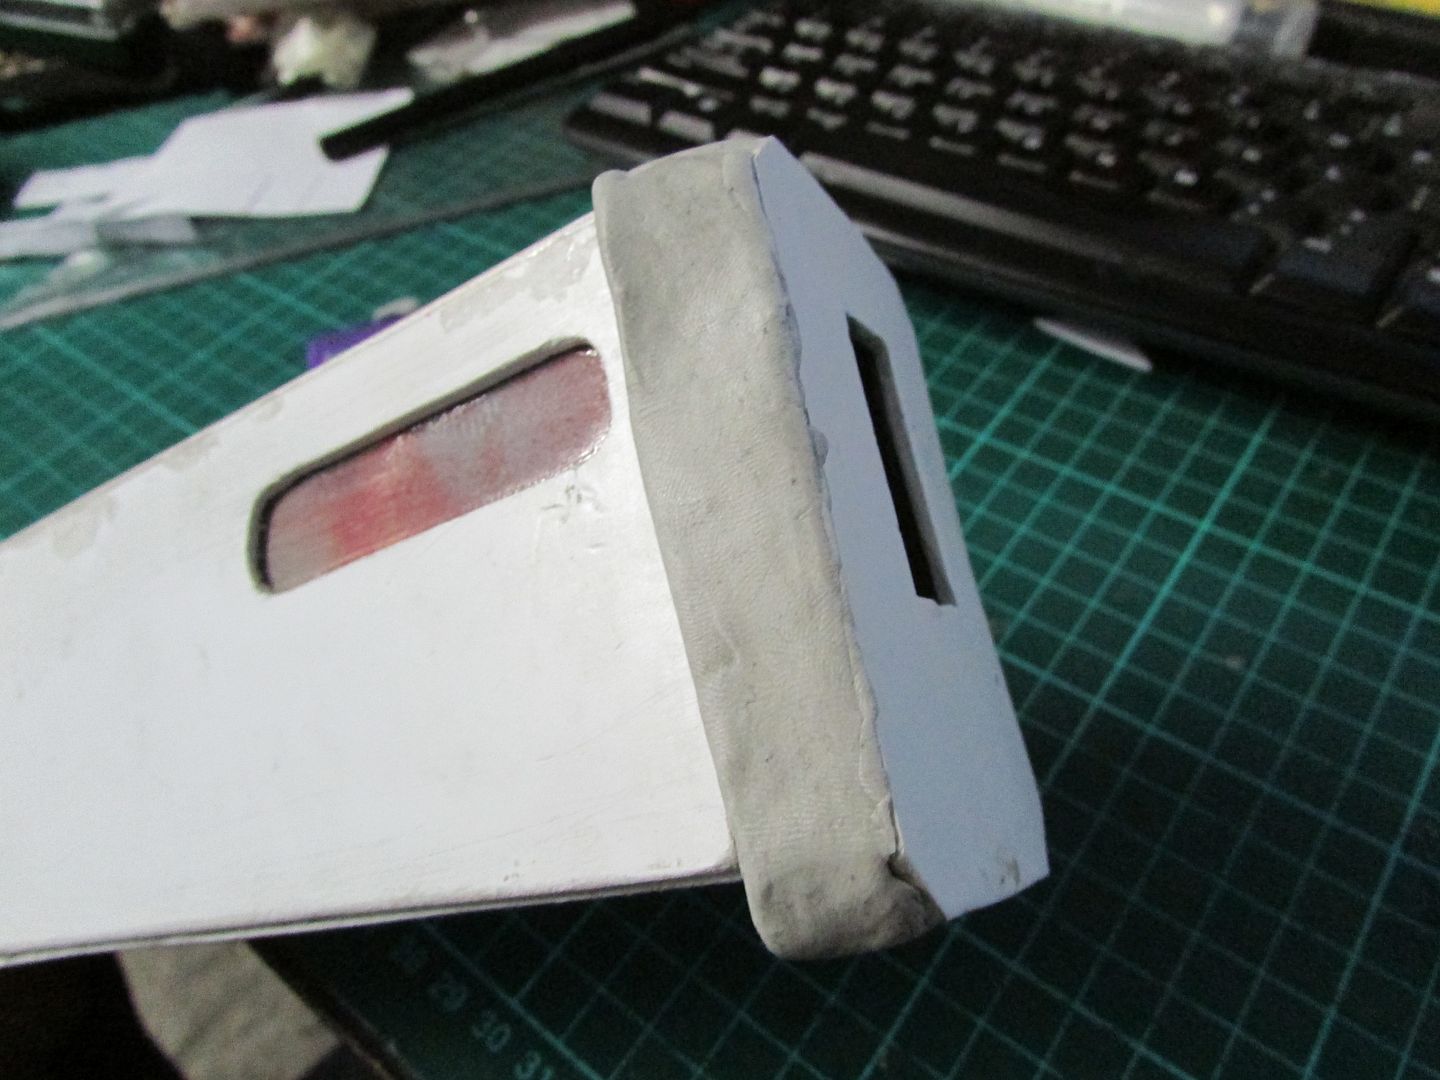
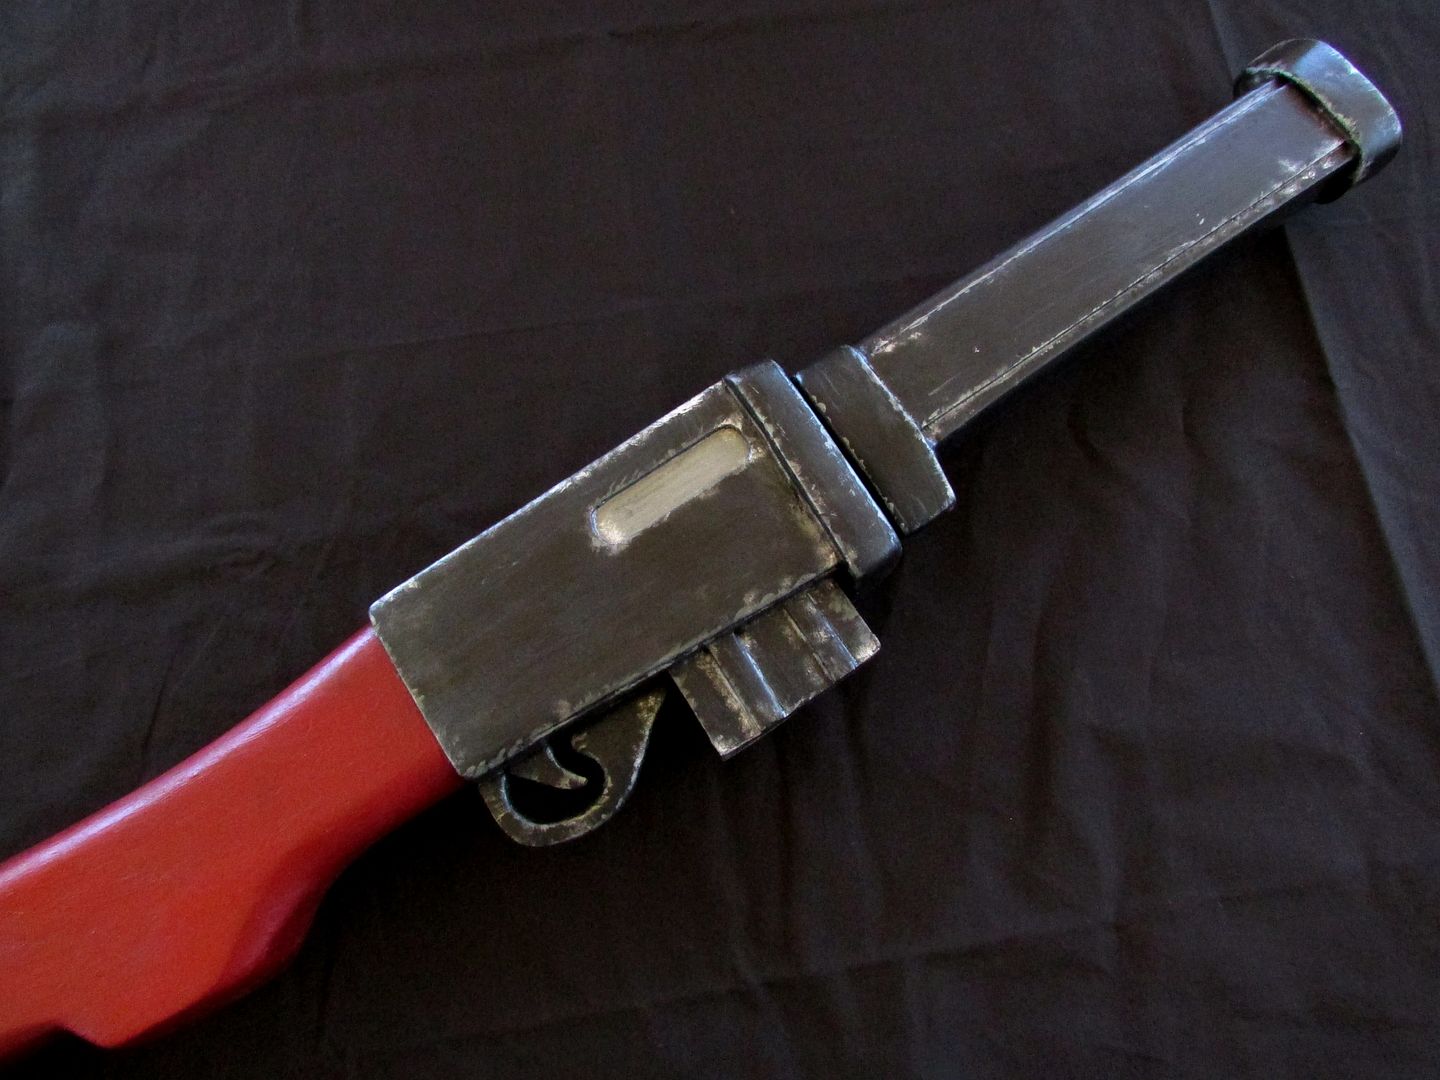
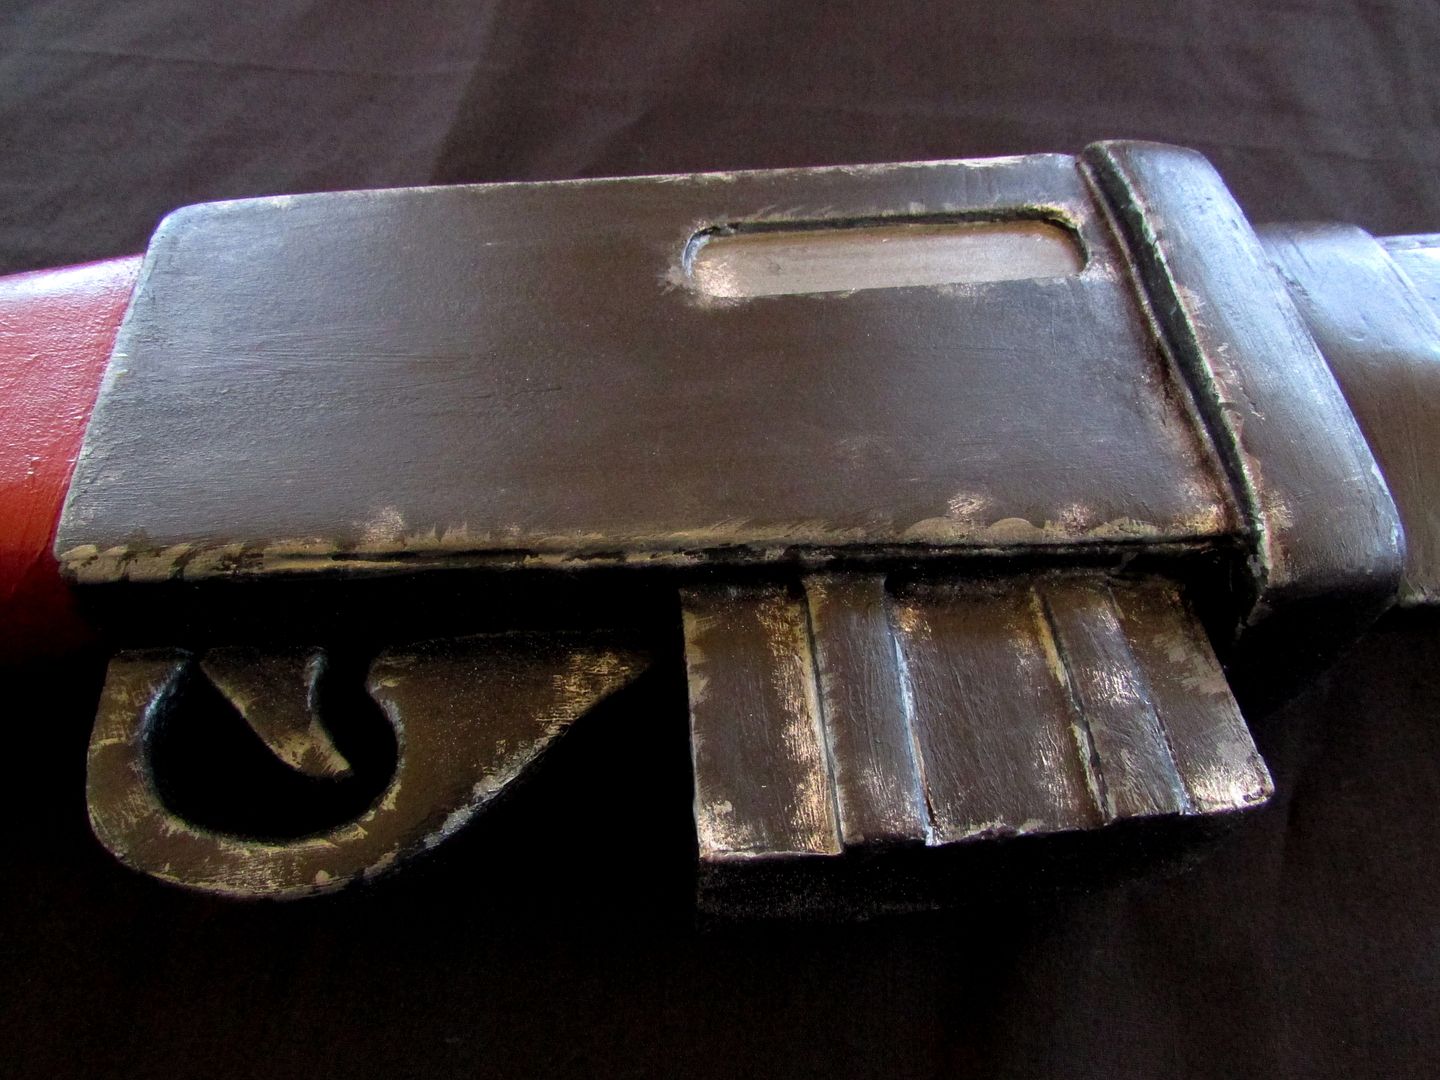
With that process done, more detailing was added in
the form of PVC sheeting to make the receiver and ejection port.
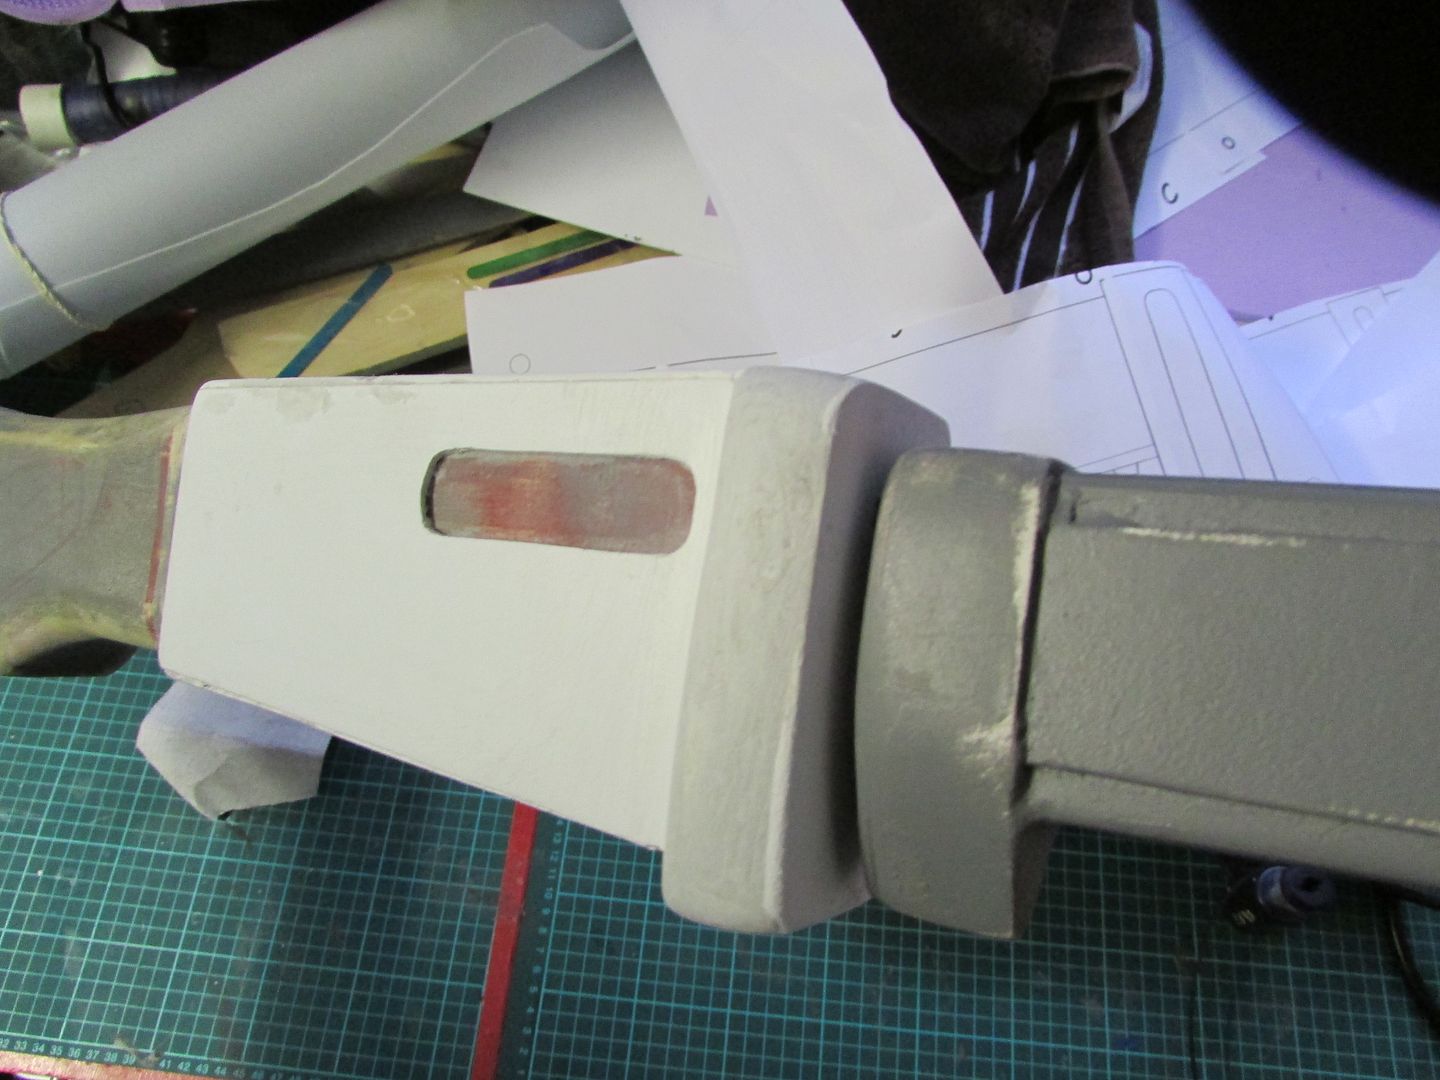
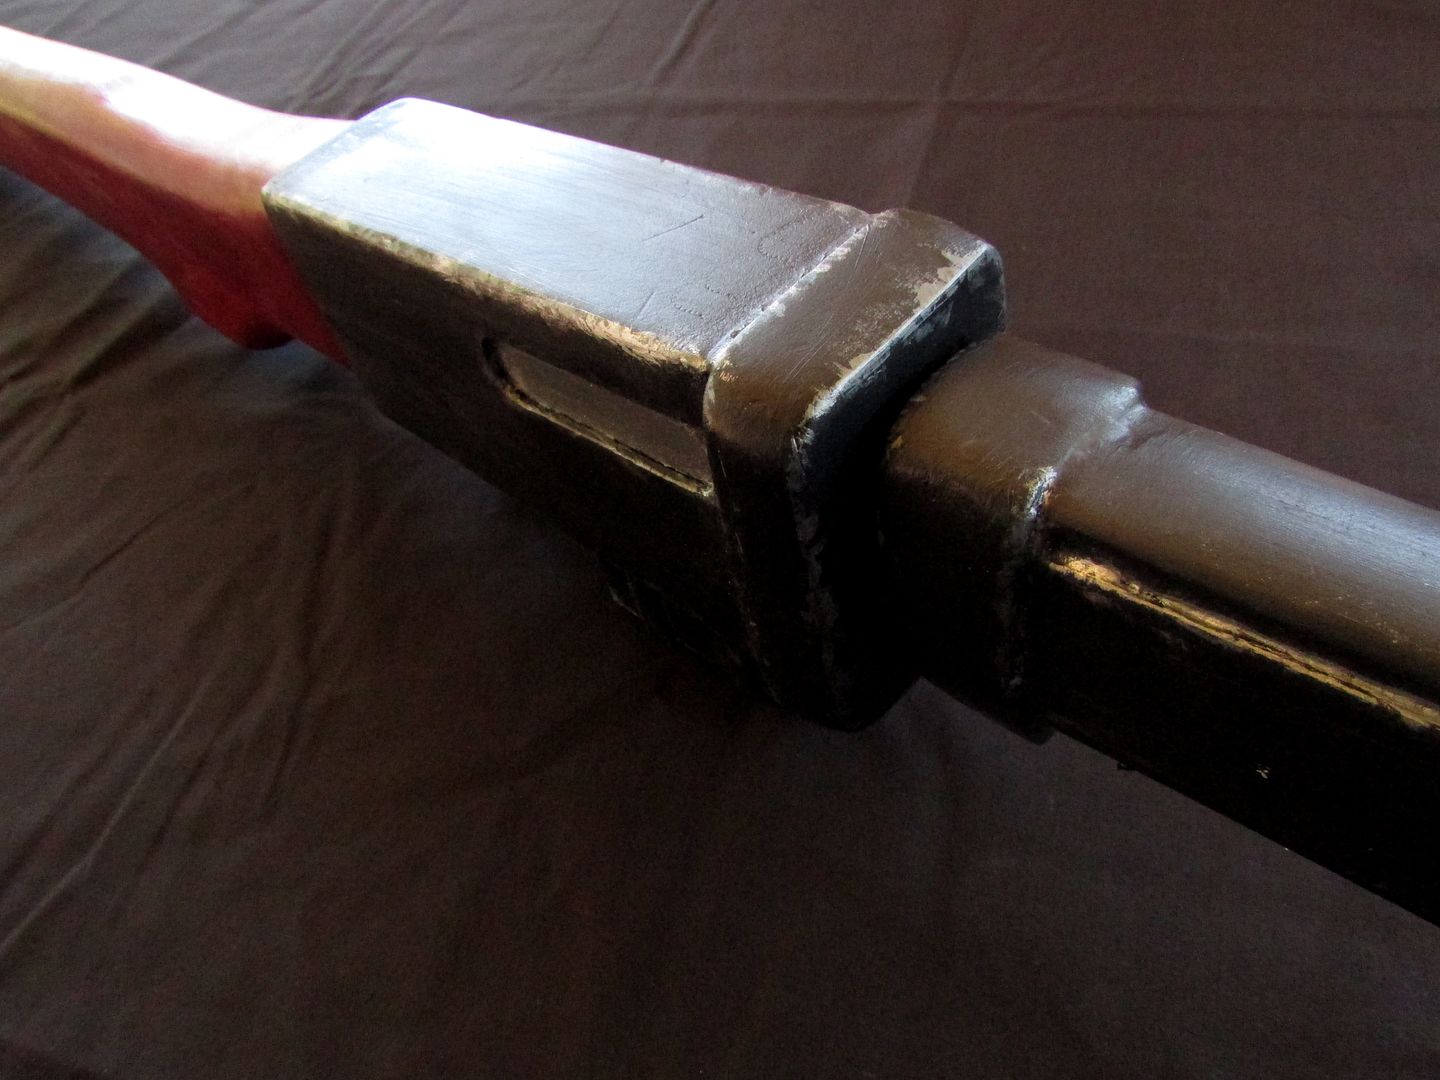
The front face plate was attached to the end face with epoxy
which also doubled as the guide to the sculpting of the shoulder which consited of apoxie sculpt.
Firstly the rough shape was sculpted but was then cleaned up with sanding whe it had cured.
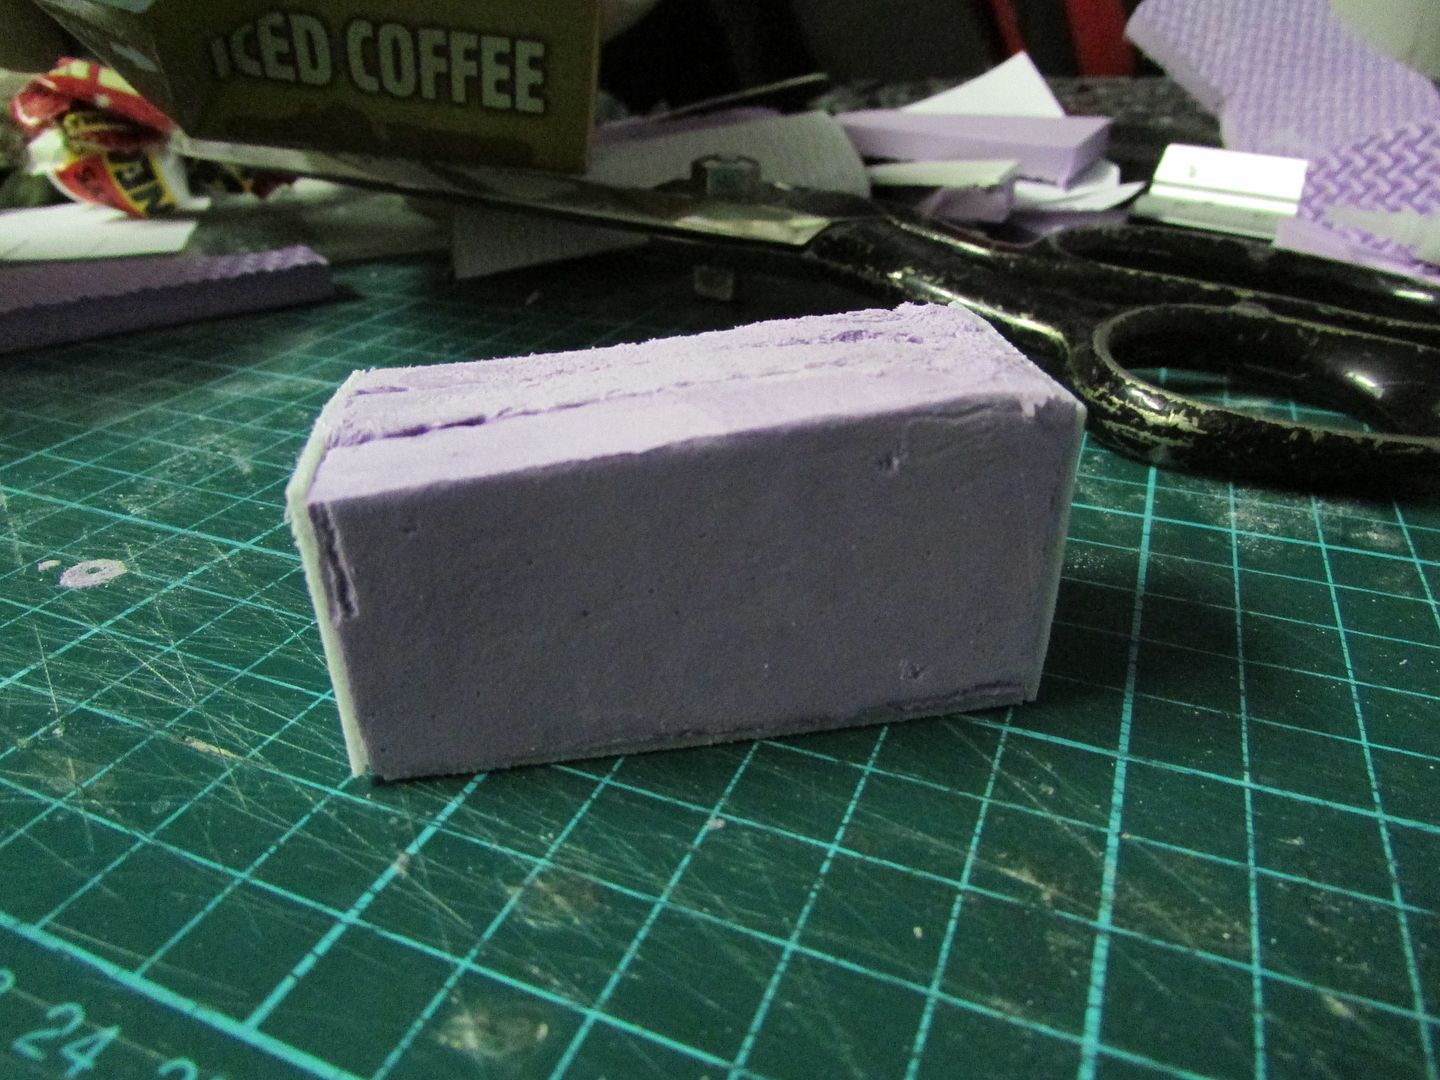
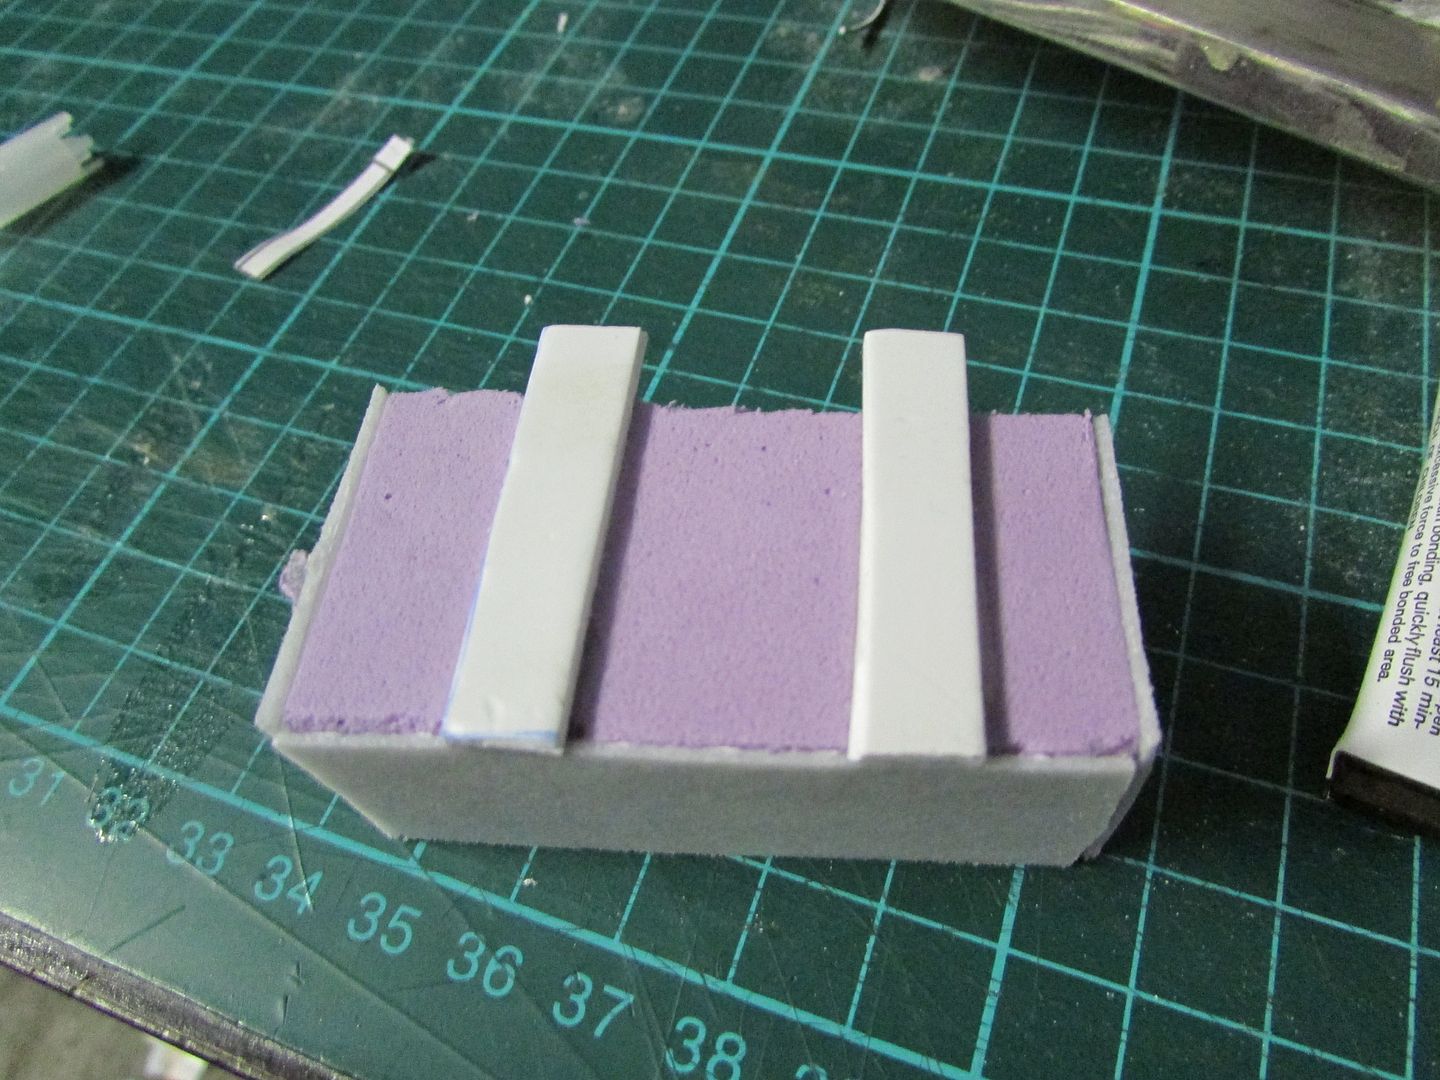
The ammo cartridge made with some EVA foam sheets that were superglued
together and then skinned in wonderflex.
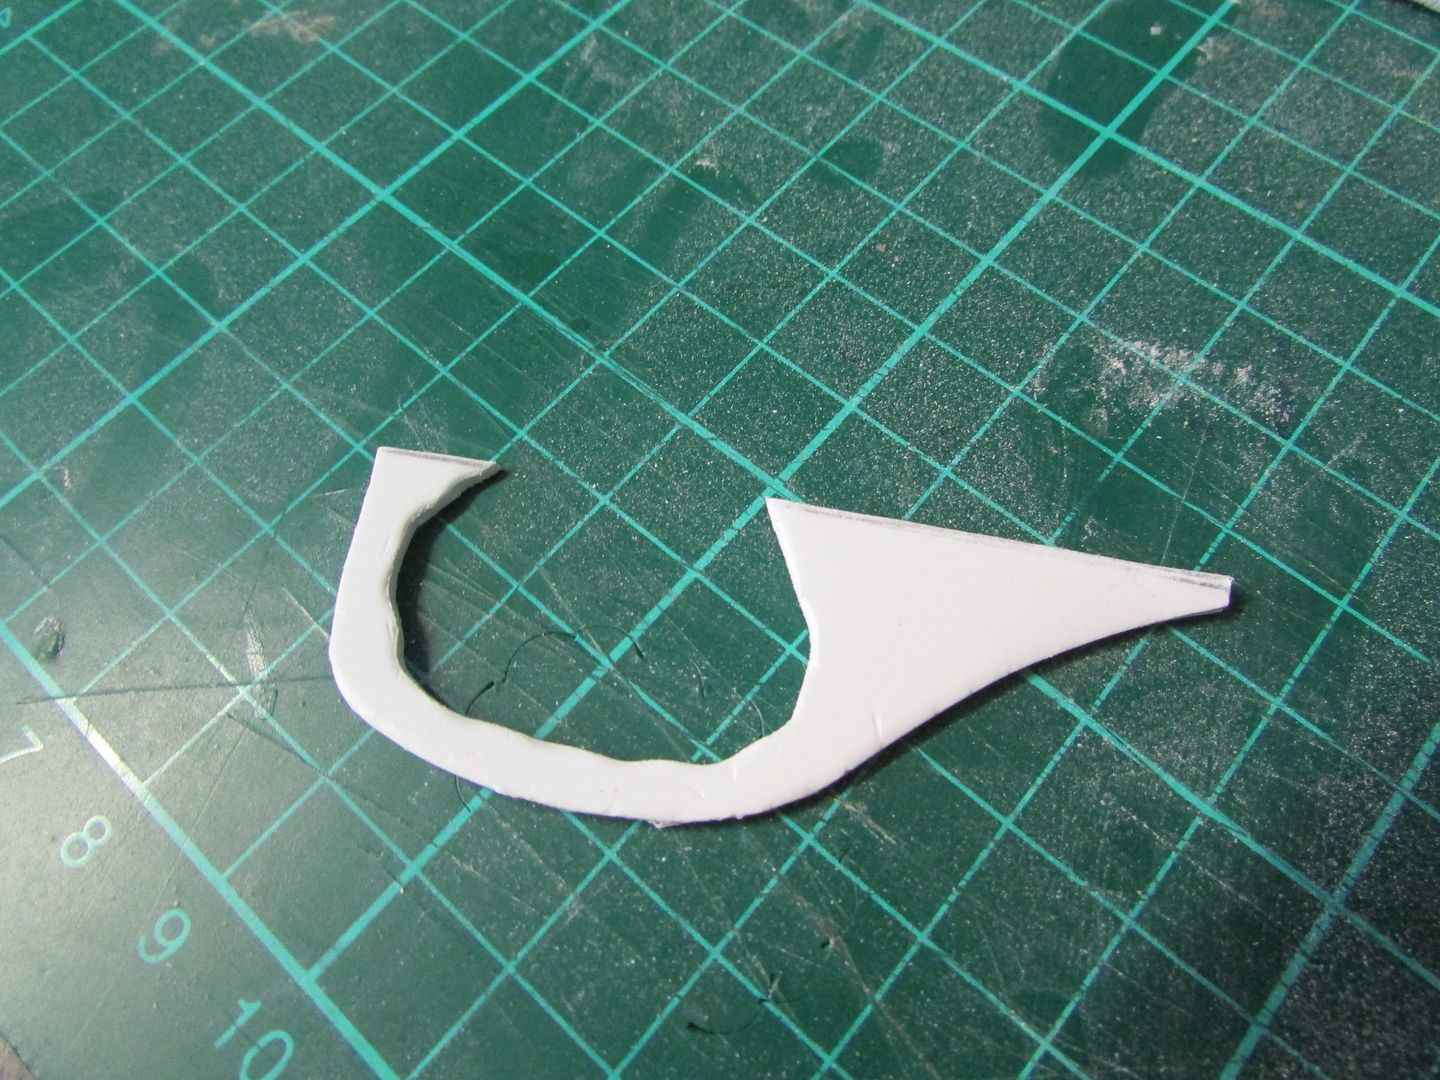
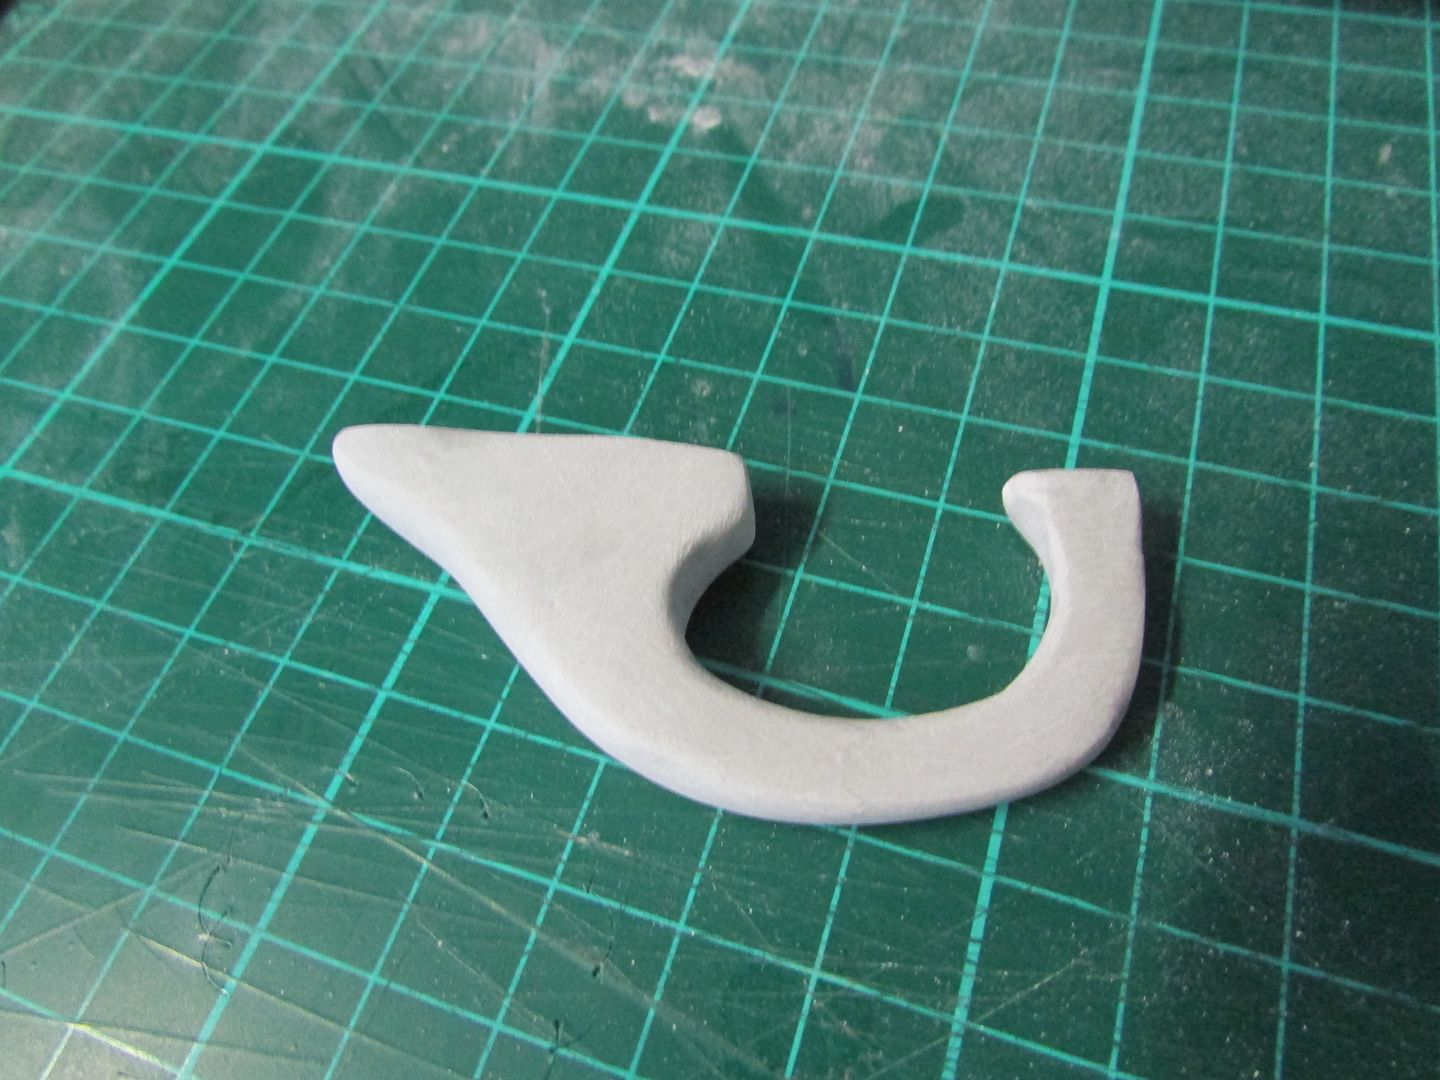
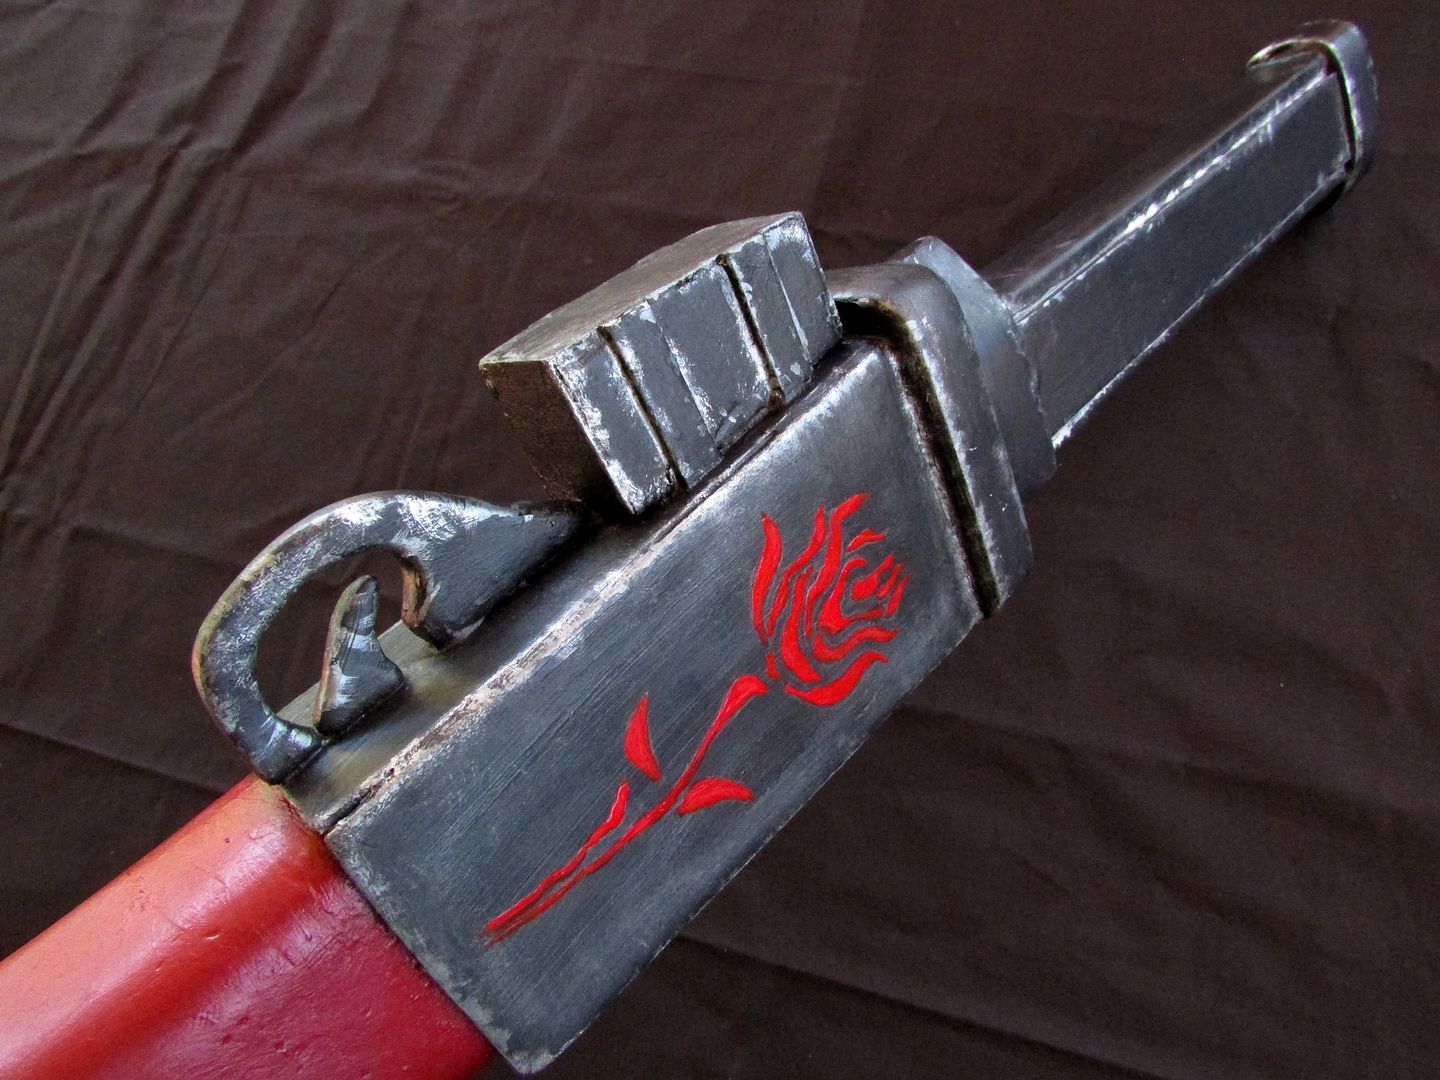
The trigger guard and trigger started out as two dimensional
cut-outs but then had apoxie sculpt moulded around them to get the shape right.
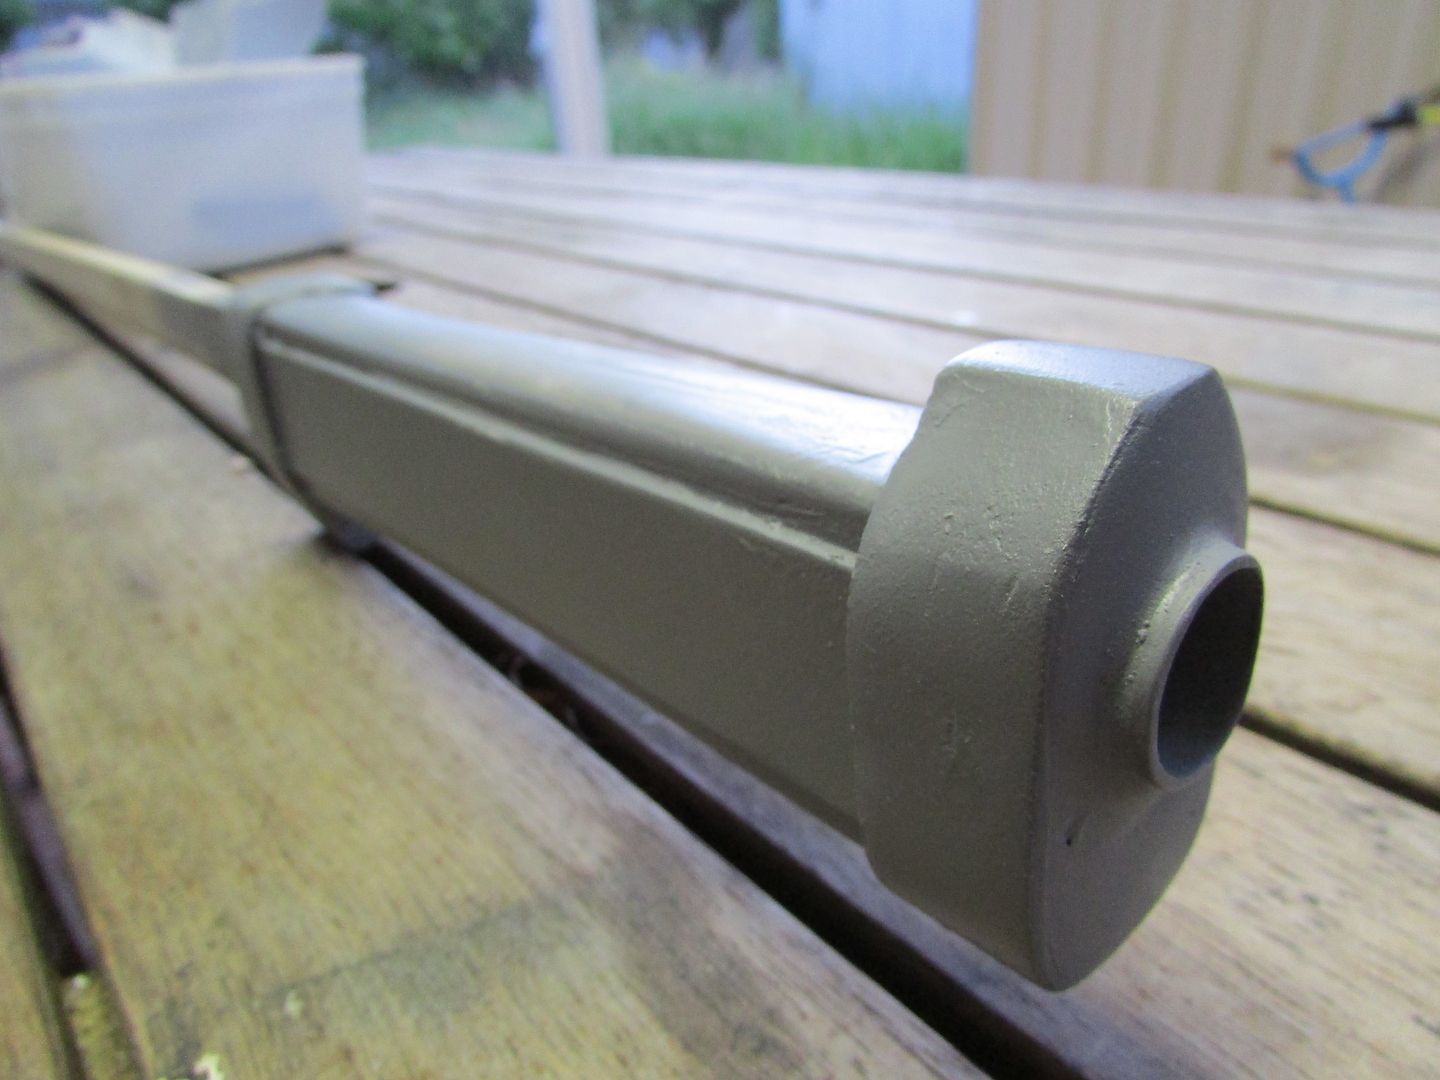
Everything was then attached to the rest of the prop receiver
and then quickly primed to get it all ready for painting.
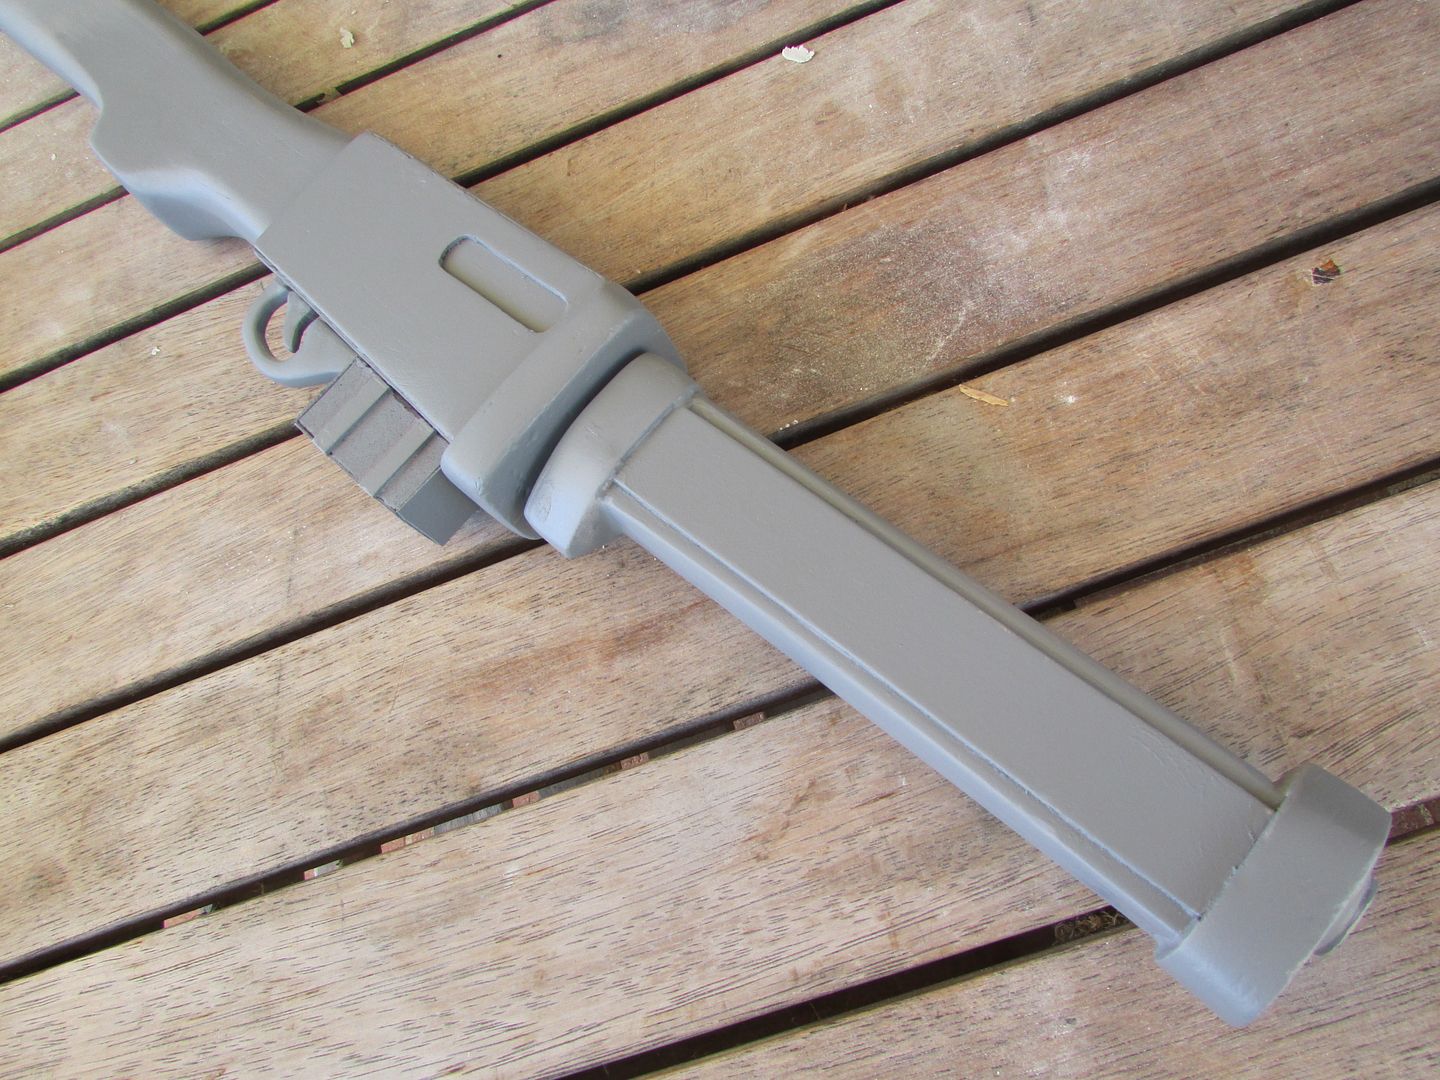
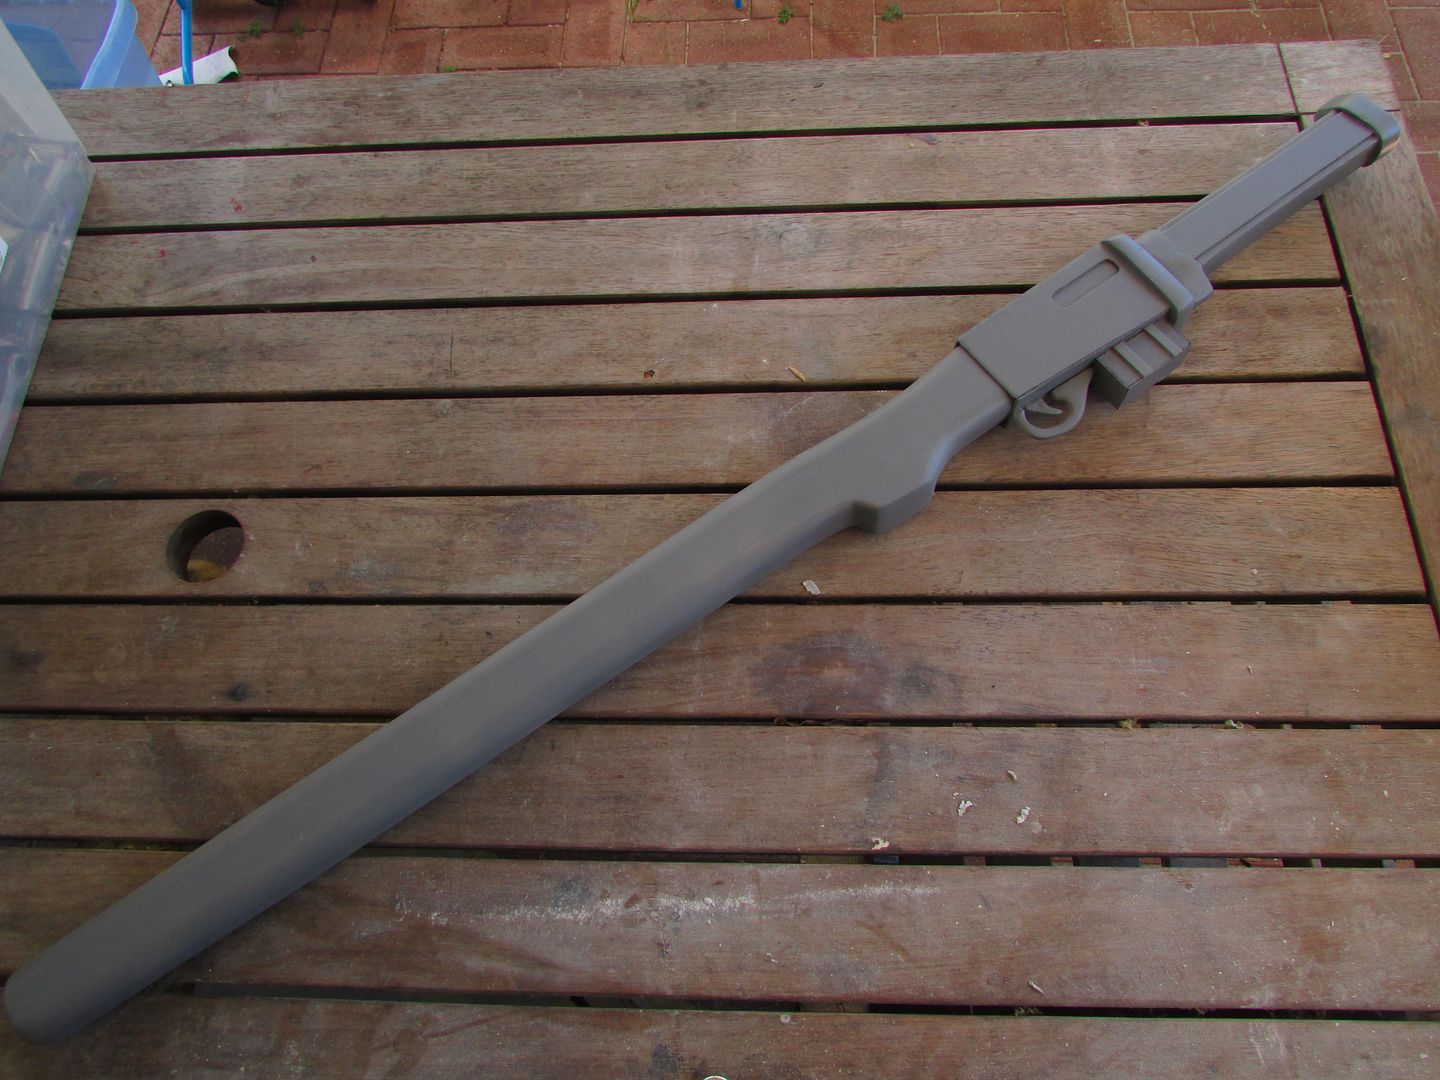
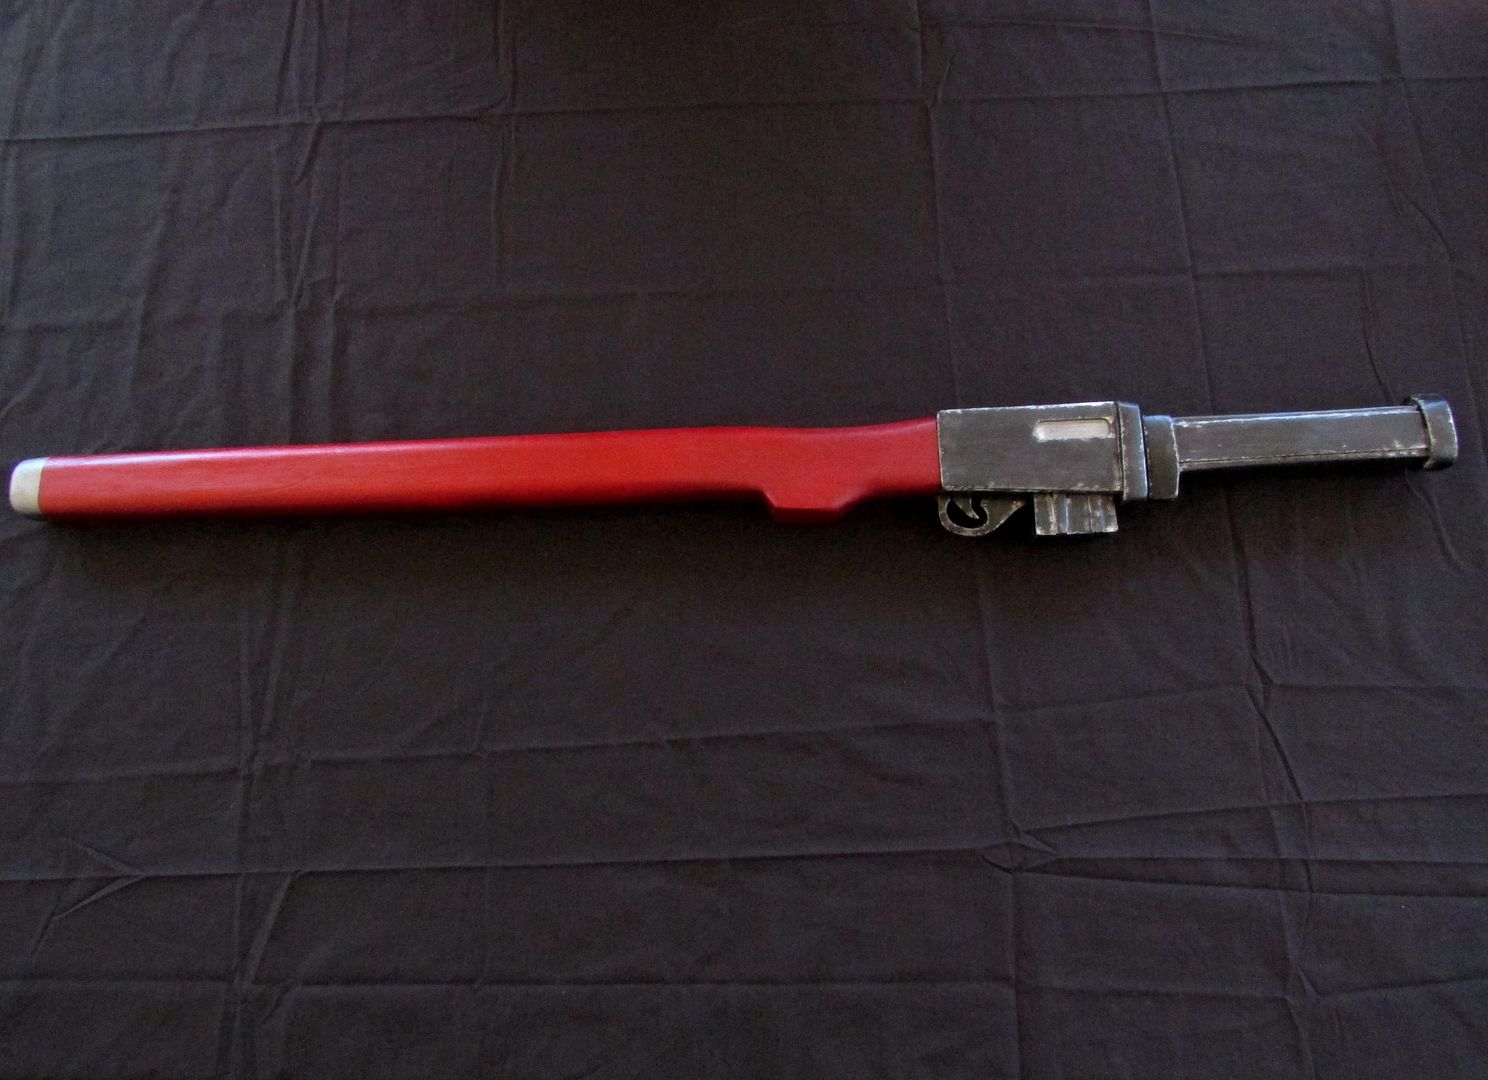
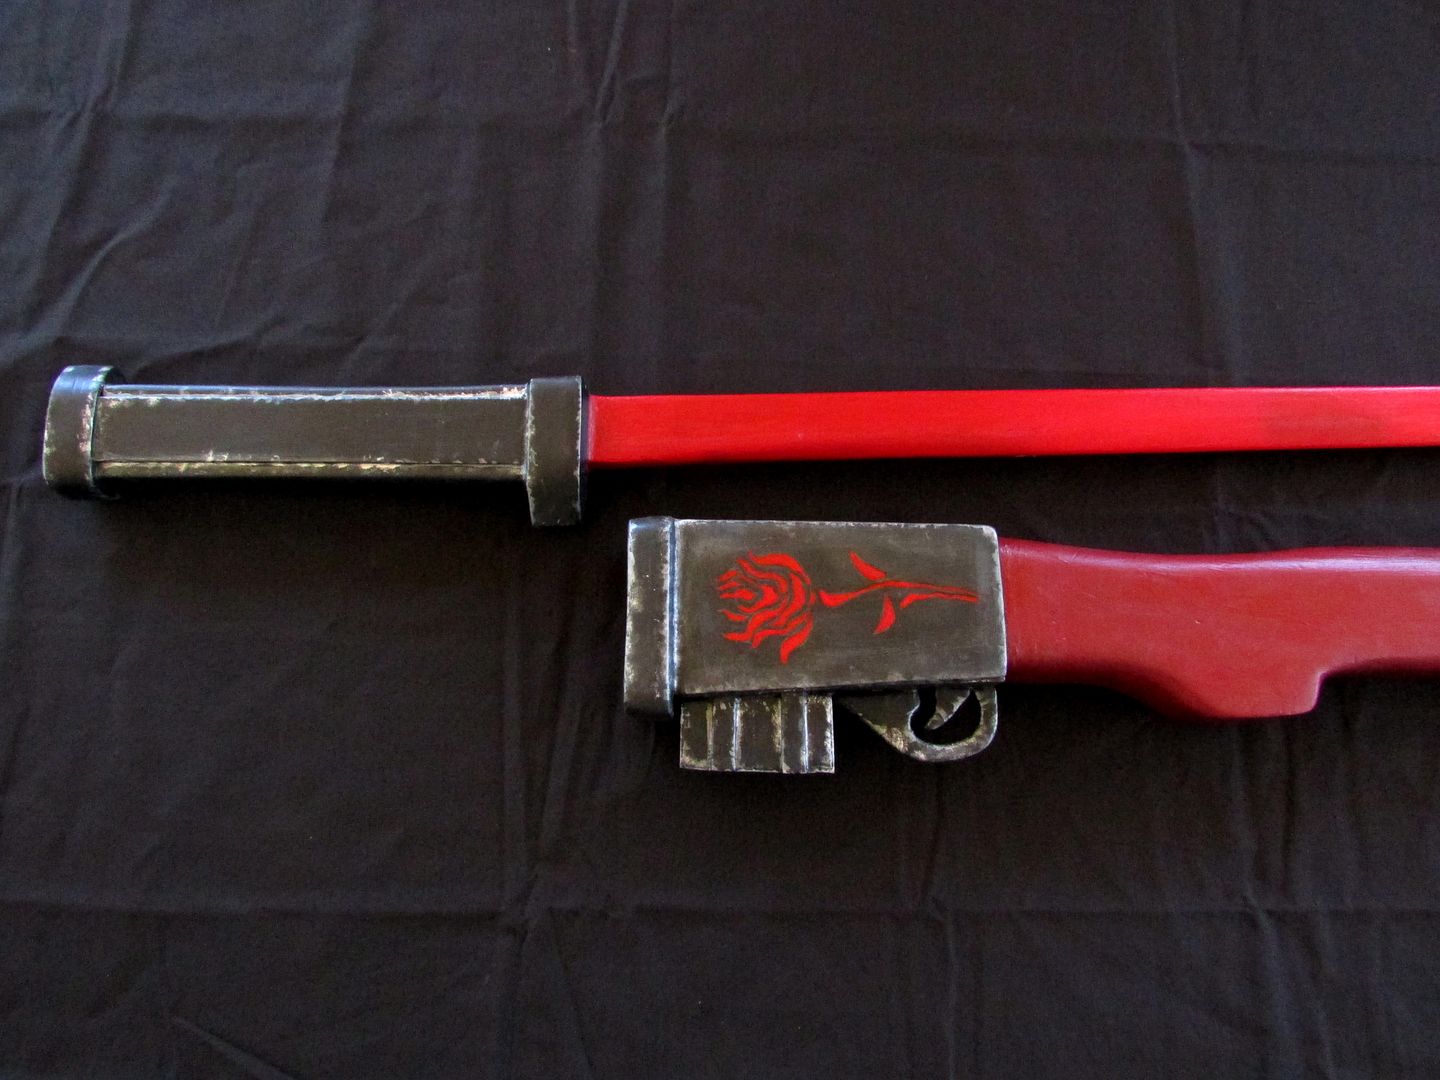
Paint job involved two coats of grey primer, acrylic paints for most of
the features and a quick once over of dry brushing in to add some duress
and wear. I should also note the insignia was printed out and
transferred with the aid of carbon tracing paper and inked out with
enamel hobby paint.
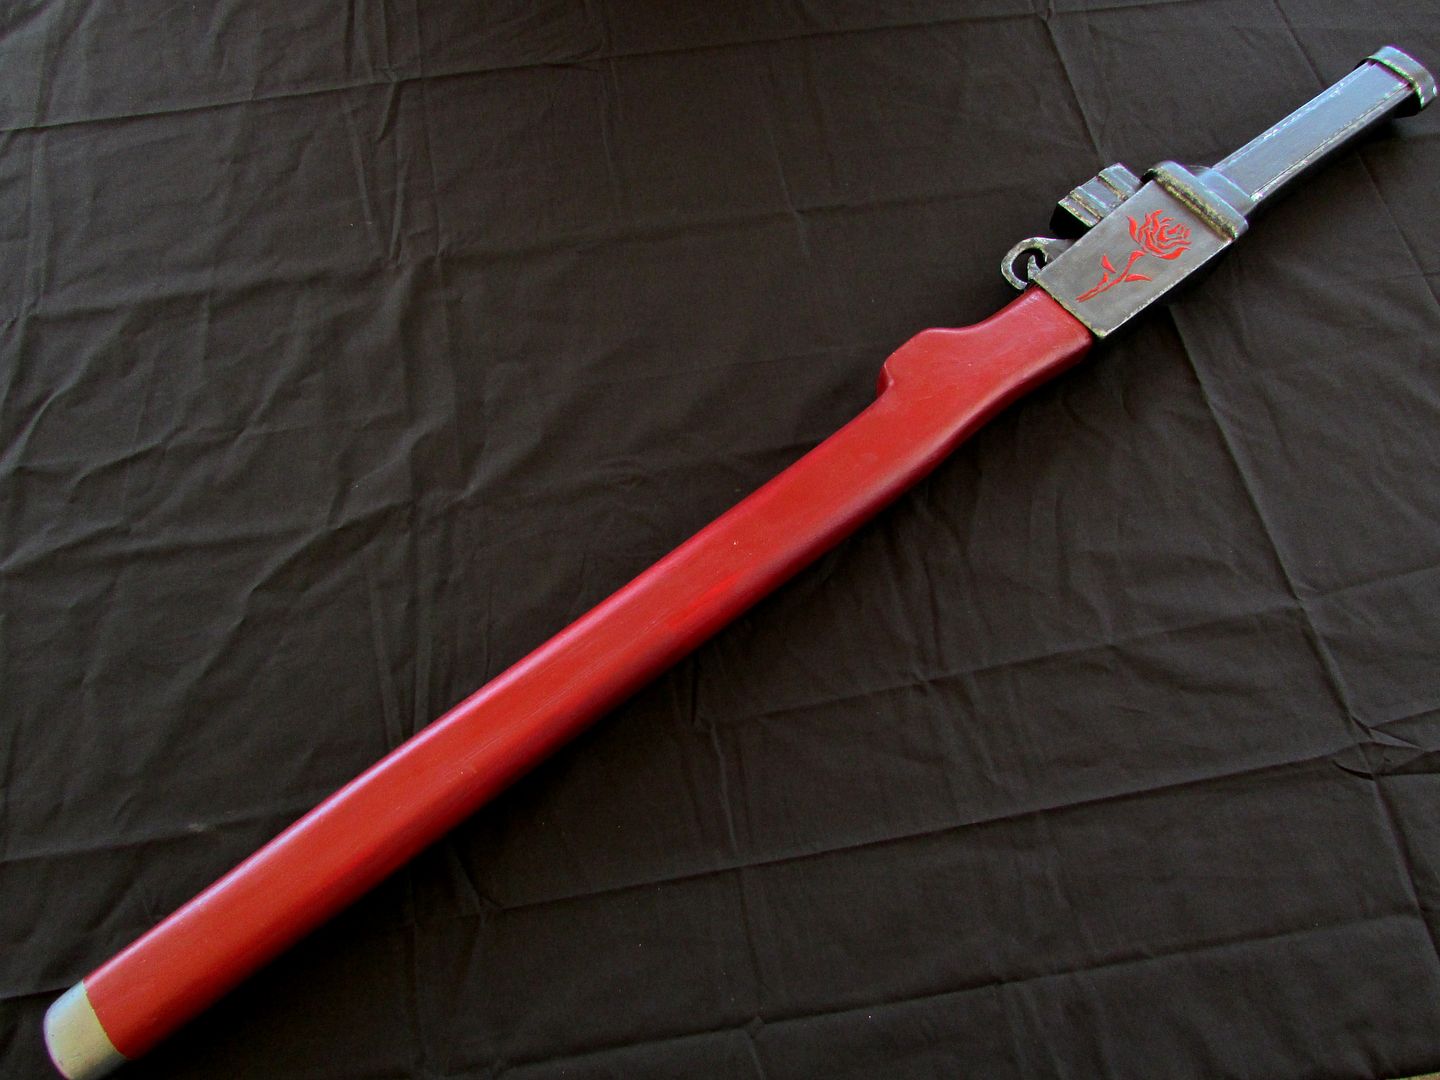


Thanks for reading.