
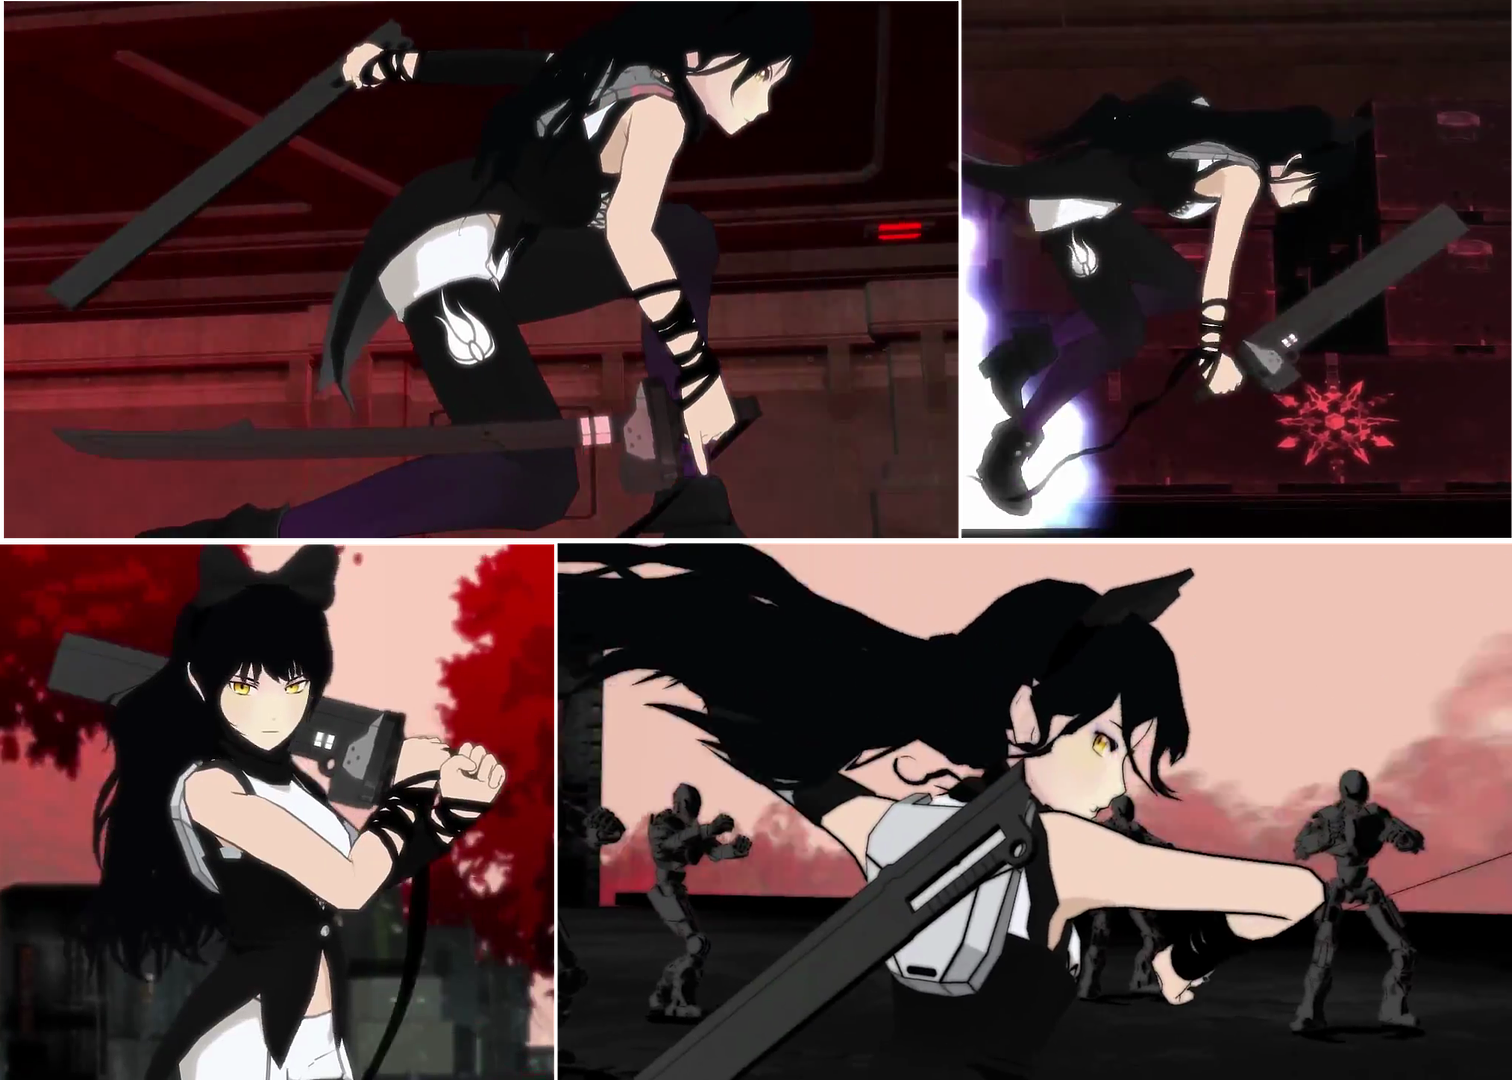
If you’re not aware already, Gambol Shroud is the name of
the weapon wielded by Blake Belladonna in the upcoming series RWBY being
produced by the folks over at Roosterteeth. It is a variant of katana that can
be dual wielded with a bladed scabbard which after being sheathed into the said
scabbard becomes a killer cleaver so I knew I’d enjoy making this from the get go.
If you’re wondering where the Ballistic Chain Scythe aspect comes from that’s referring to a mode of the weapon where it is able to collapse and act as a chain and sickle weapon. For the purposes of this build I’m keeping it as a static sword prop and leaving that mode possibly for a later date.
If you’re wondering where the Ballistic Chain Scythe aspect comes from that’s referring to a mode of the weapon where it is able to collapse and act as a chain and sickle weapon. For the purposes of this build I’m keeping it as a static sword prop and leaving that mode possibly for a later date.
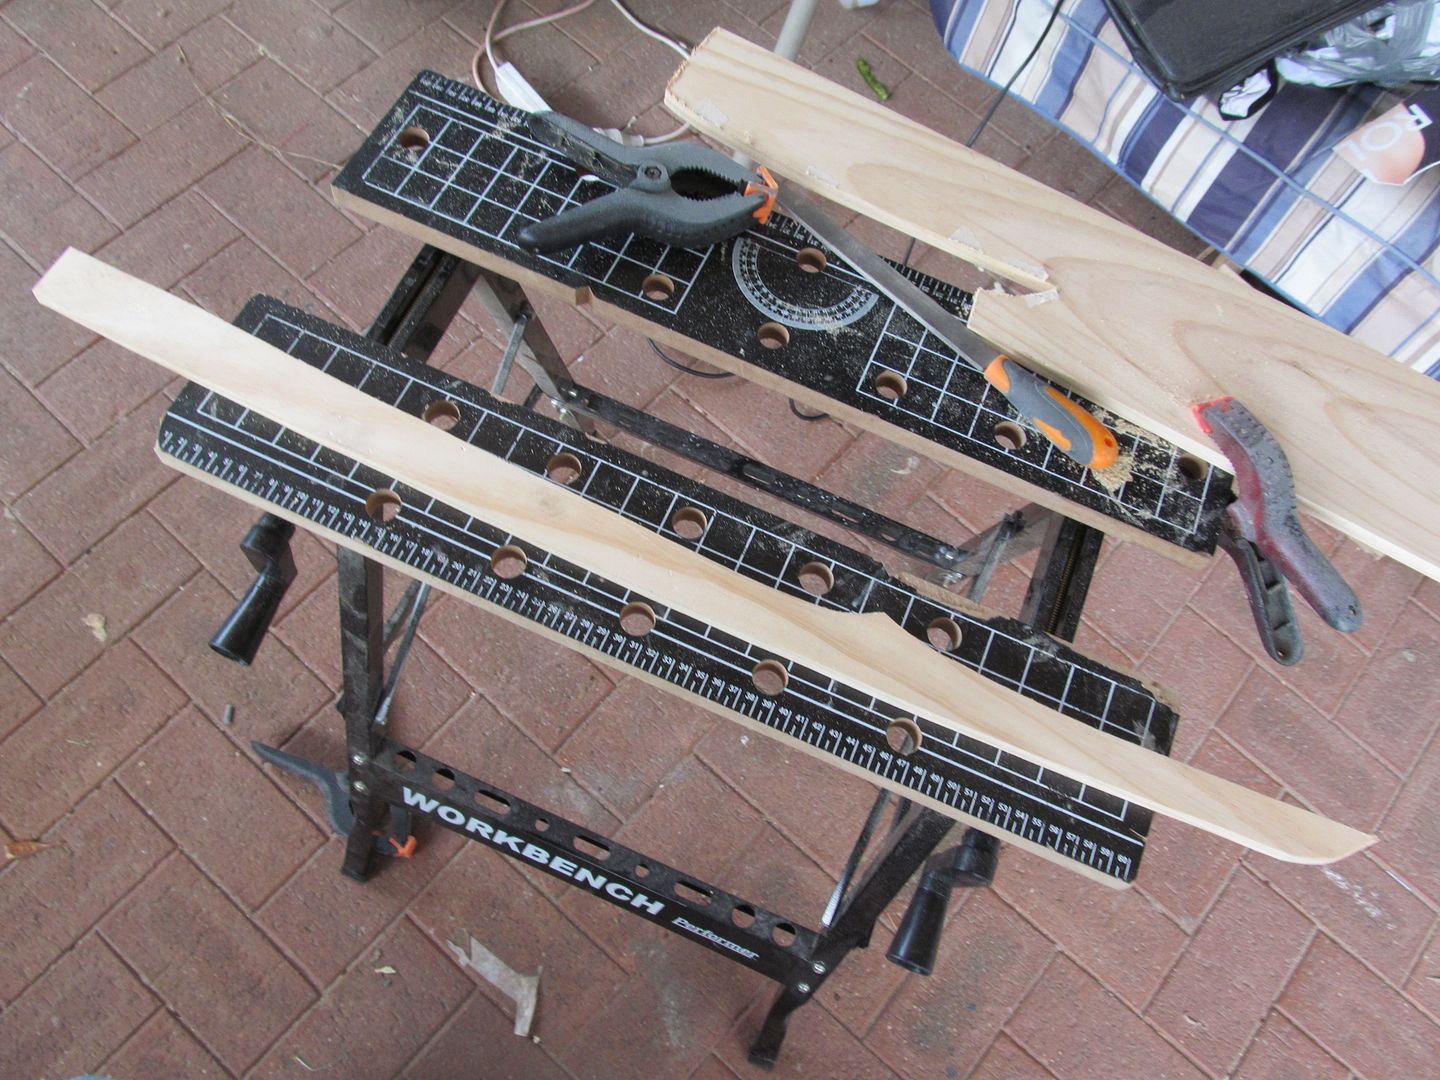
Starting off the build and using reference from the Black trailer, I cut out the base shape of the katana from a standard 12mm (1/2 in) thick plank of pine and then using a belt sander sharpend the edges running along the bottom and the top of the blade.

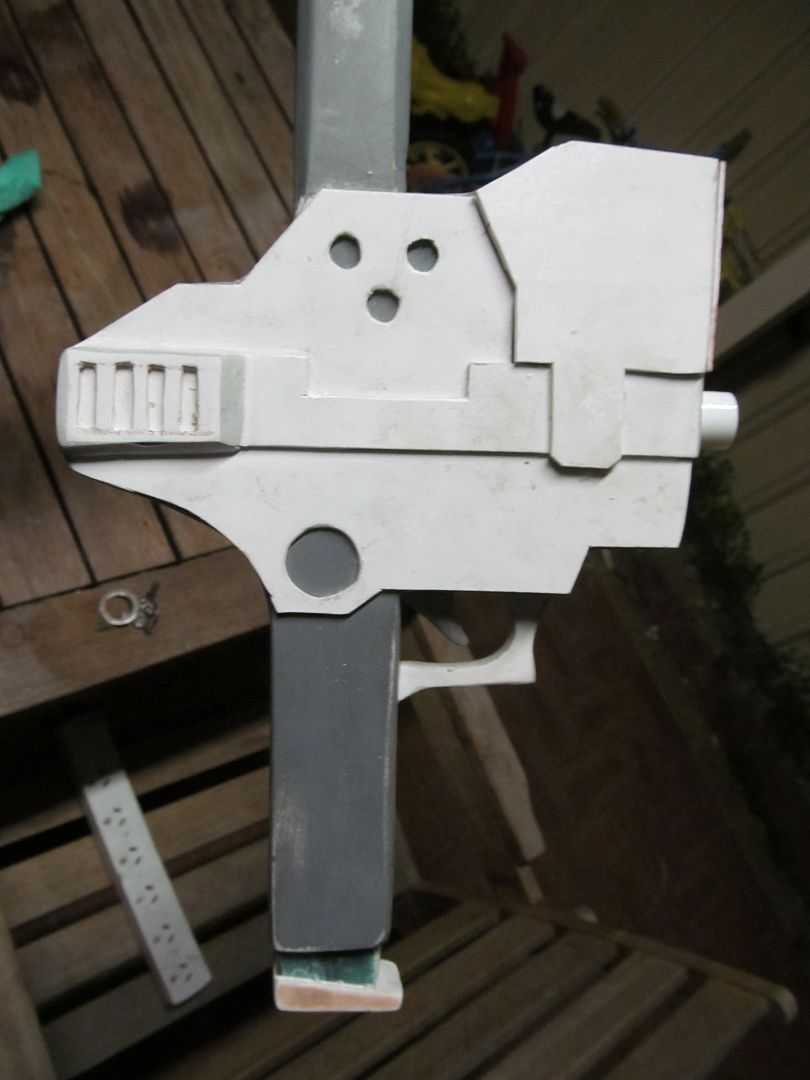
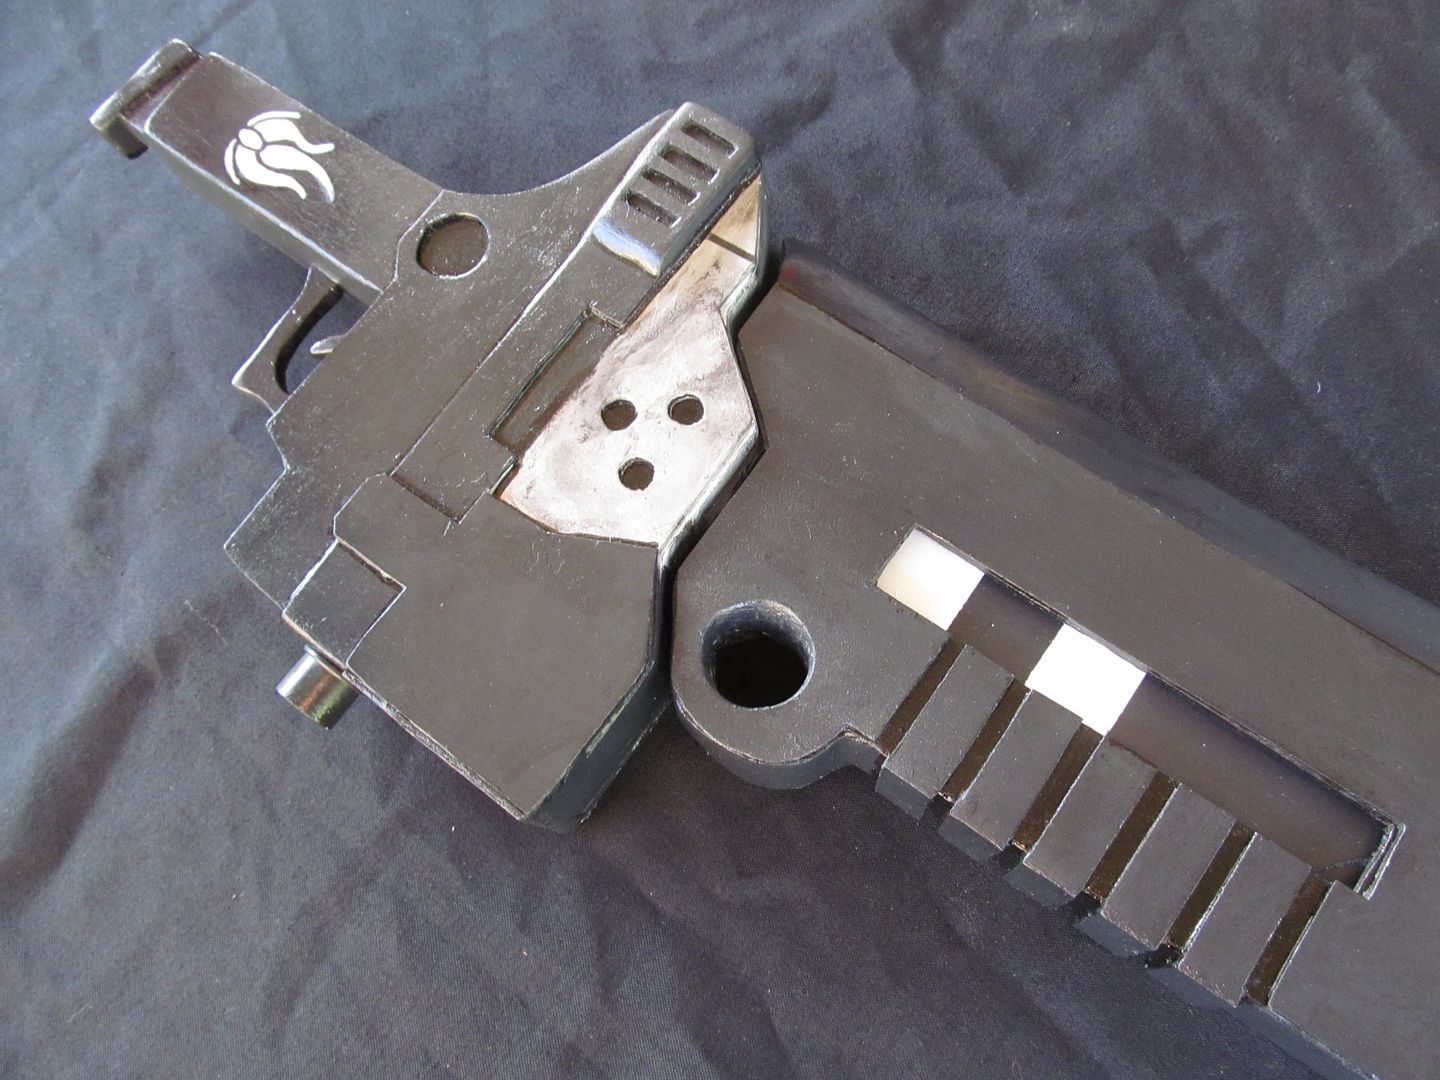
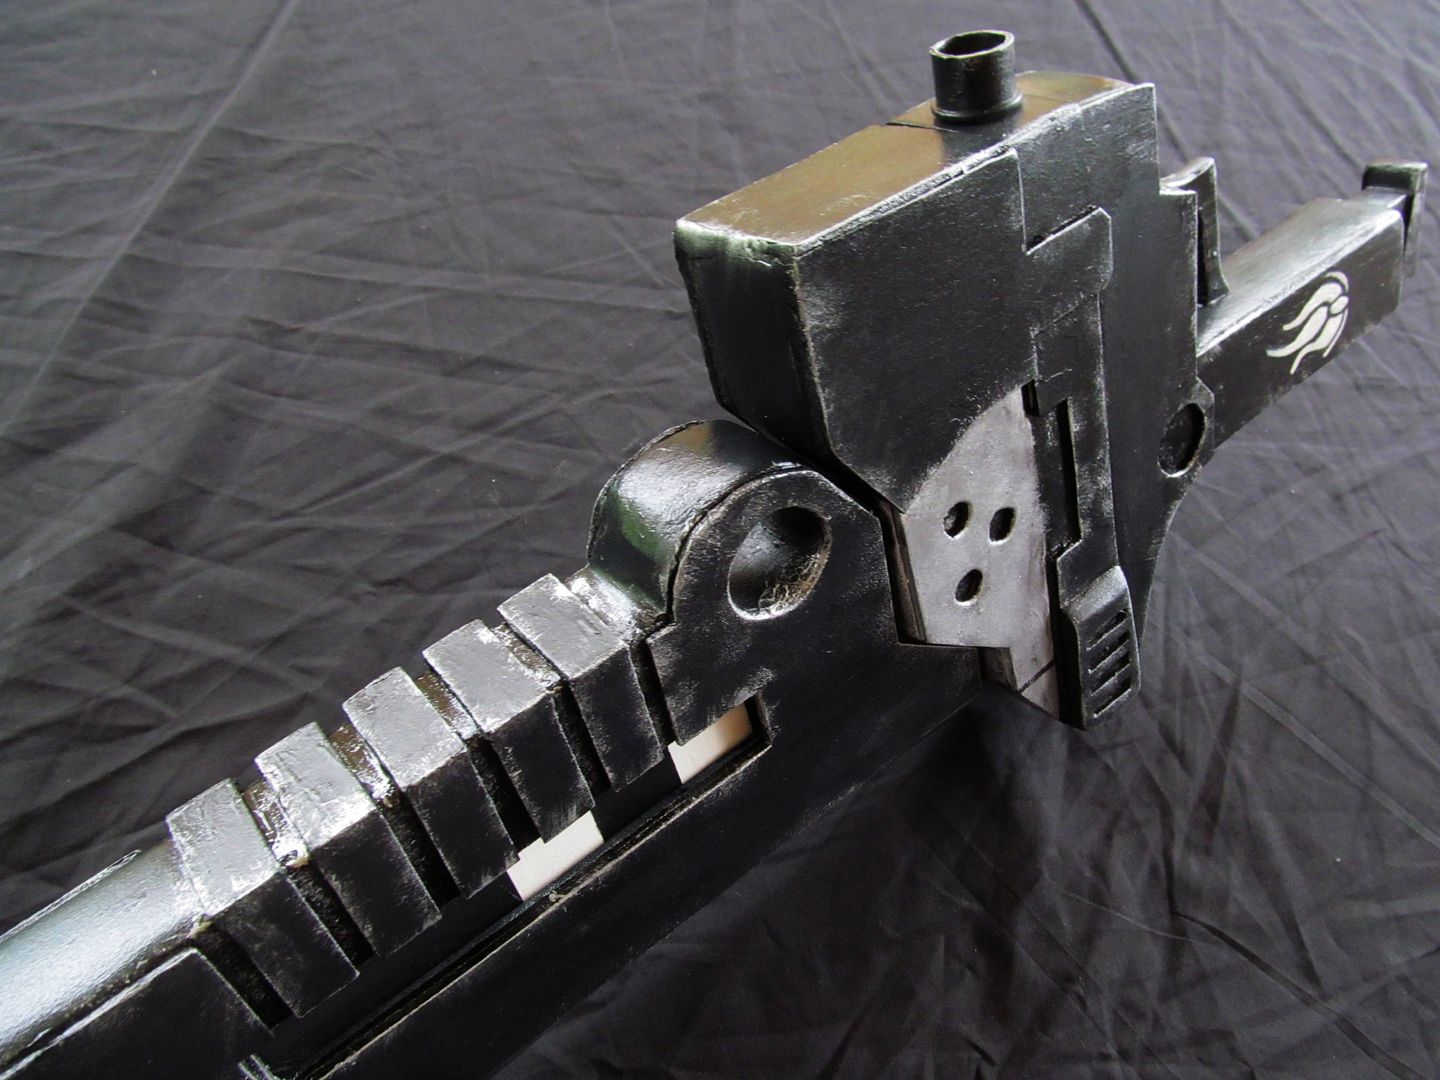
For the pistol handle of the sword, that involved sandwiching a series of cardboard
strips and segments together to build up the bulk width and dimensions of the handle then covering the outermost faces with PVC sheeting.


To do the remaining exposed edges I then proceeded to smear Bondo all along the cardboard faces which after being allowed to set was sanded away to line up with the profile of the entire handle.


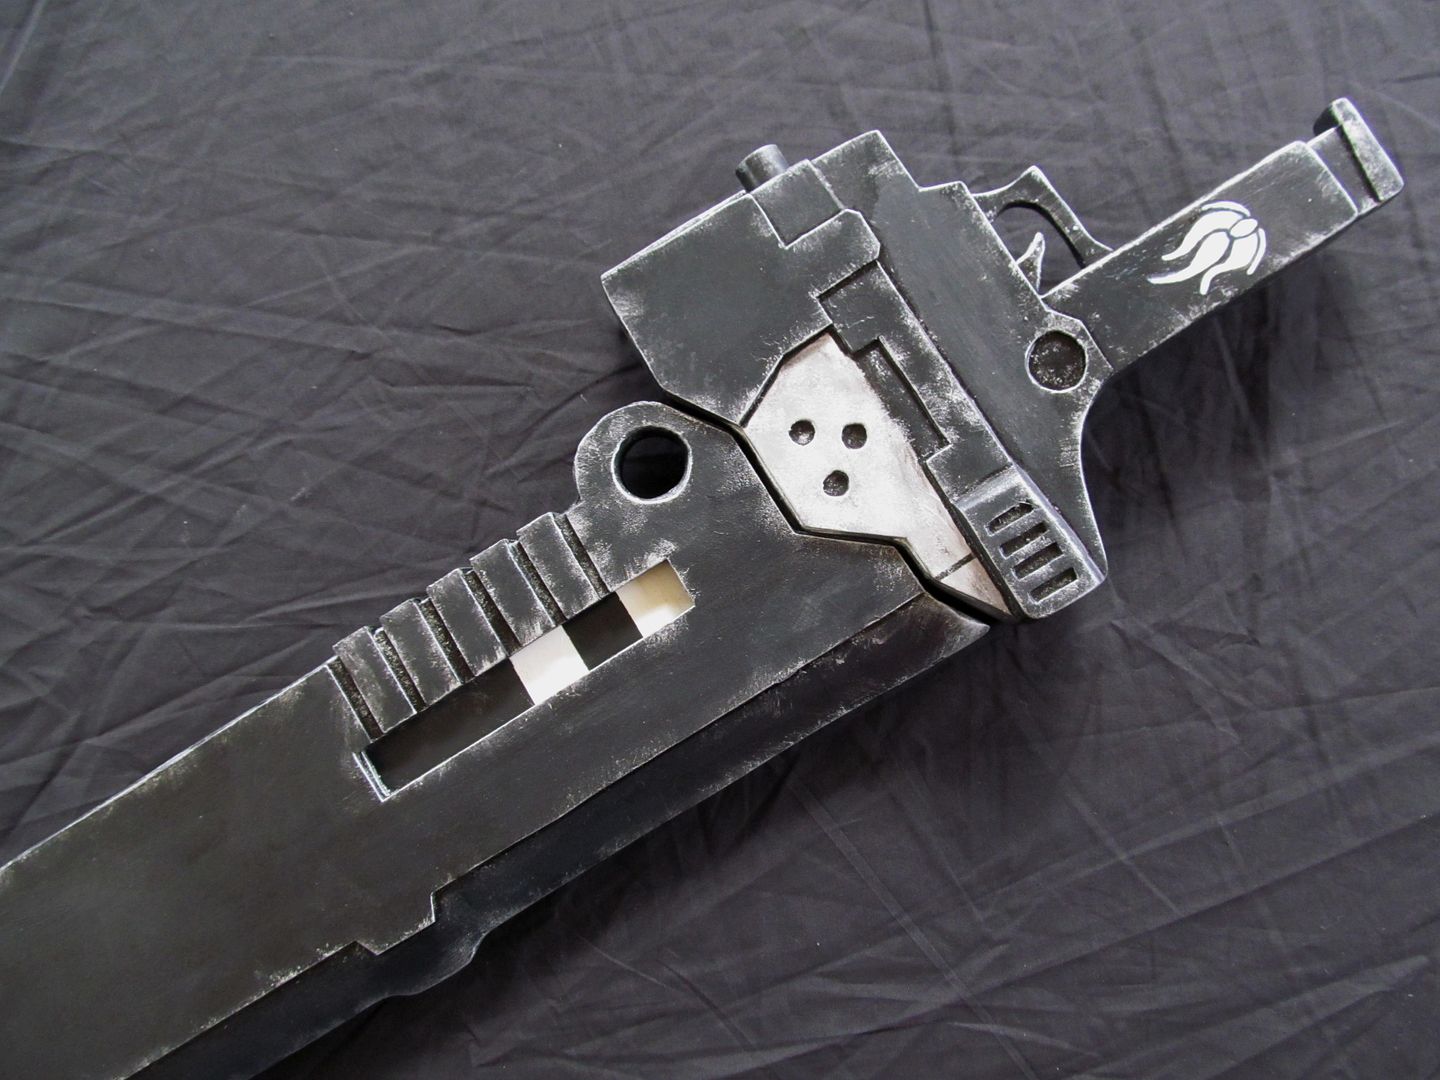
With the sides all smoothed out with sandpaper, I then built out the details of pistol handle, layering more sheets of PVC and then making the magazine clip and trigger guard out of the same material using epoxy glue to attatch them all to the body. For the muzzle that was made from the tip of an old waterbottle I pulled off then glued on.


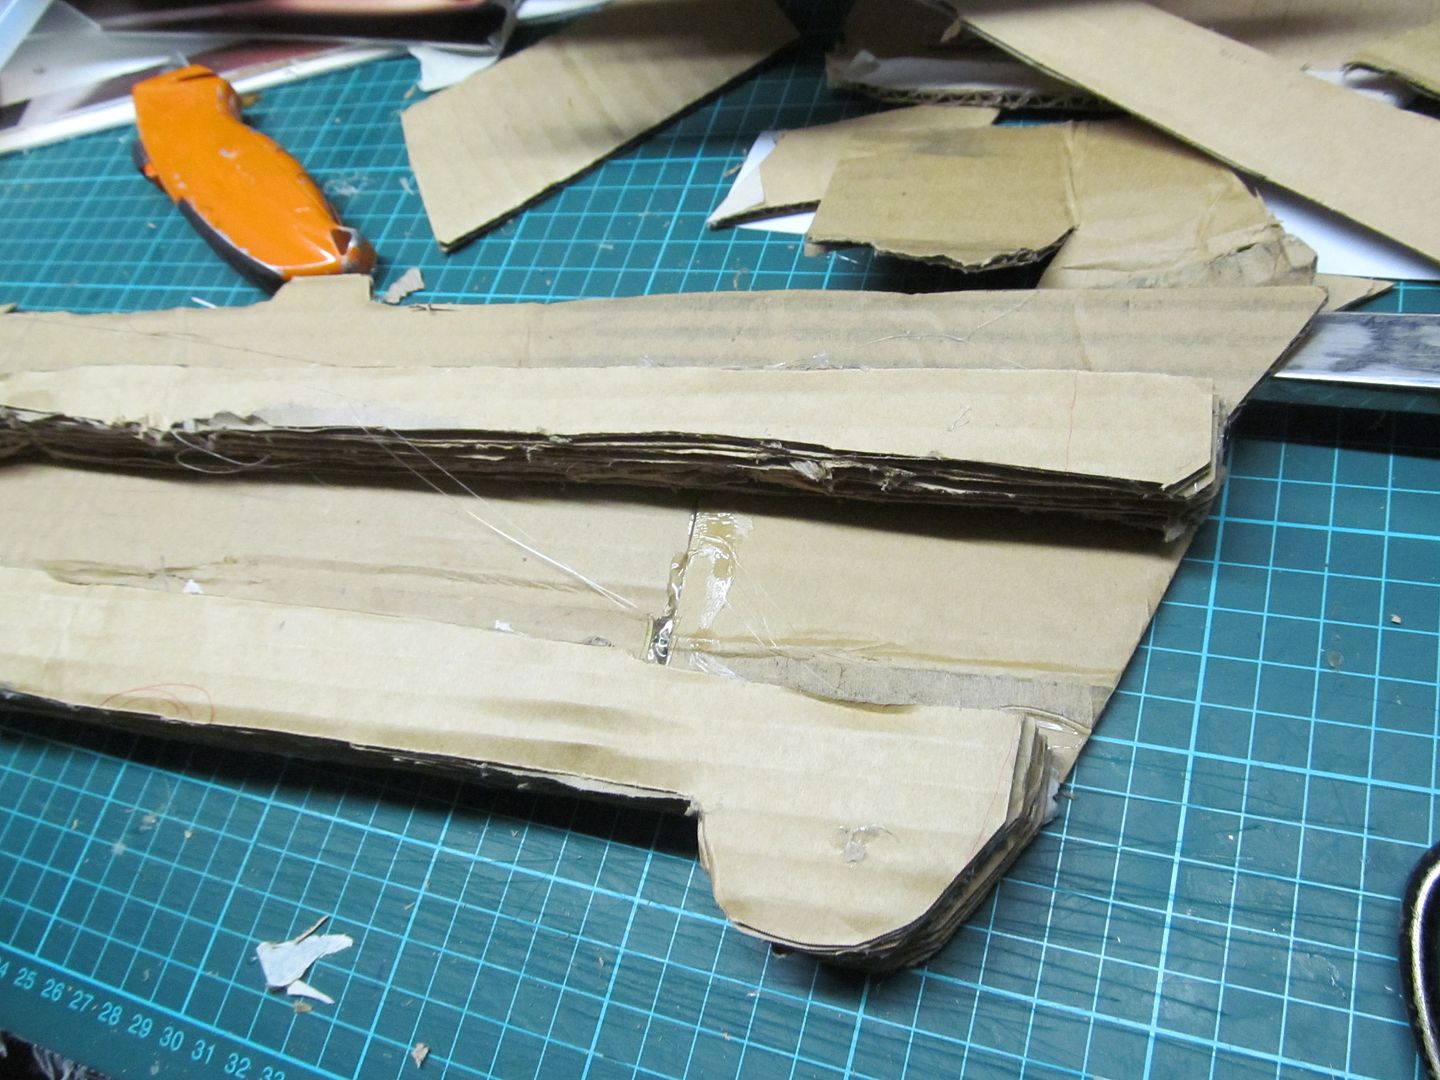
Commencing on the build of the scabbard, I first cut out the basic shape and marked out where the blade would be sheathed making sure to take into account the clearance for the upper crest section of the blade as it traveled along the internals.
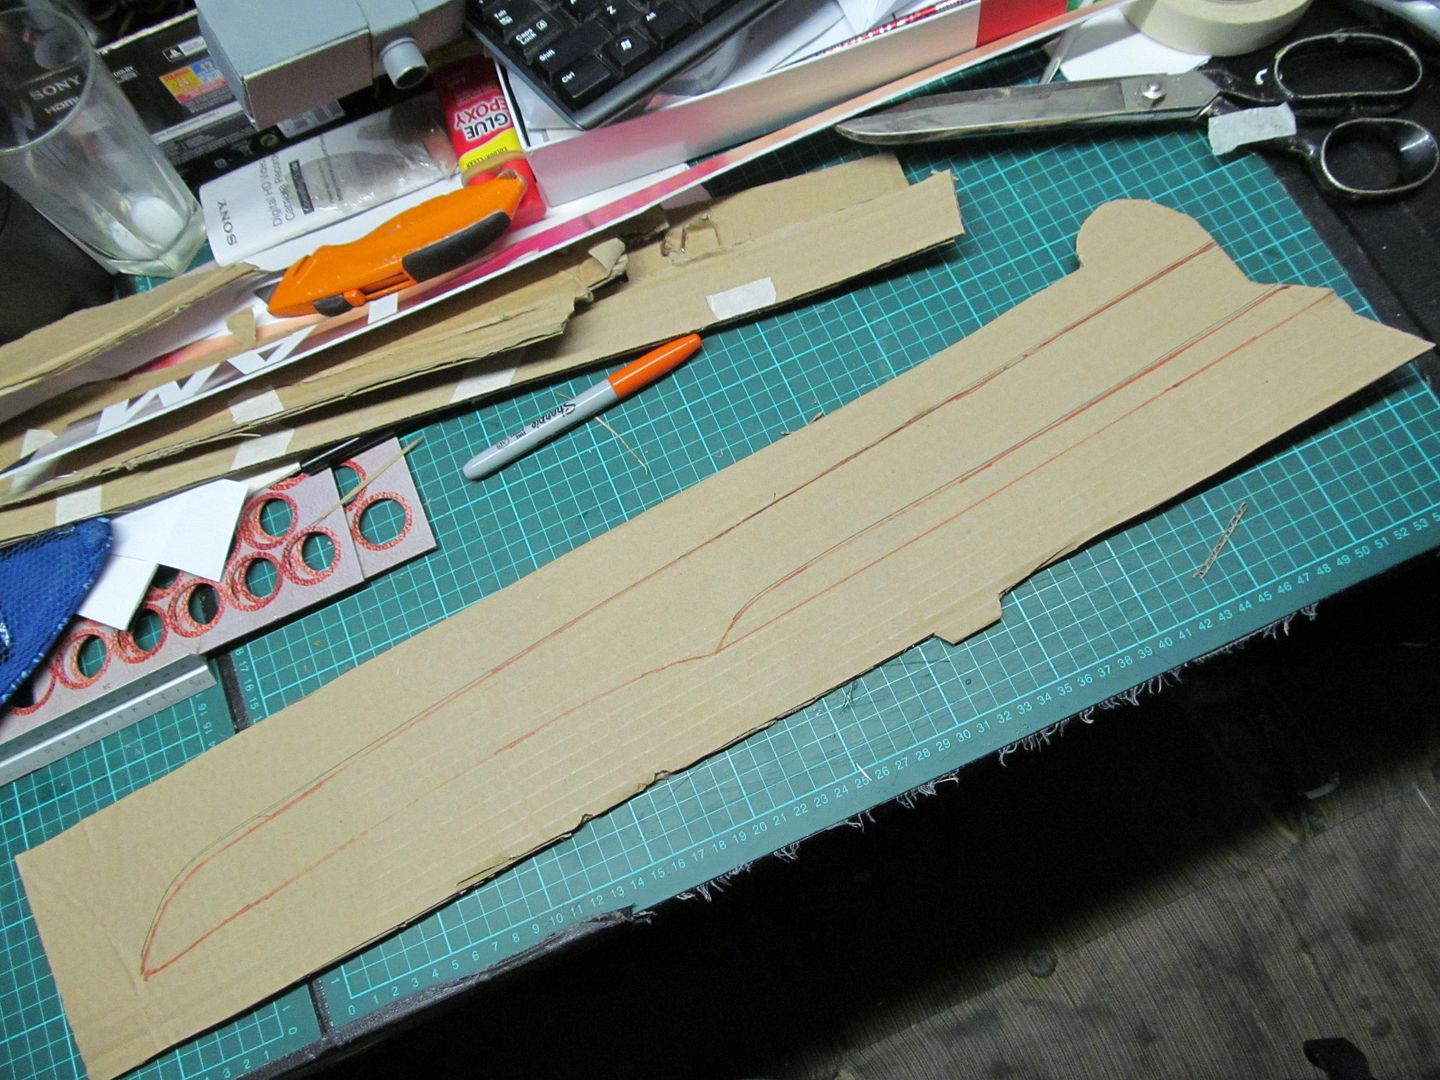


Using this cut-out as
the centre piece I then began hot-gluing more panels of cardboard to either side, cutting away at
the cavity where the blade would sit.Making sure to keep the entire
thing symmetrical by adding the same number of cardboard panels to both sides
until I achieved a thickness that enveloped the blade.
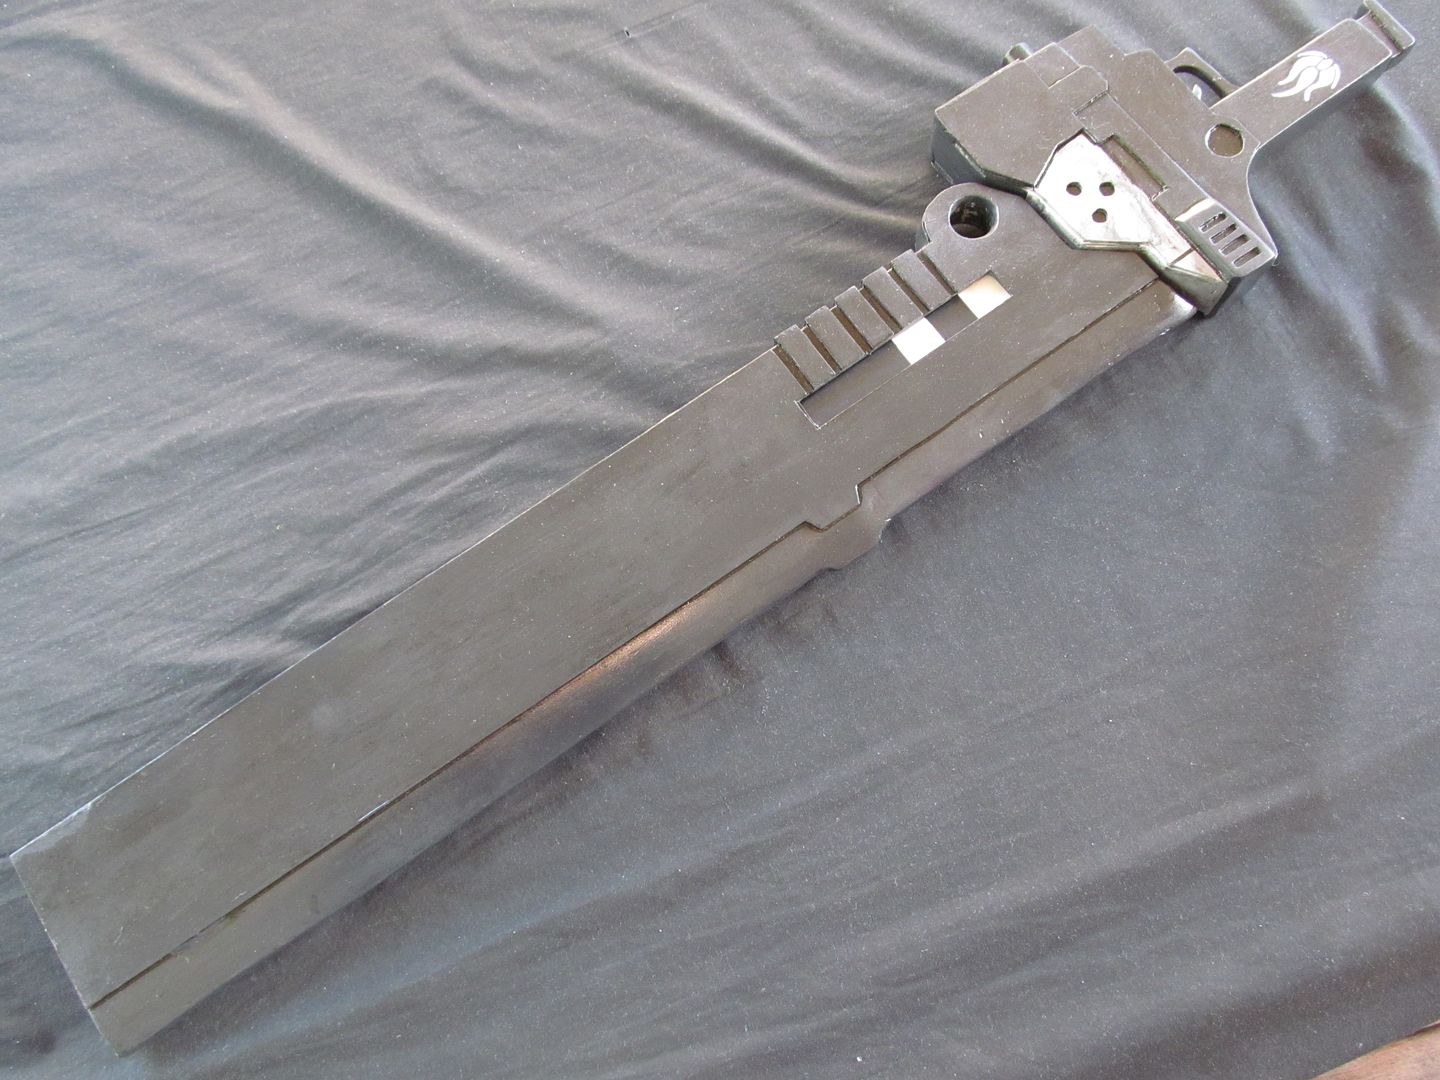
To protect the future paintjob of the sword I aquired some cuts of cloth which were then glued inside the scabbard, before closing up the outer sides.


With the sword sheathed the entire prop spans roughly 92cm (36.2in) end to end,
and is about 10cm (3.9in) across width wise for the body of the scabbard.


As you can see there are still exposed cardboard edges that needed to be addressed which is where Bondo again comes into play in a similar manner used earlier and was applied then sanded also being used this time around to do the bevel of the scabbard's blade.
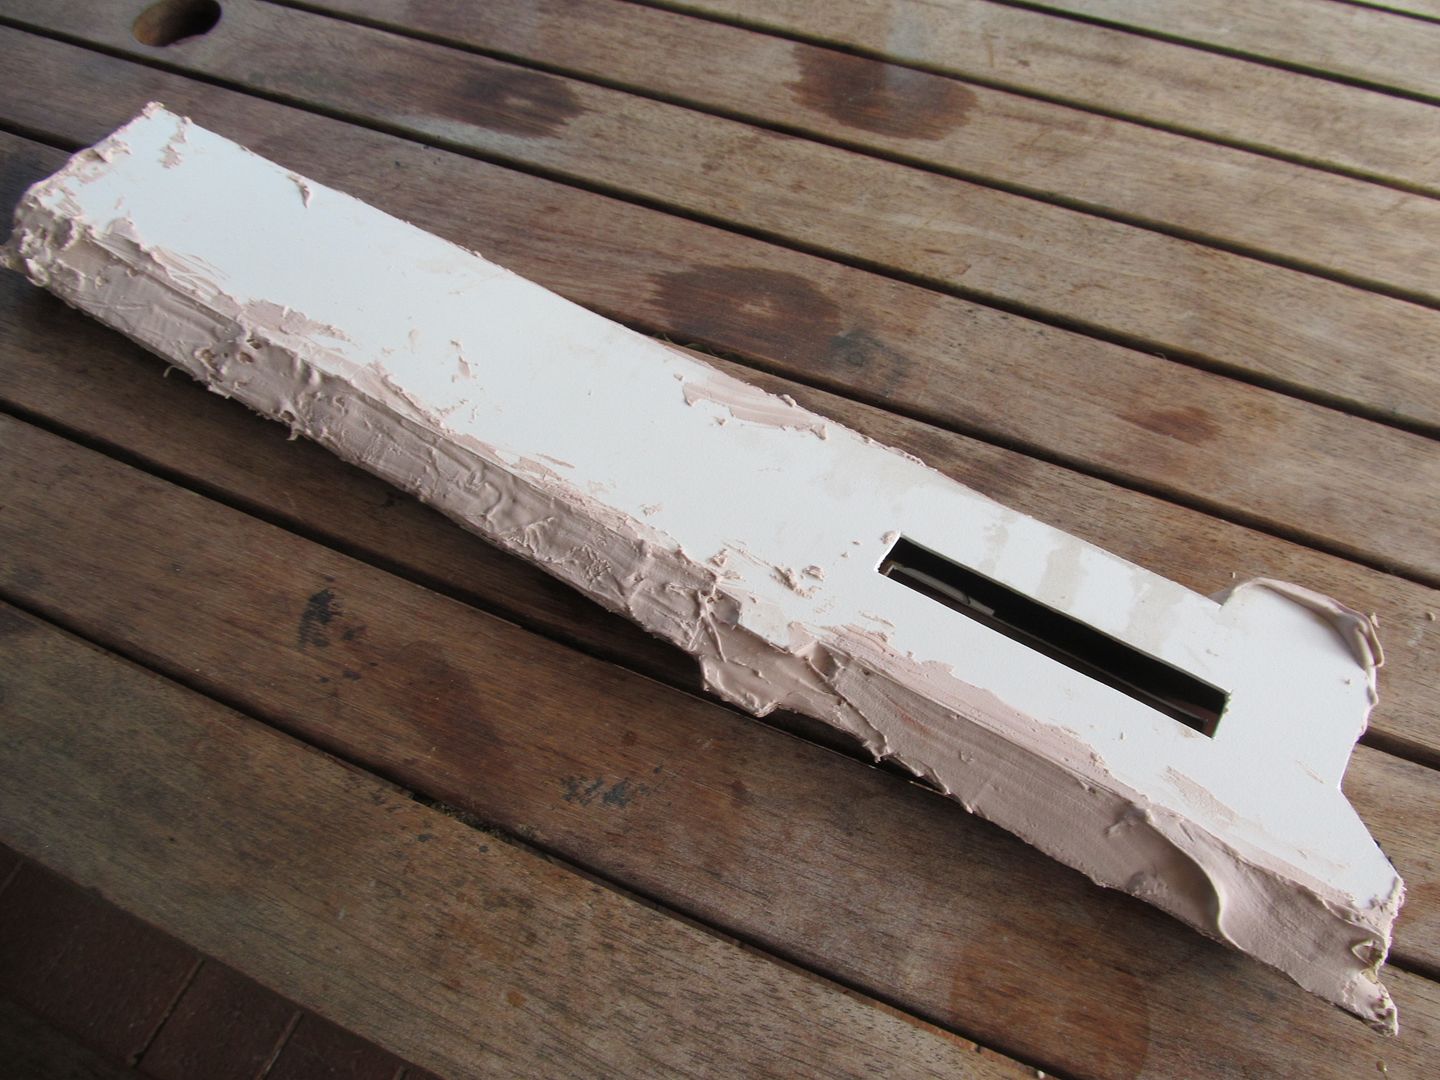


For the small hollow ring at the top that was made with a hole saw drill bit and eventually lined with apoxie sculpt.


More sanding and more filling followed, making sure to smooth
out and clean up all the imperfections and defects.


After achieving a surface finish I was happy with I then added a final layer and level of detail to the sword.


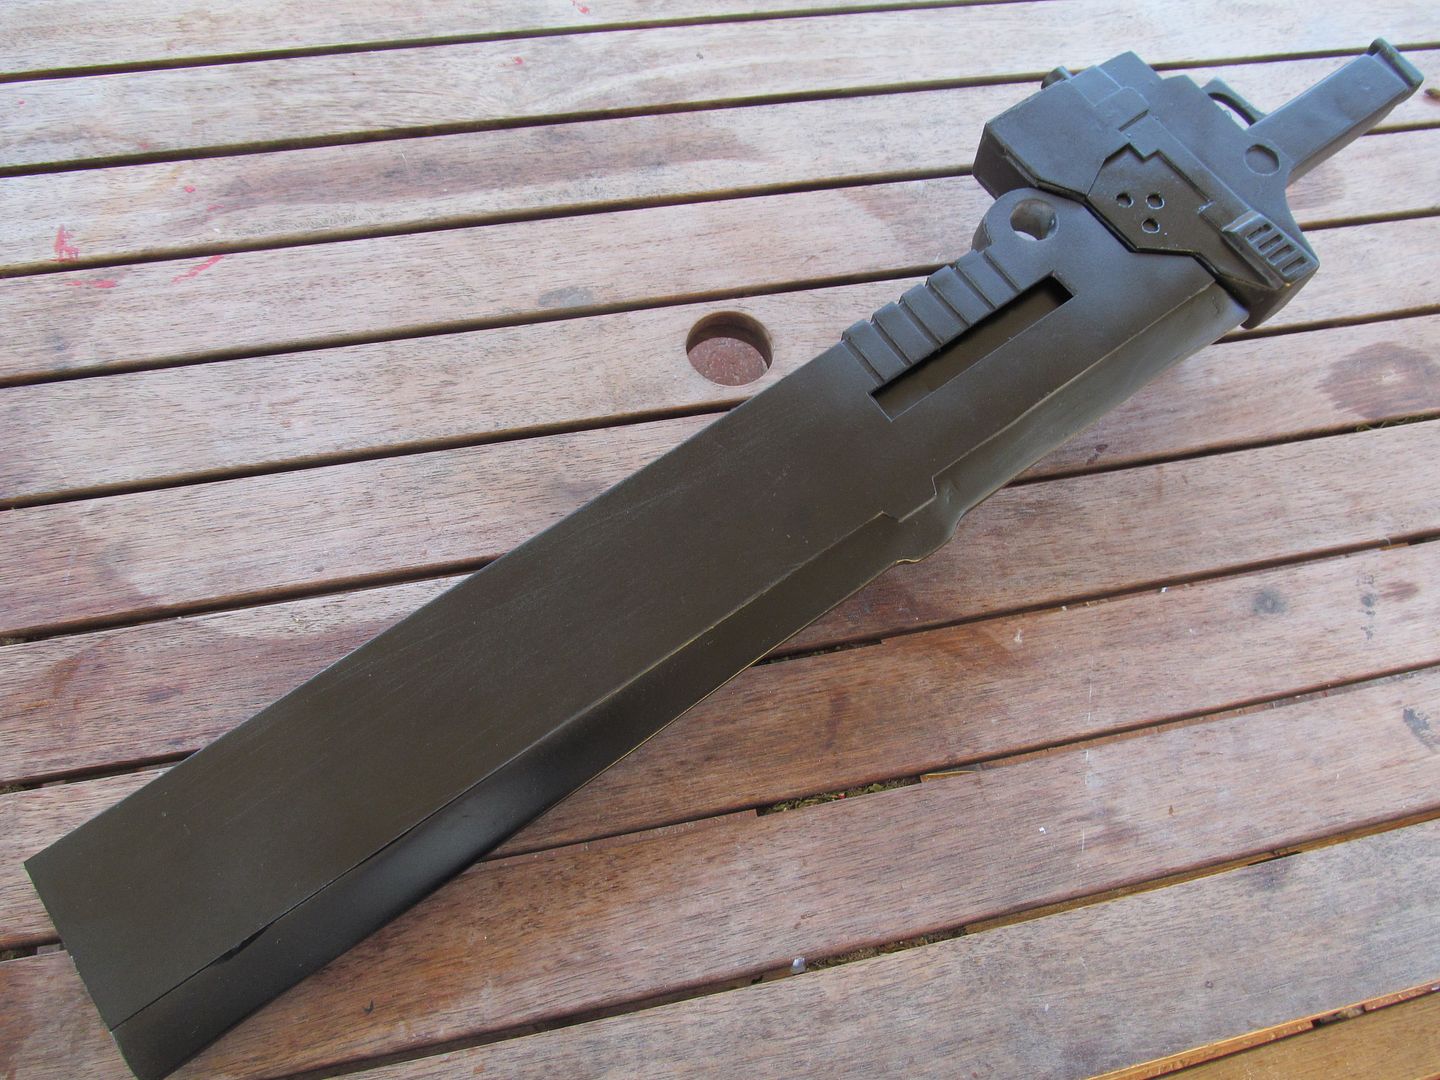
Now comes my favourite part of the build the paint job.
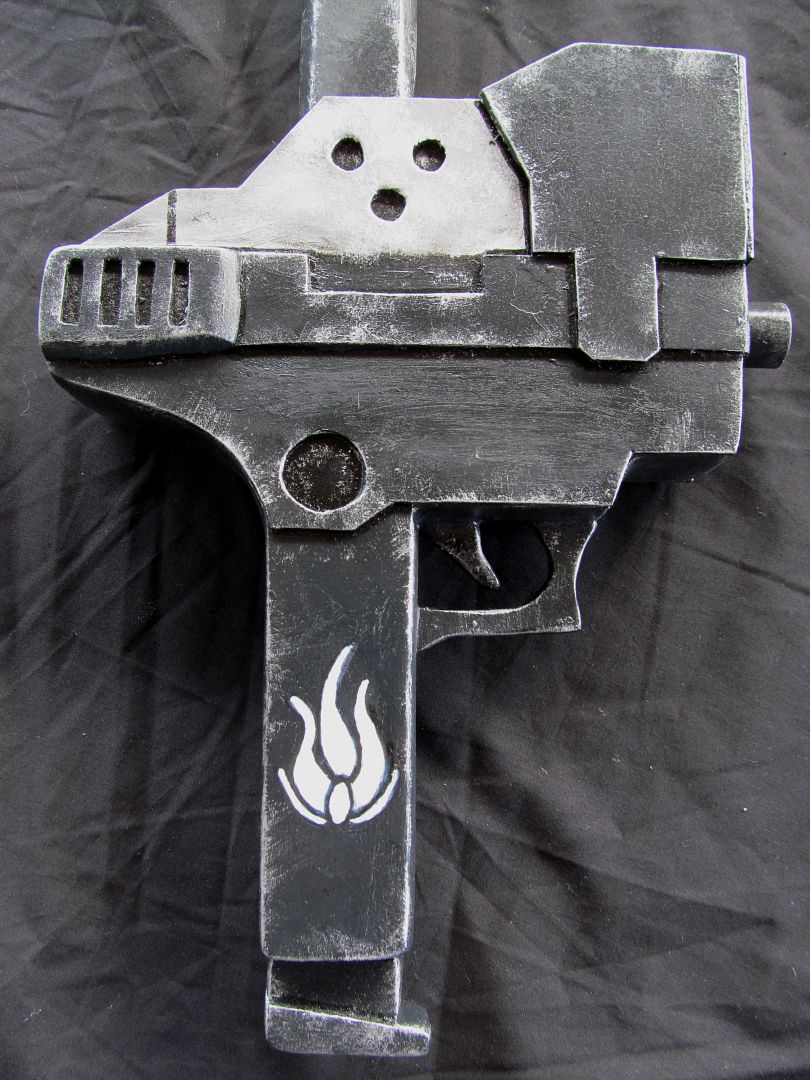
First applied was two coats of automotive grey primer, then one of flat black
and a final layer of grey done with acrylic paints.


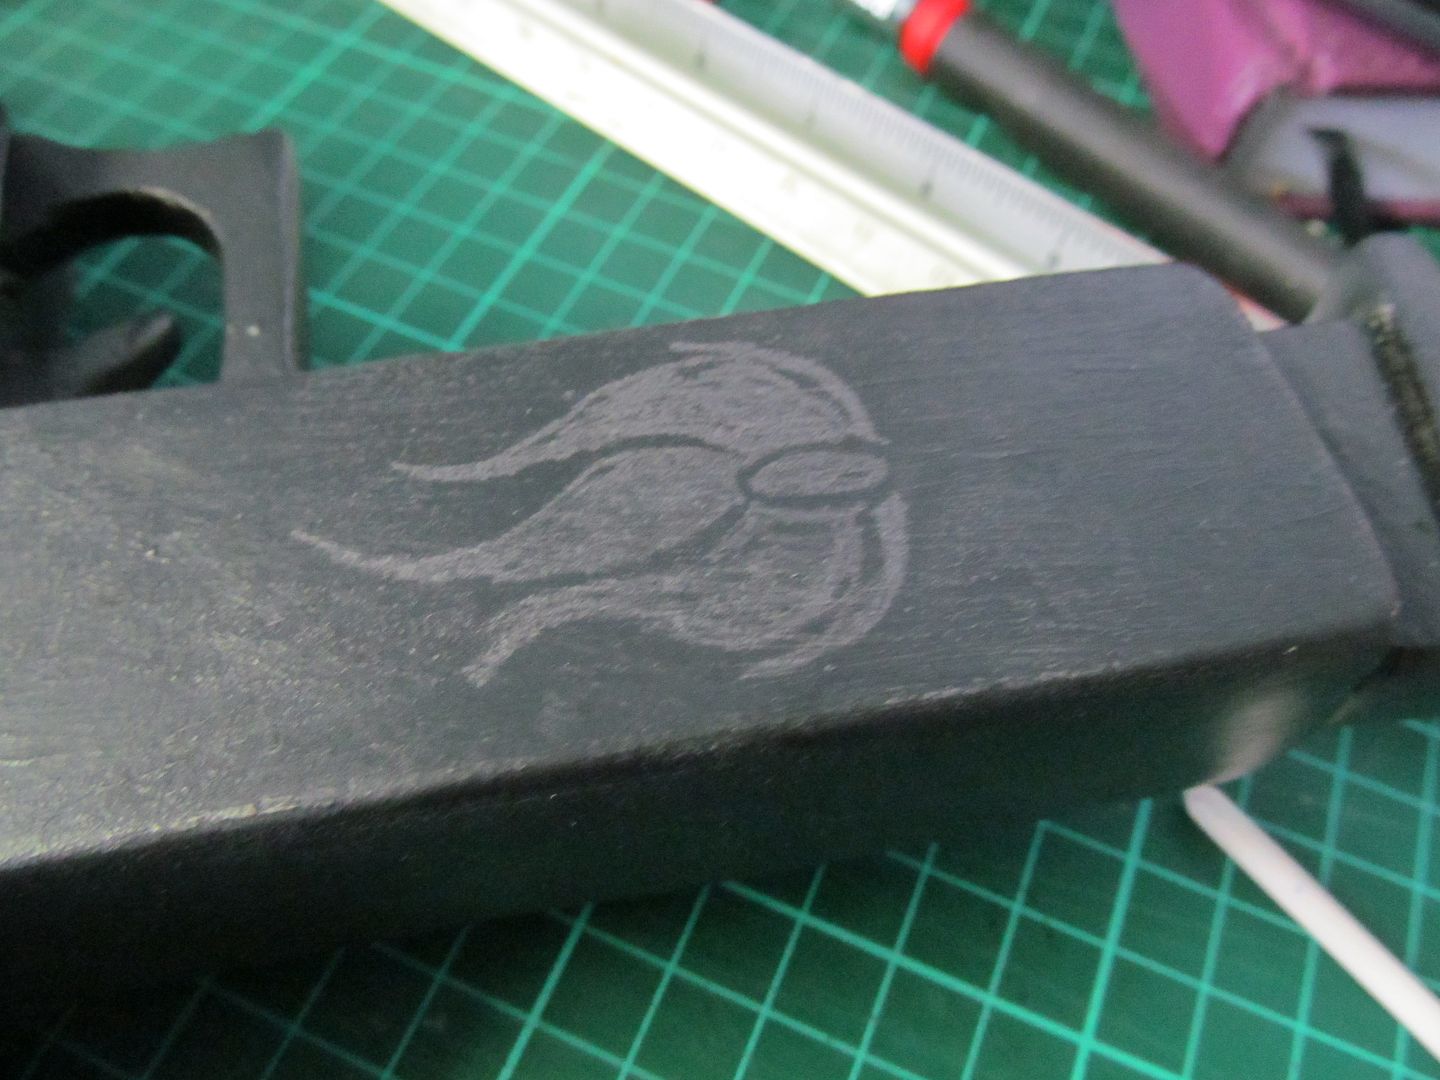
For the handle Blake's emblem was printed out and transferred onto the sword with carbon transfer paper which was later inked out with white enamel hobby paint and then finishing up using chrome and white spray-paints for the rest of the sword's details.
Now looking at the initial paintjob it did look
impressive and resembled the weapon depicted in the trailer but it somehow felt
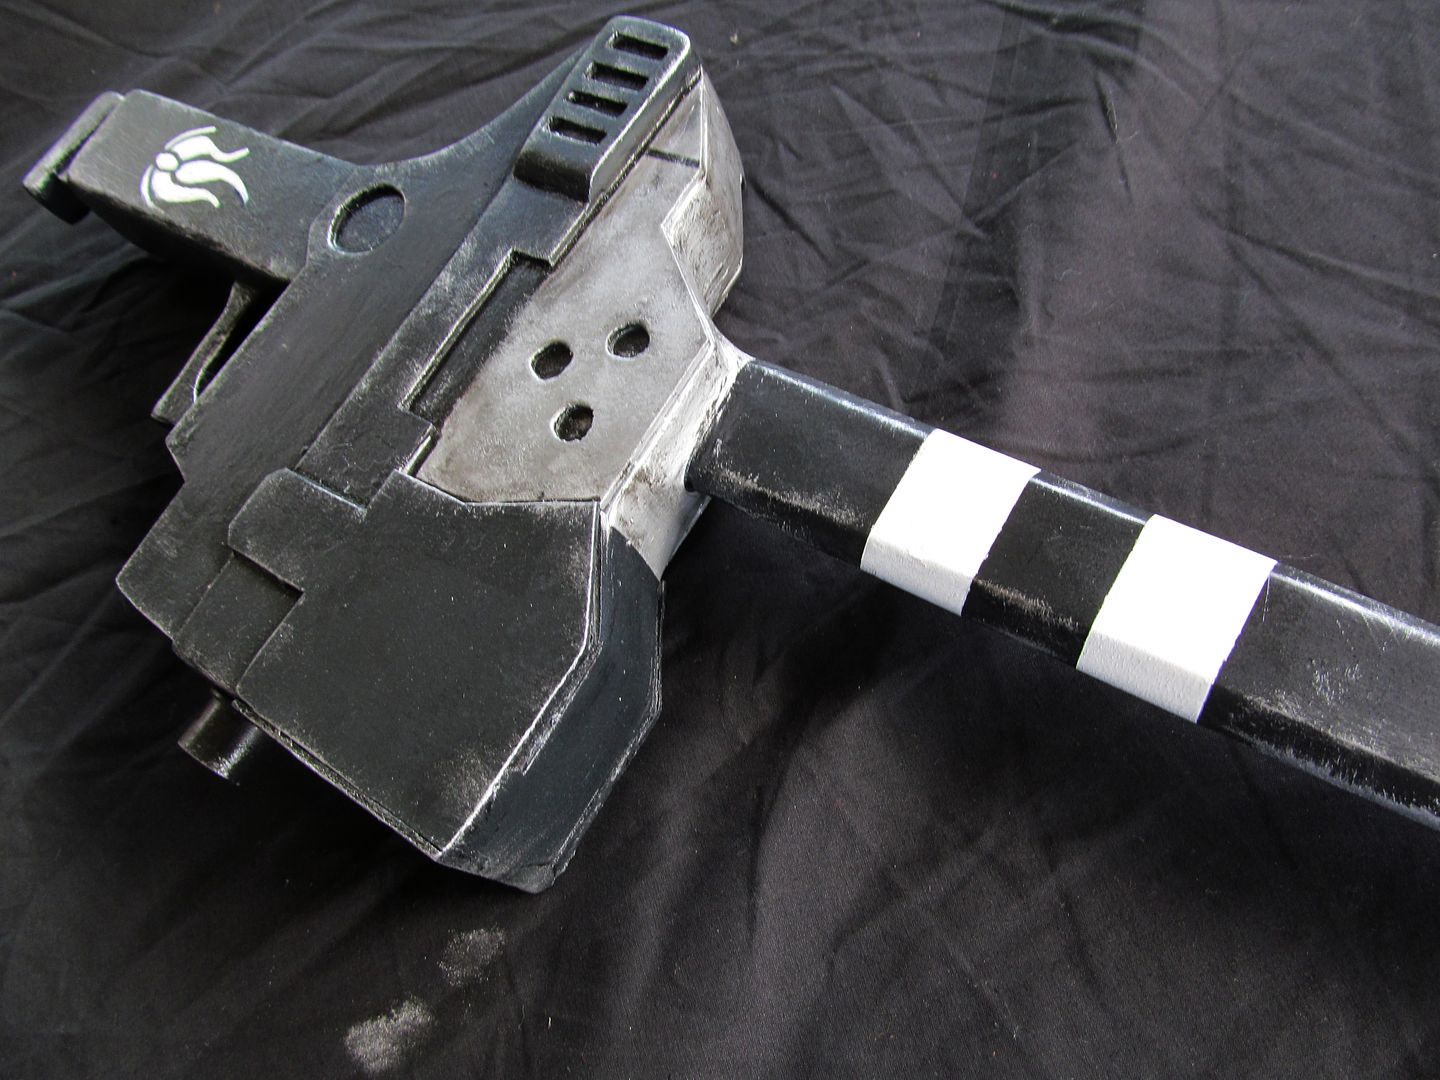
slightly lacklustre. So I decided to have some fun with the prop and did some
dry brush weathering to make it look more battle worn and realistic as if it
had at one point in time been plunged into a number of robot torso's.
So using some chrome model paint and an old paintbrush brush, I did some quick light strokes all along the various edges, nooks and crannies of the prop to really bring out the lines and simulate some wear and tear revealing the “metal” underneath. Which I think turned out really well and is something I highly recommend you all try out at some point in your own making endeavours.


Thanks for Reading