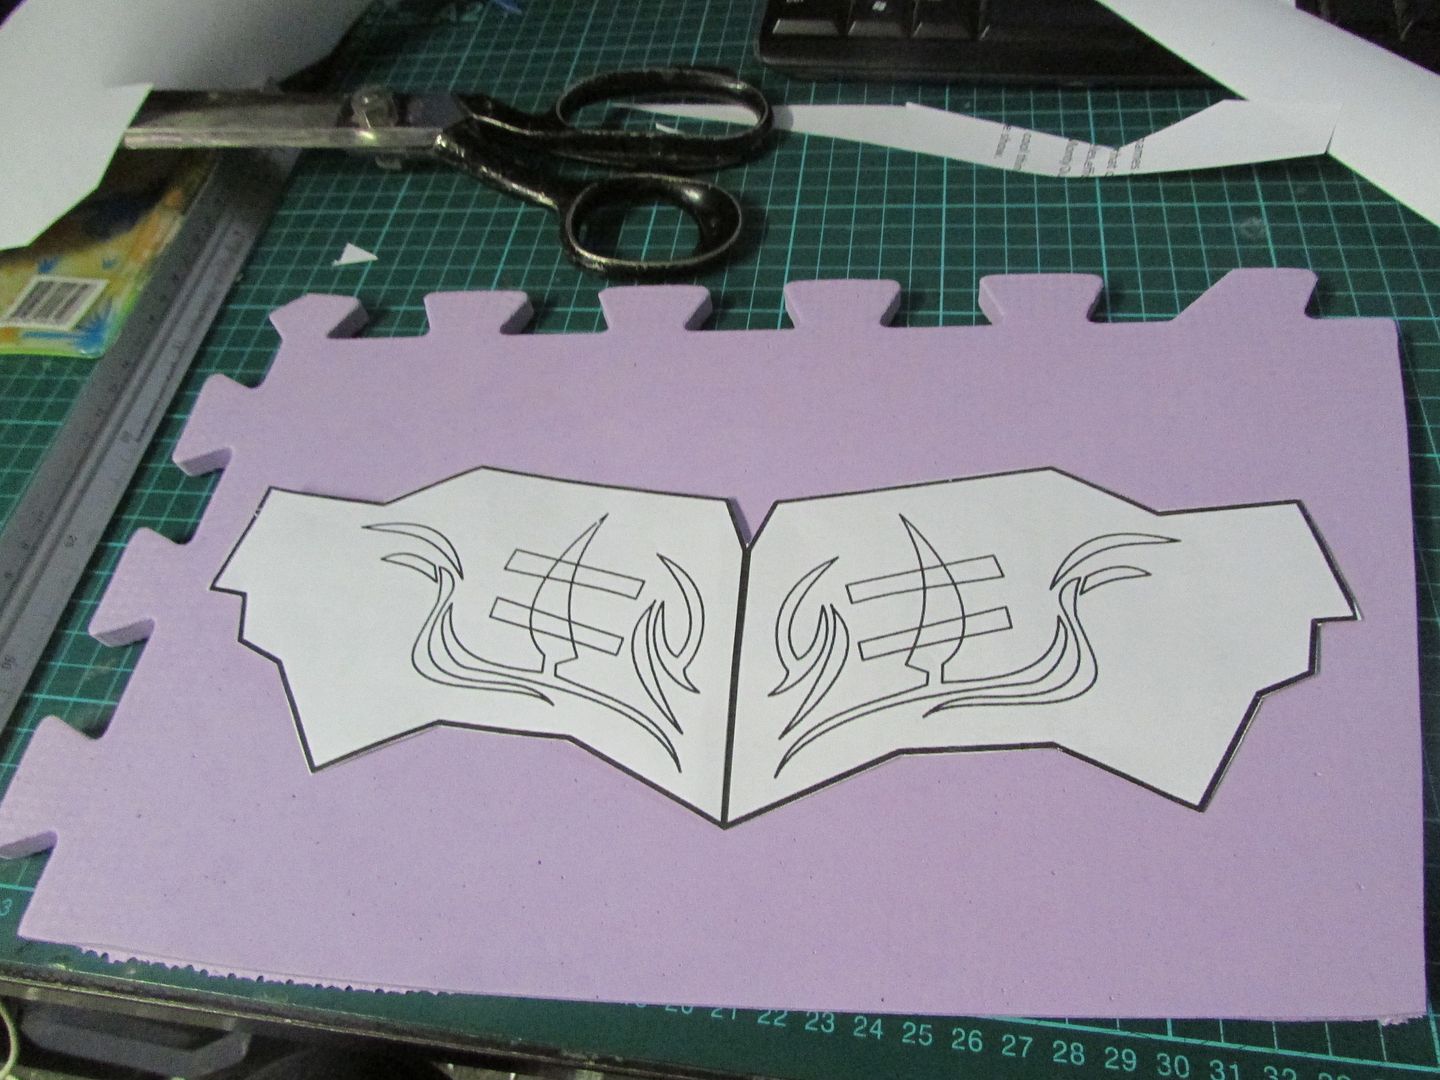
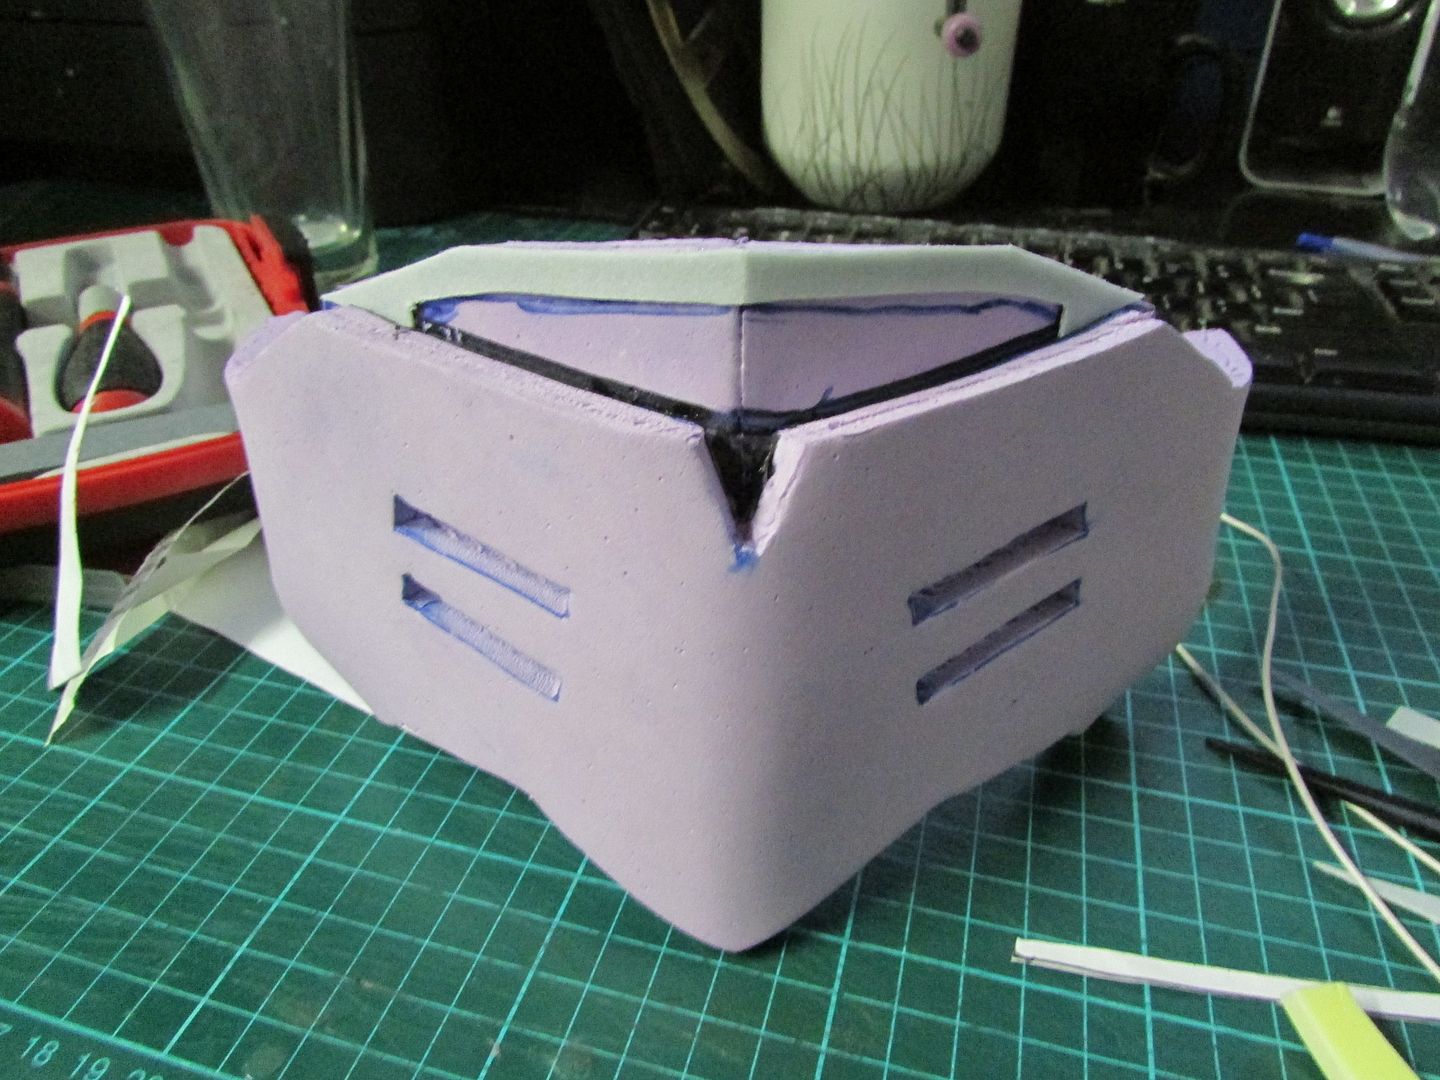
To compliment to the forth coming Wilt and Blush gunsword I've decided to do a quick build for the mask of the weapon's owner Adam.

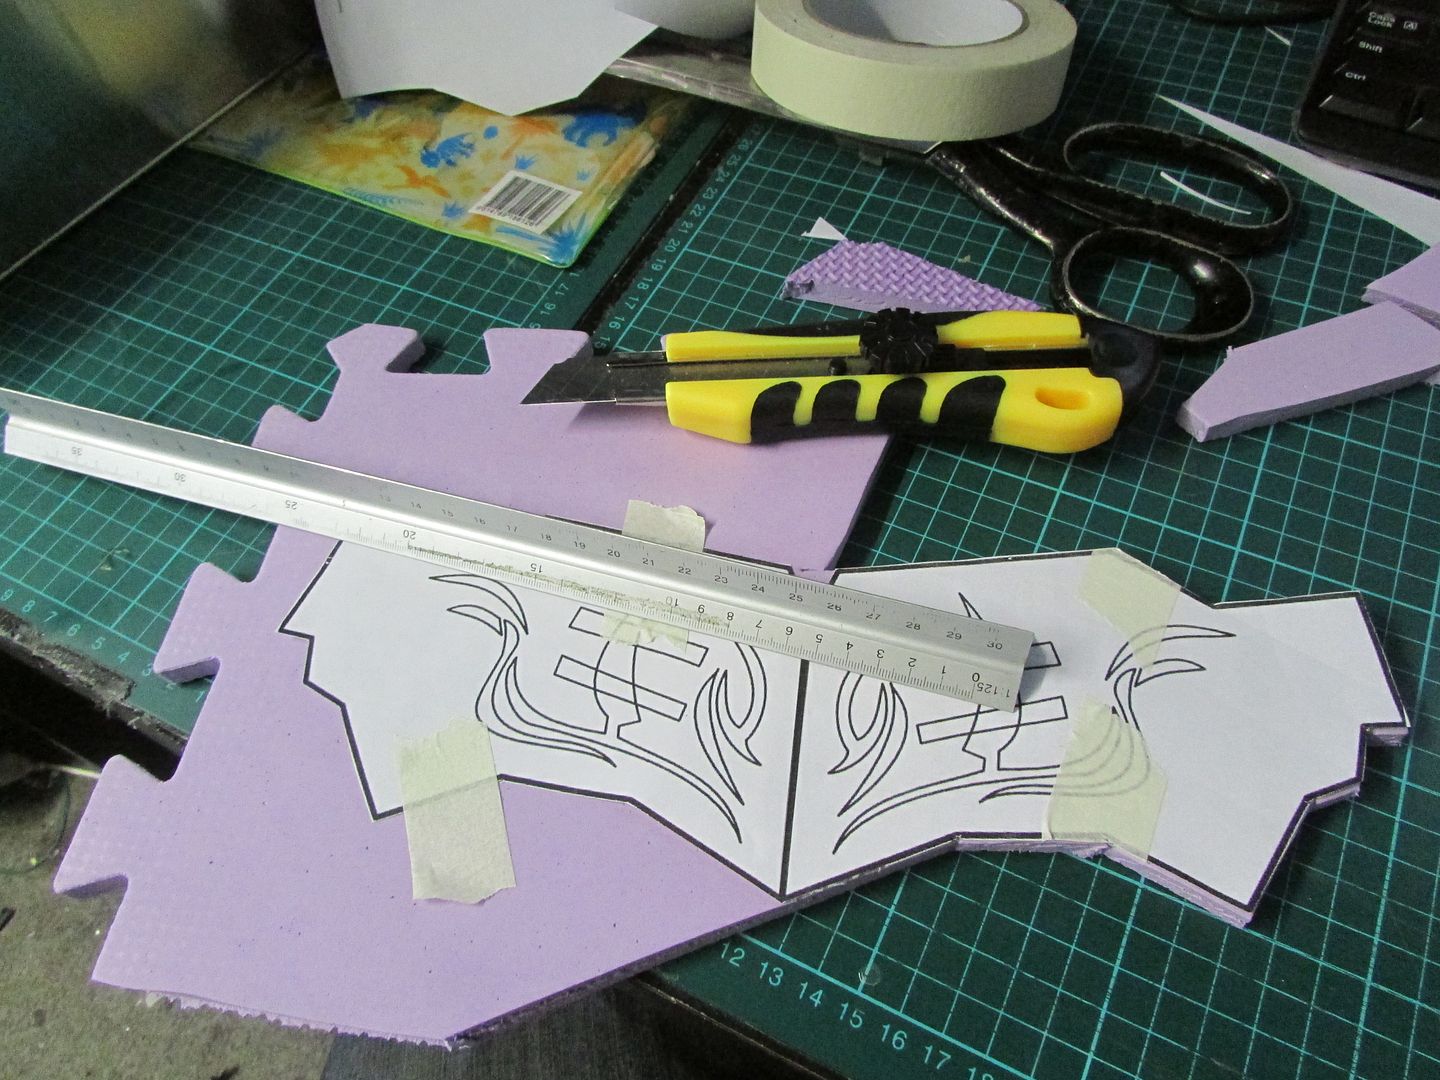
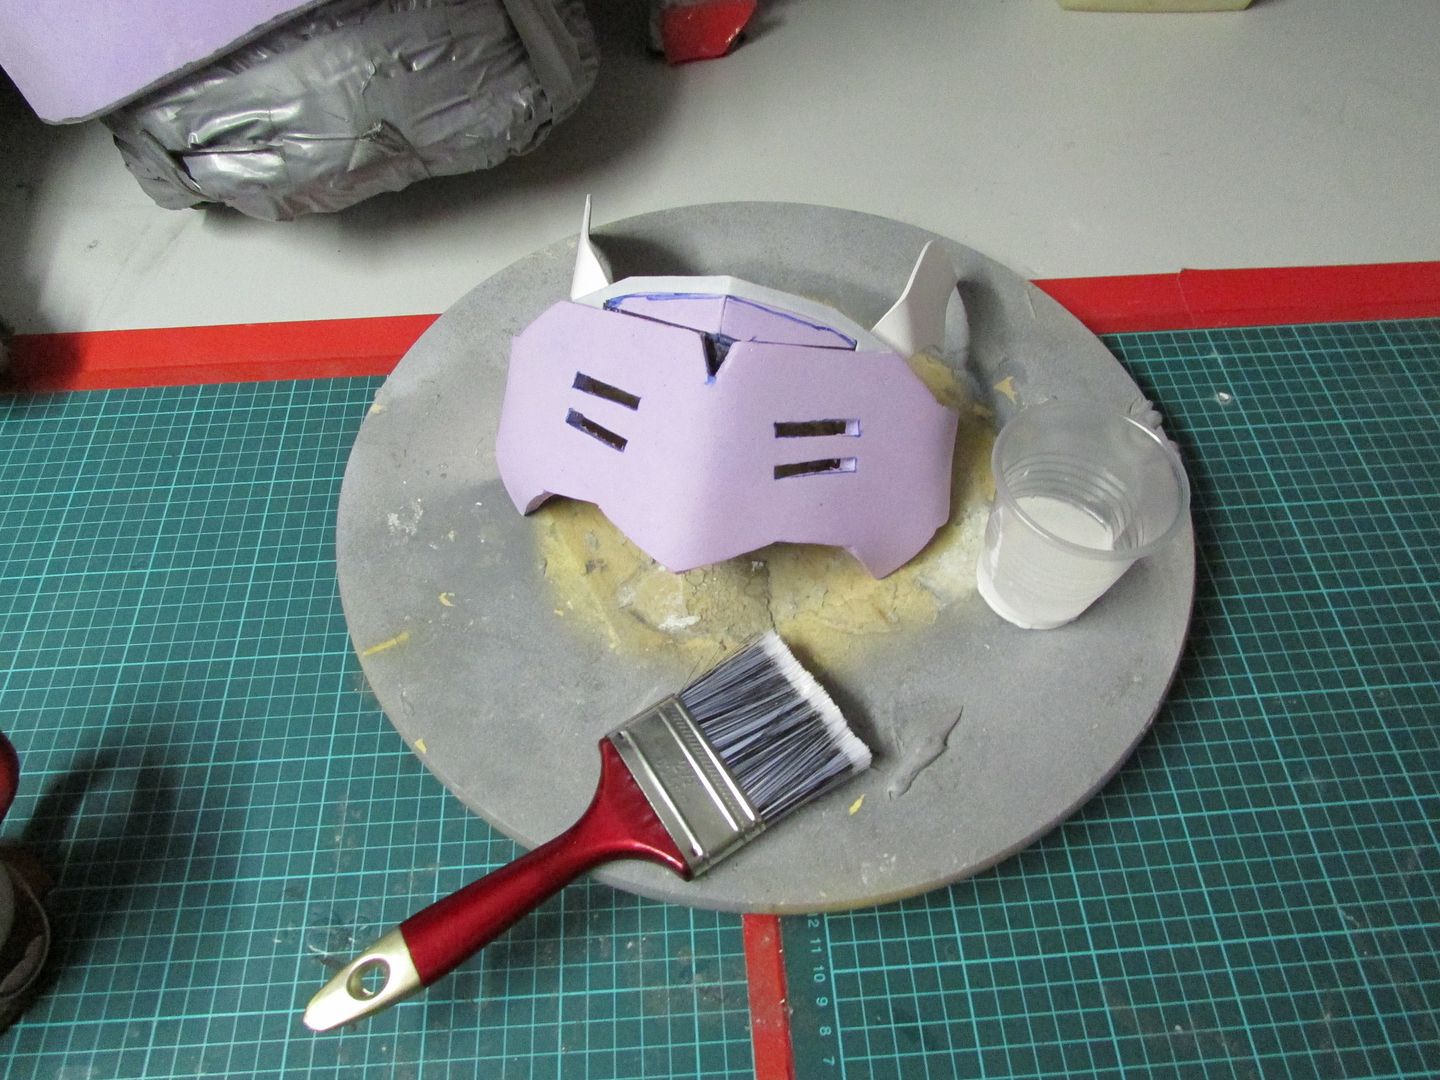
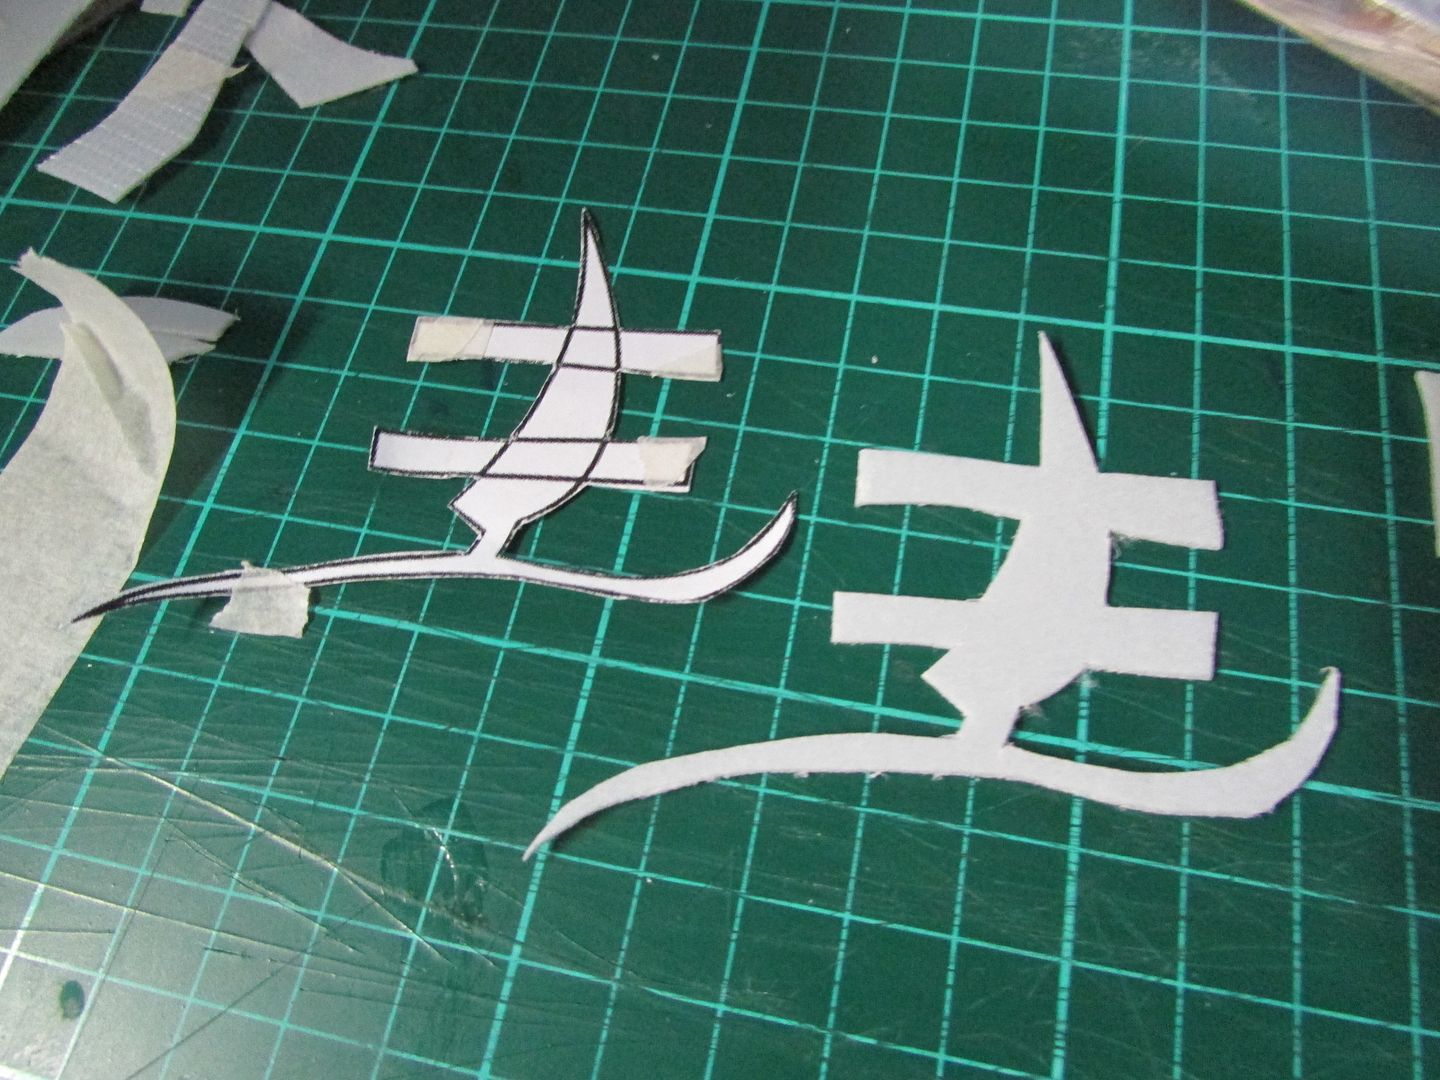
To begin this build I first cut out and transferred the
template of the mask base to the EVA foam gym mat and with the aid of a
steel ruler and hobby knife set about cutting the templates out carefully.
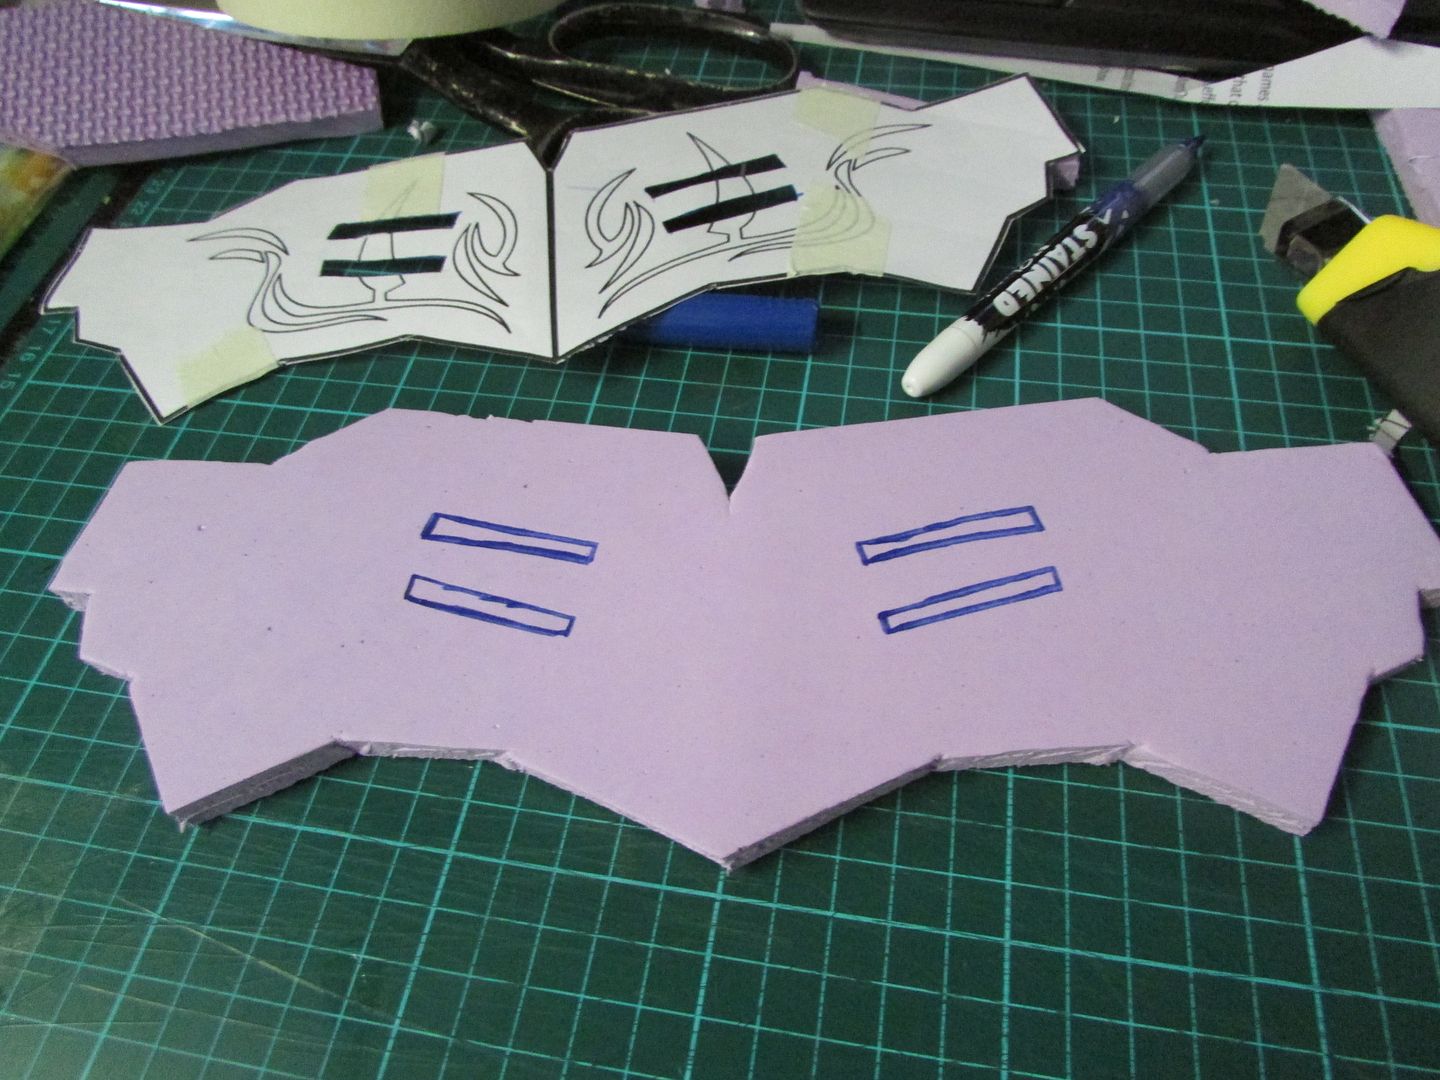
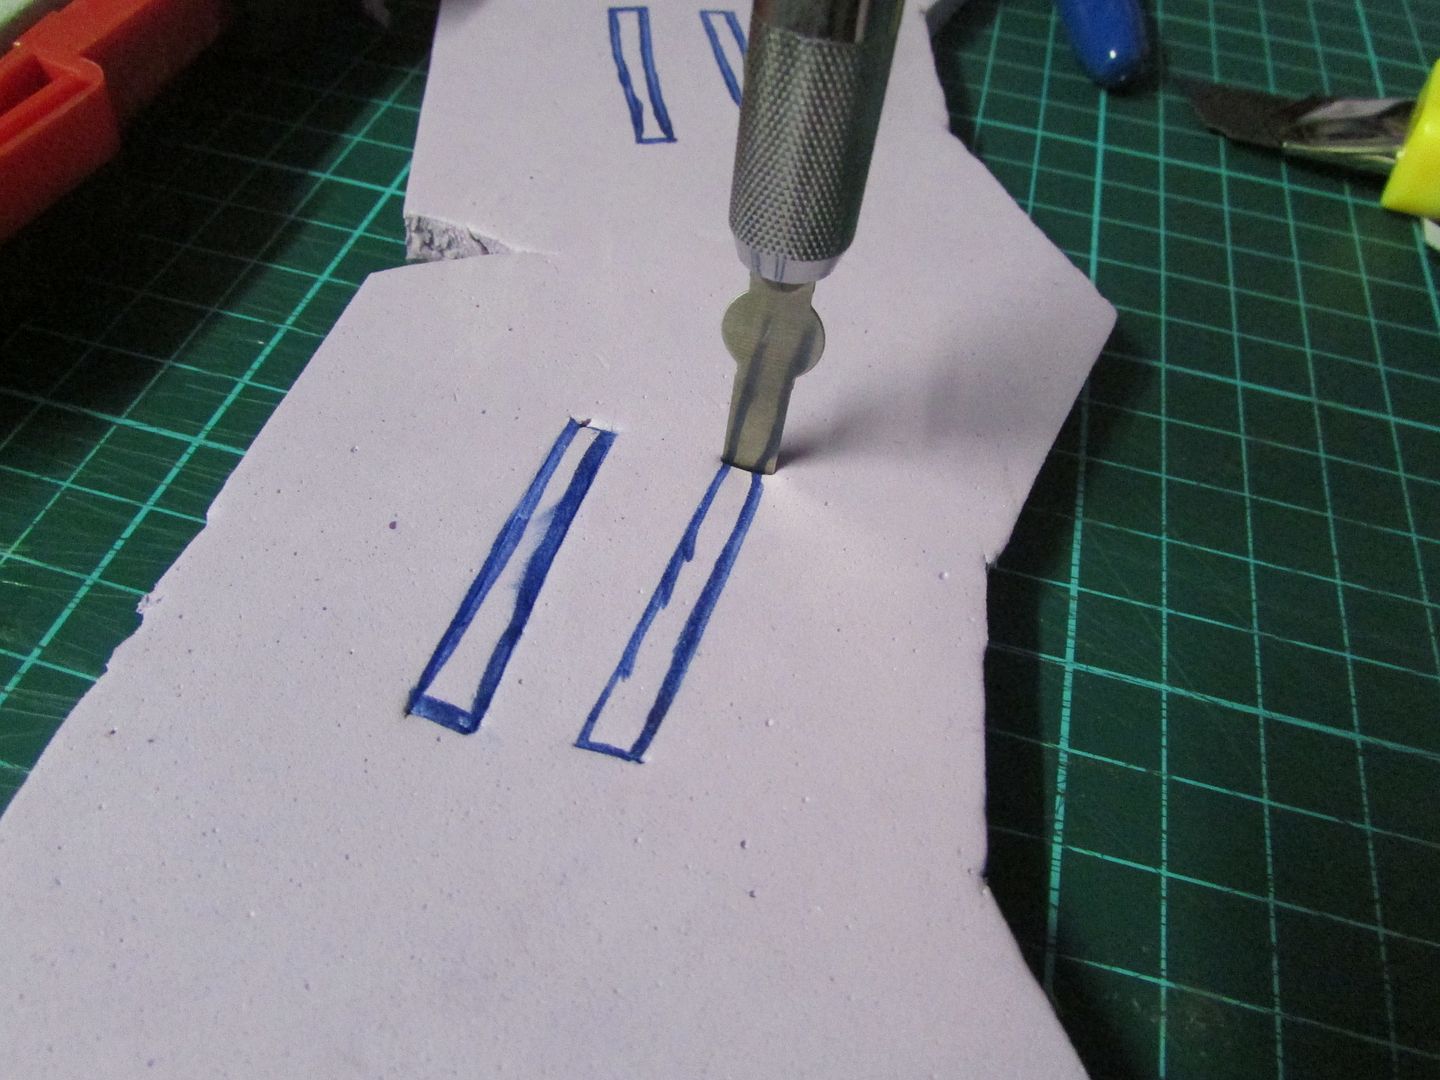
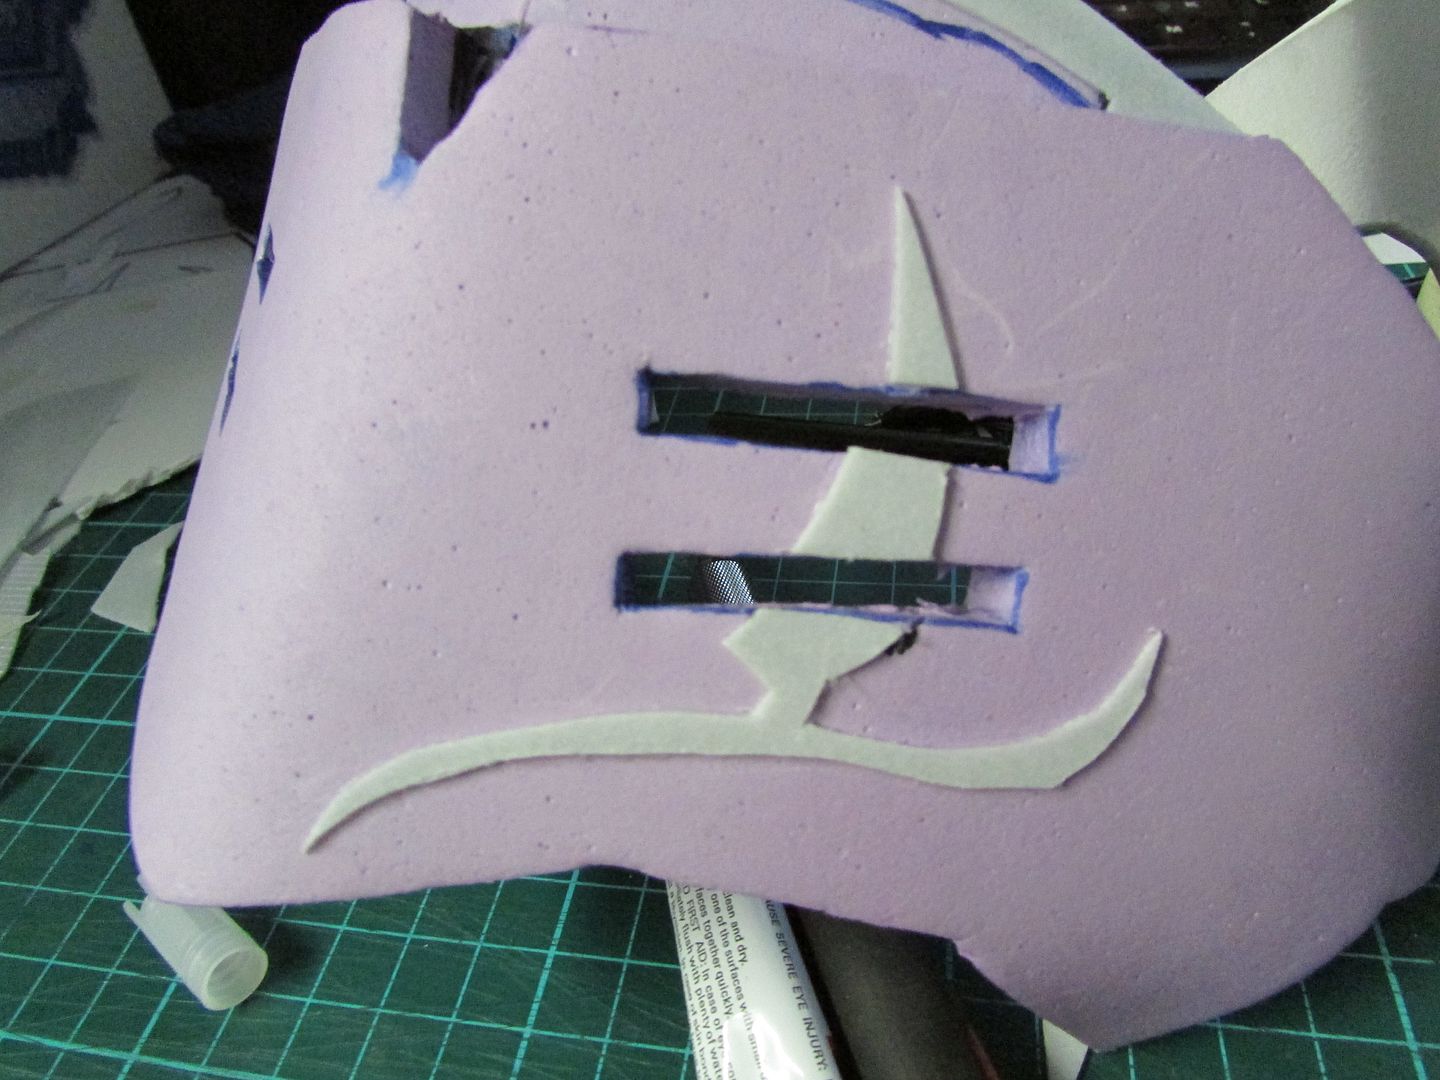
For the eye slits I
found using a hobby knife set with interchangeable heads came in really handy
and allowed me to do precise cuts for the slots.
A similar cutting process was done for the forehead section
of the mask, with all the separate pieces being super glued to one another and eventually to the base mask plus a thin sliver of wonderflex for added depth.
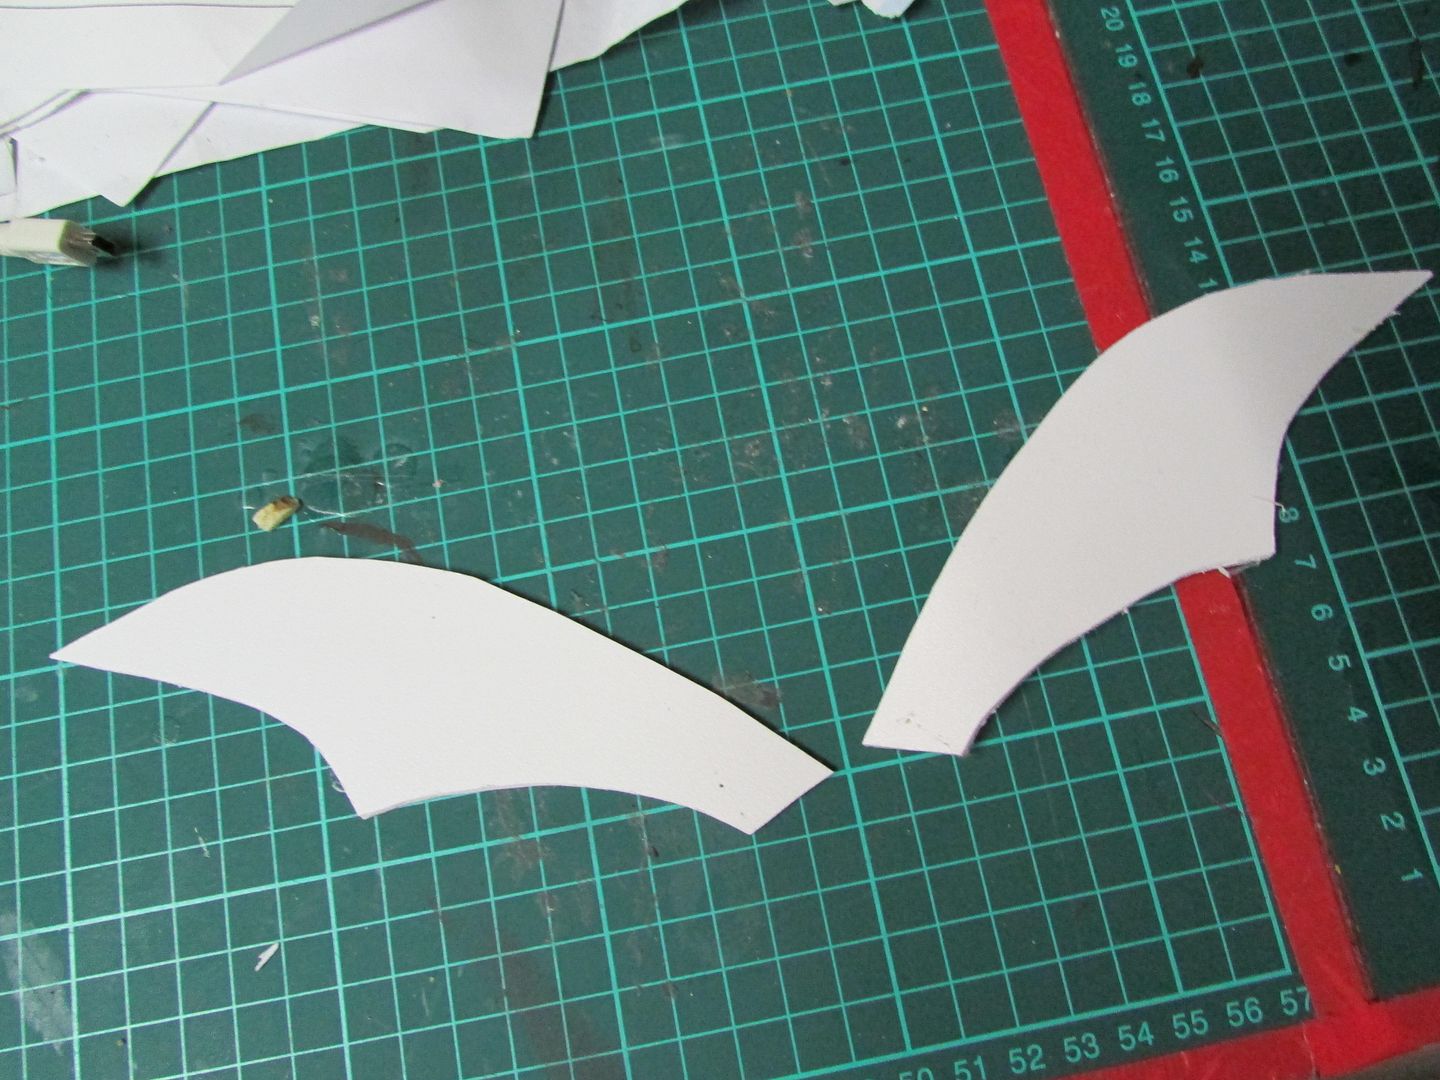
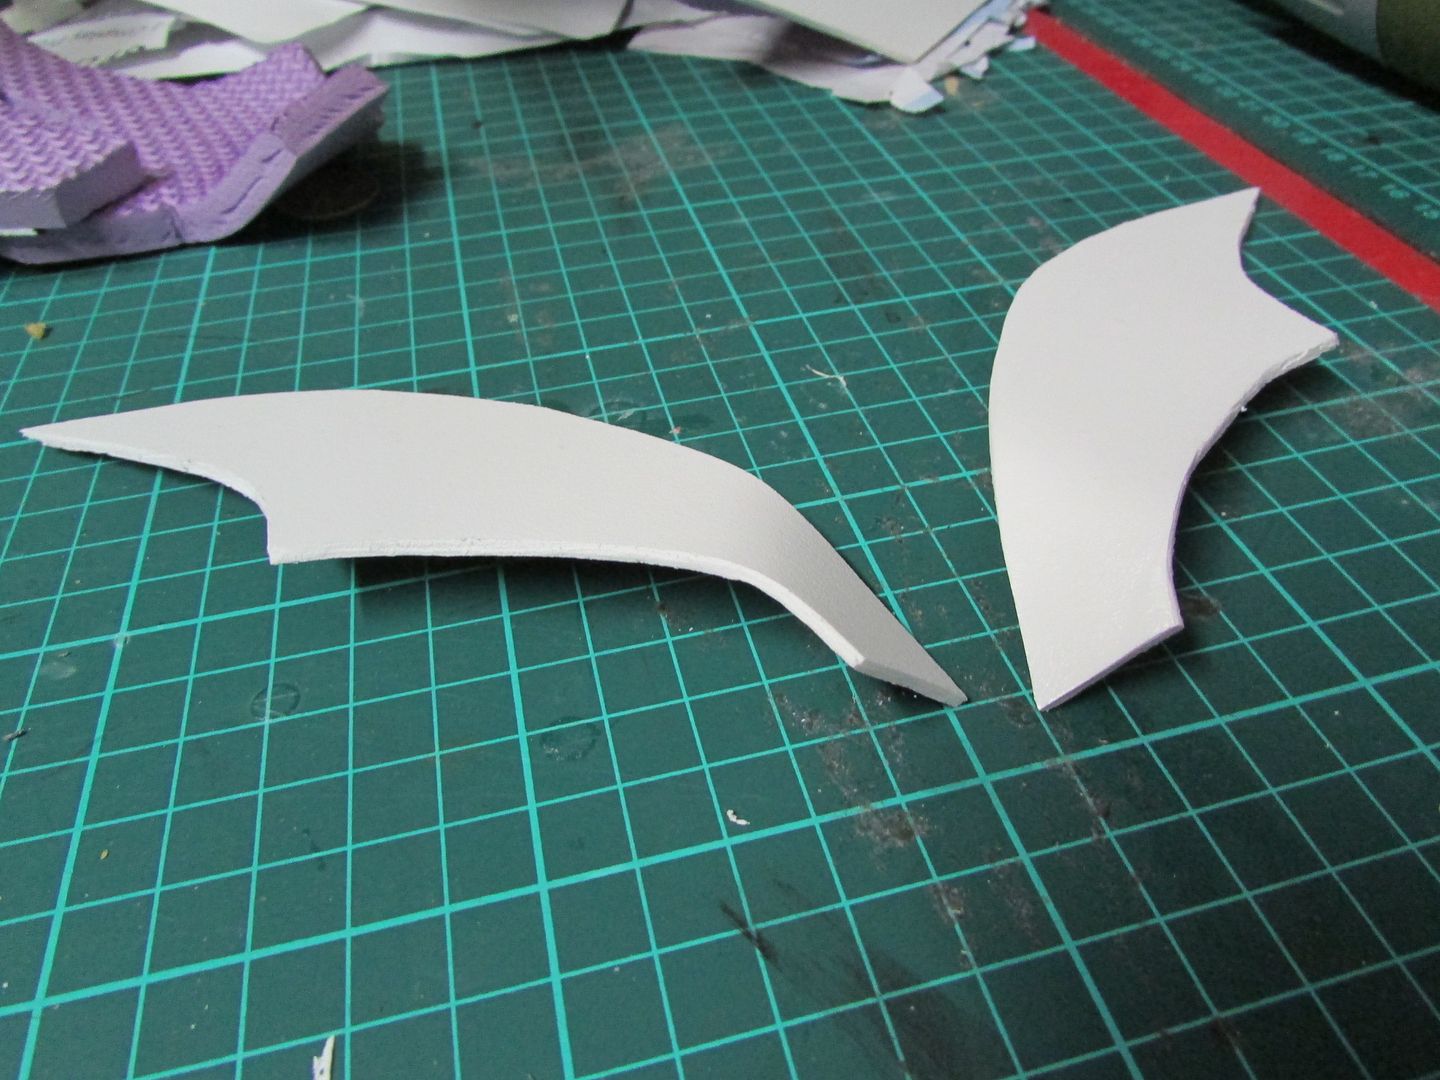
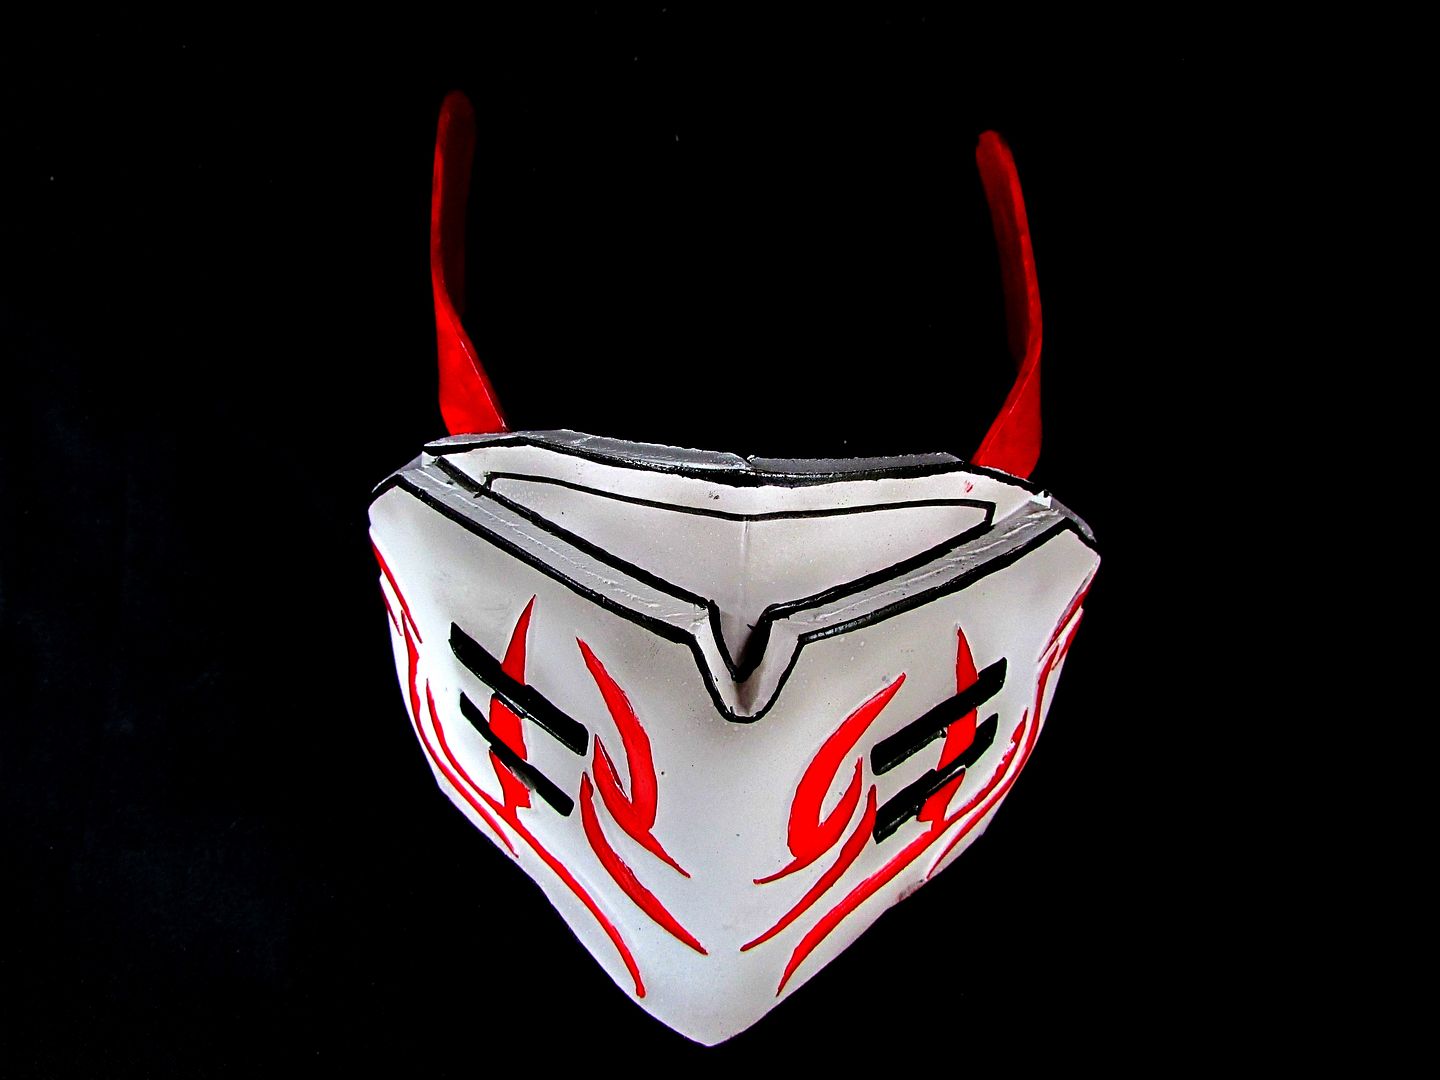
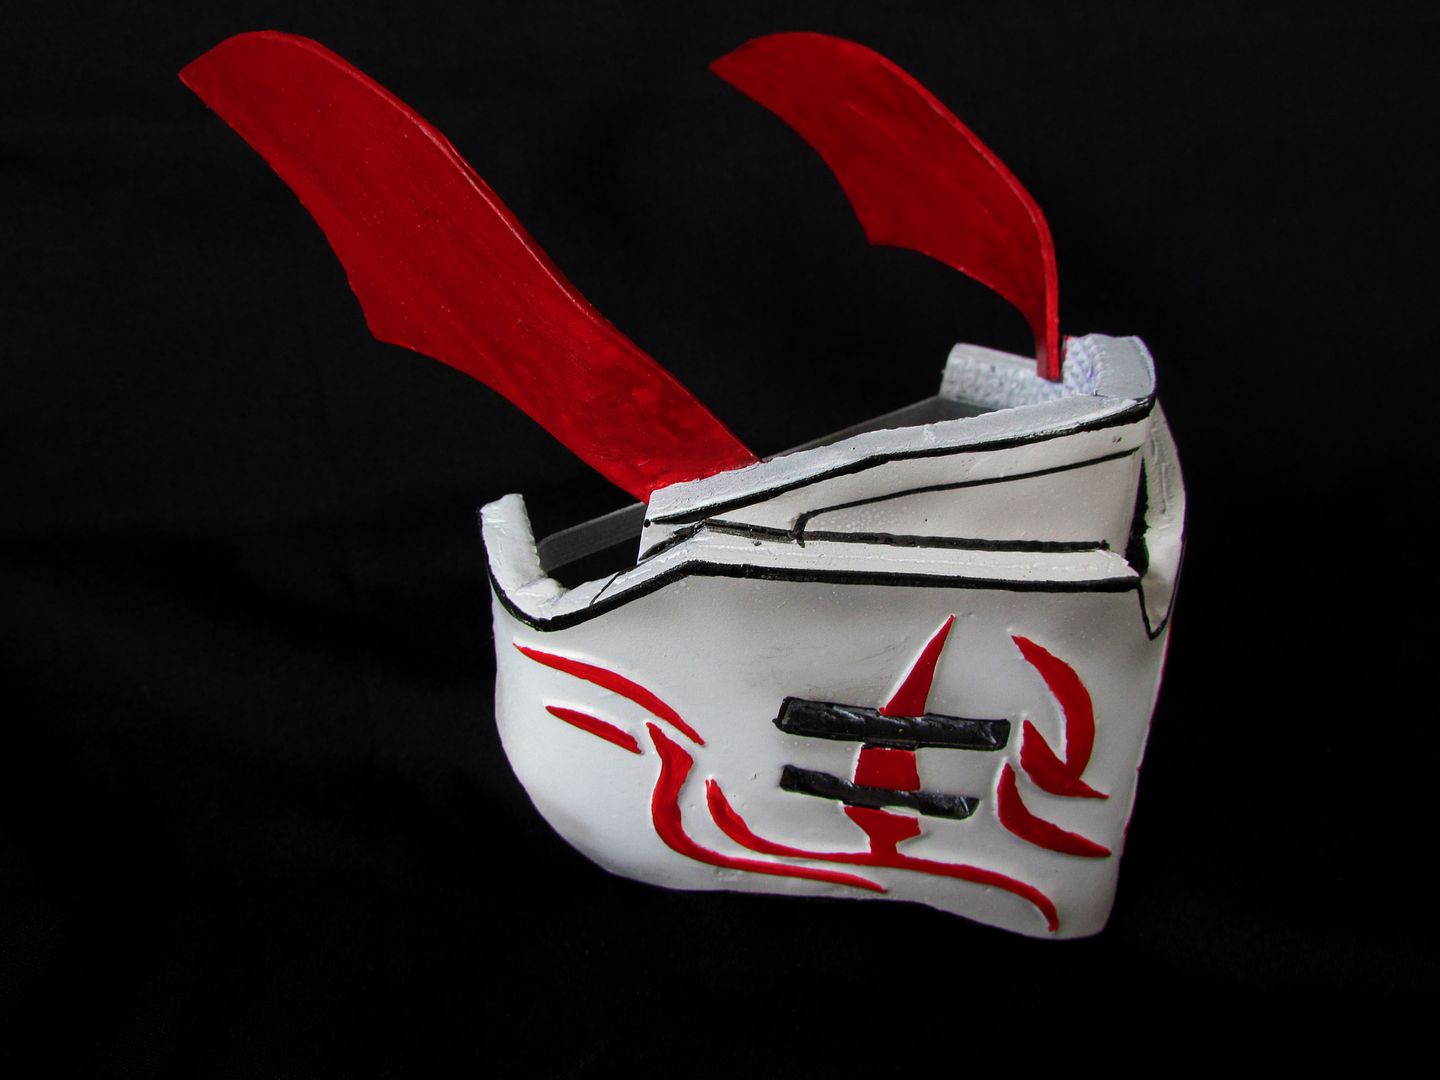
For the ears of the mask those were cut out from sheets of
PVC with the usage of ordinary scissors and cleaned up the edges with sandpaper.
These ears were then heat treated with a heat gun and bent a
fraction before being and attached to the rest of the mask with super glue, be
sure to act fast when bending but do be careful as the material may still be fairly
hot.
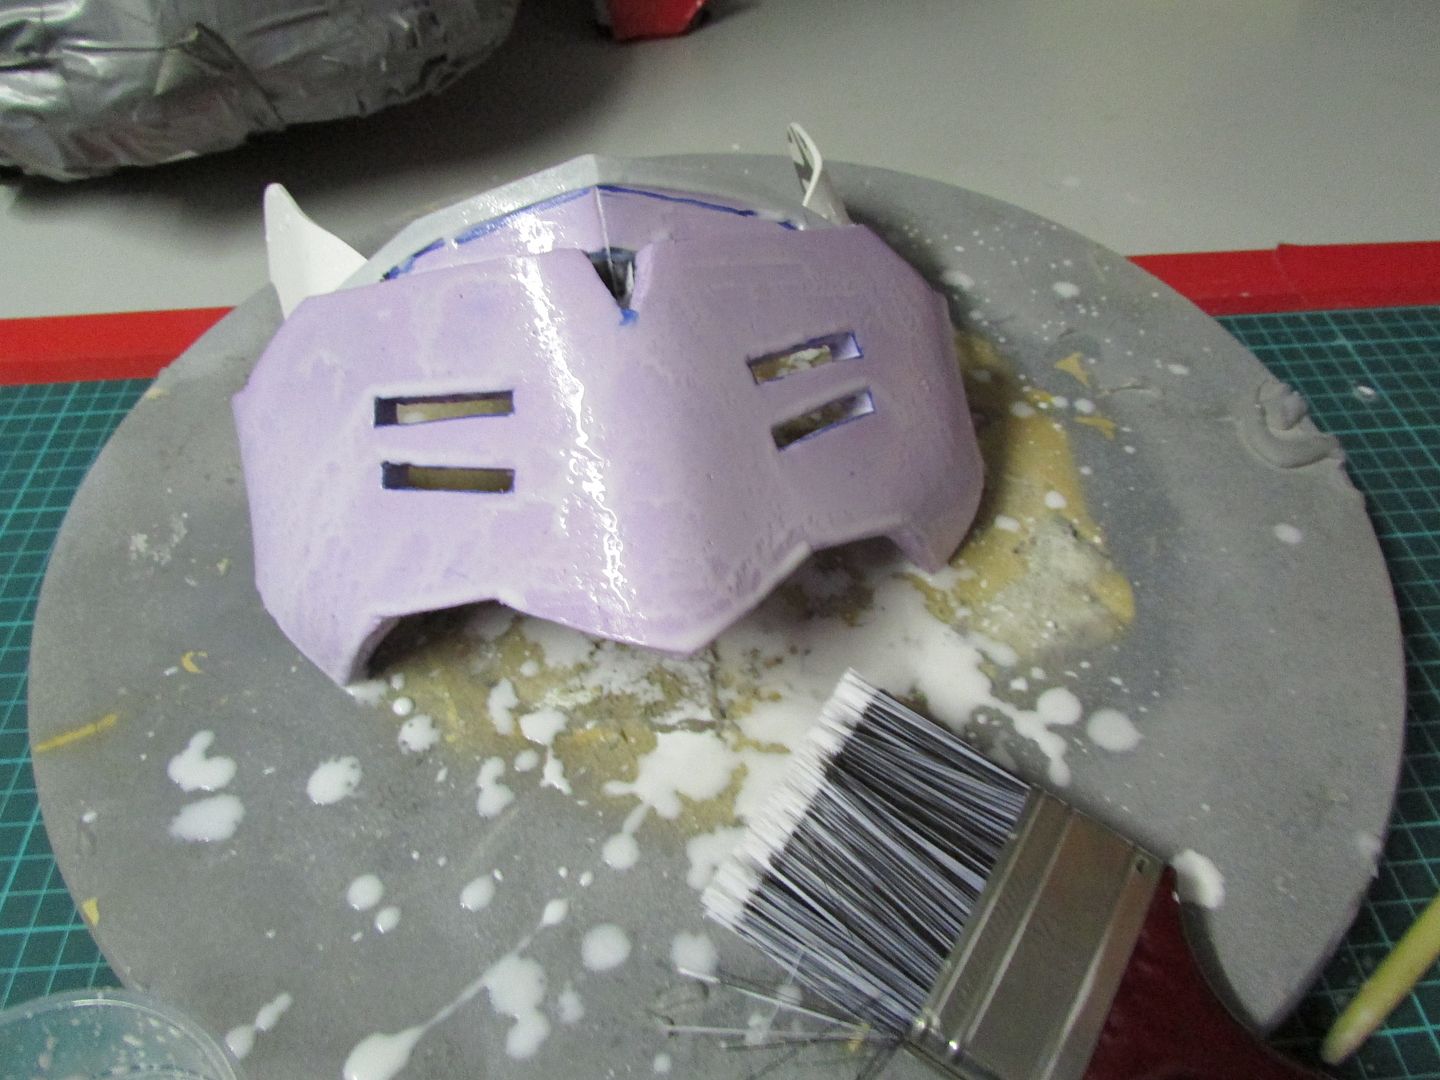
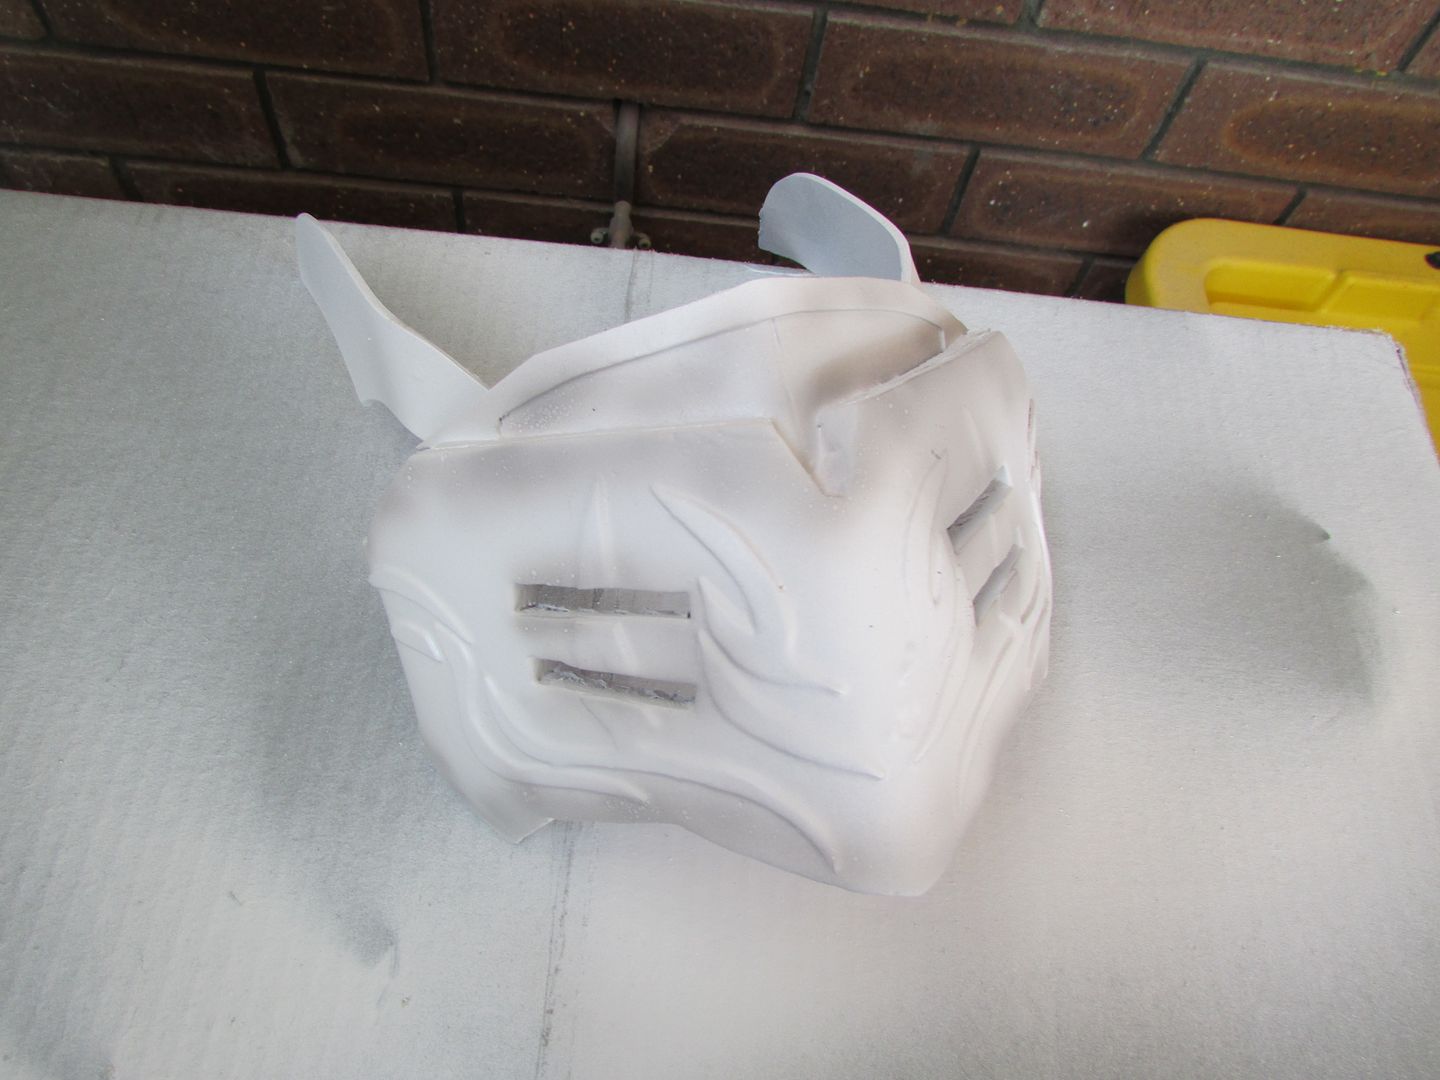
Starting off the next stage of this build comes sealing the foam mask base with a 1:1 mixture of ordinary wood glue and water.
Coating
the foam pieces in this mixture and allowing them to dry between coats,
hardens the foam surface slightly, but more importantly seals and creates a thin
layer on the foam that greatly helps paint adhere to it better later on.
I
can not stress how important this stage is to the end result when
working with foam, hence why I like to do 5 to 10 separate coats
minimum.
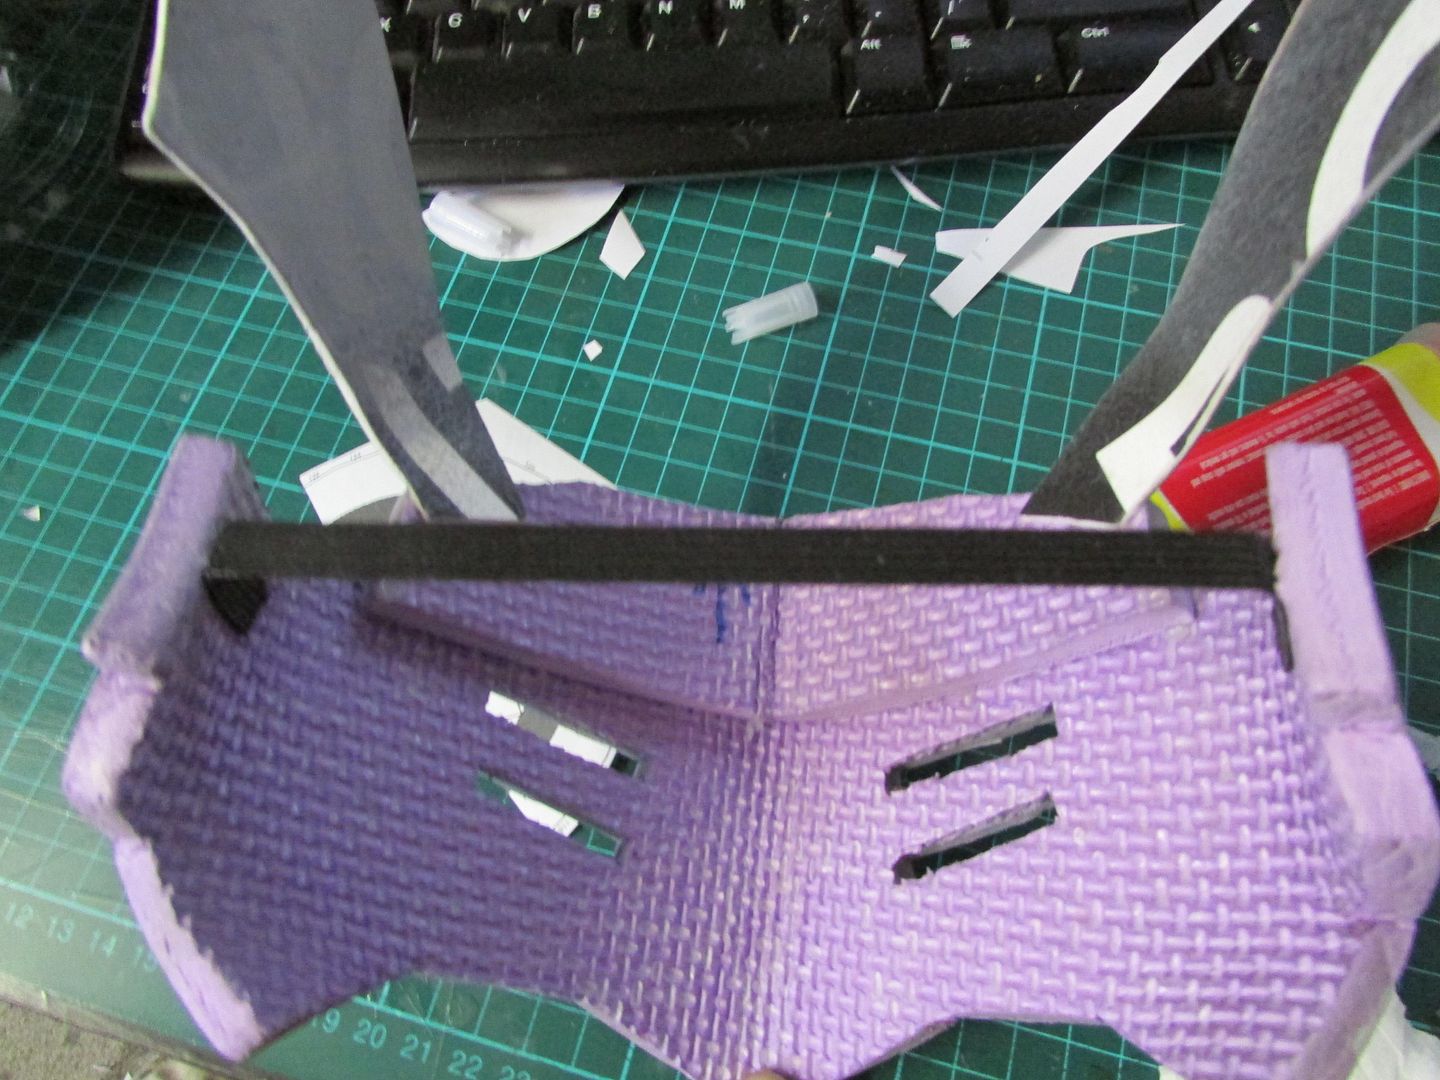
From there, the back of the mask has a thin strip of elastic epoxied
to it which allows it be worn by human head. Be sure to include a bit
of slack in the length such that the mask comfortably rests on your face
and isn’t crushing your head or deforming its shape.
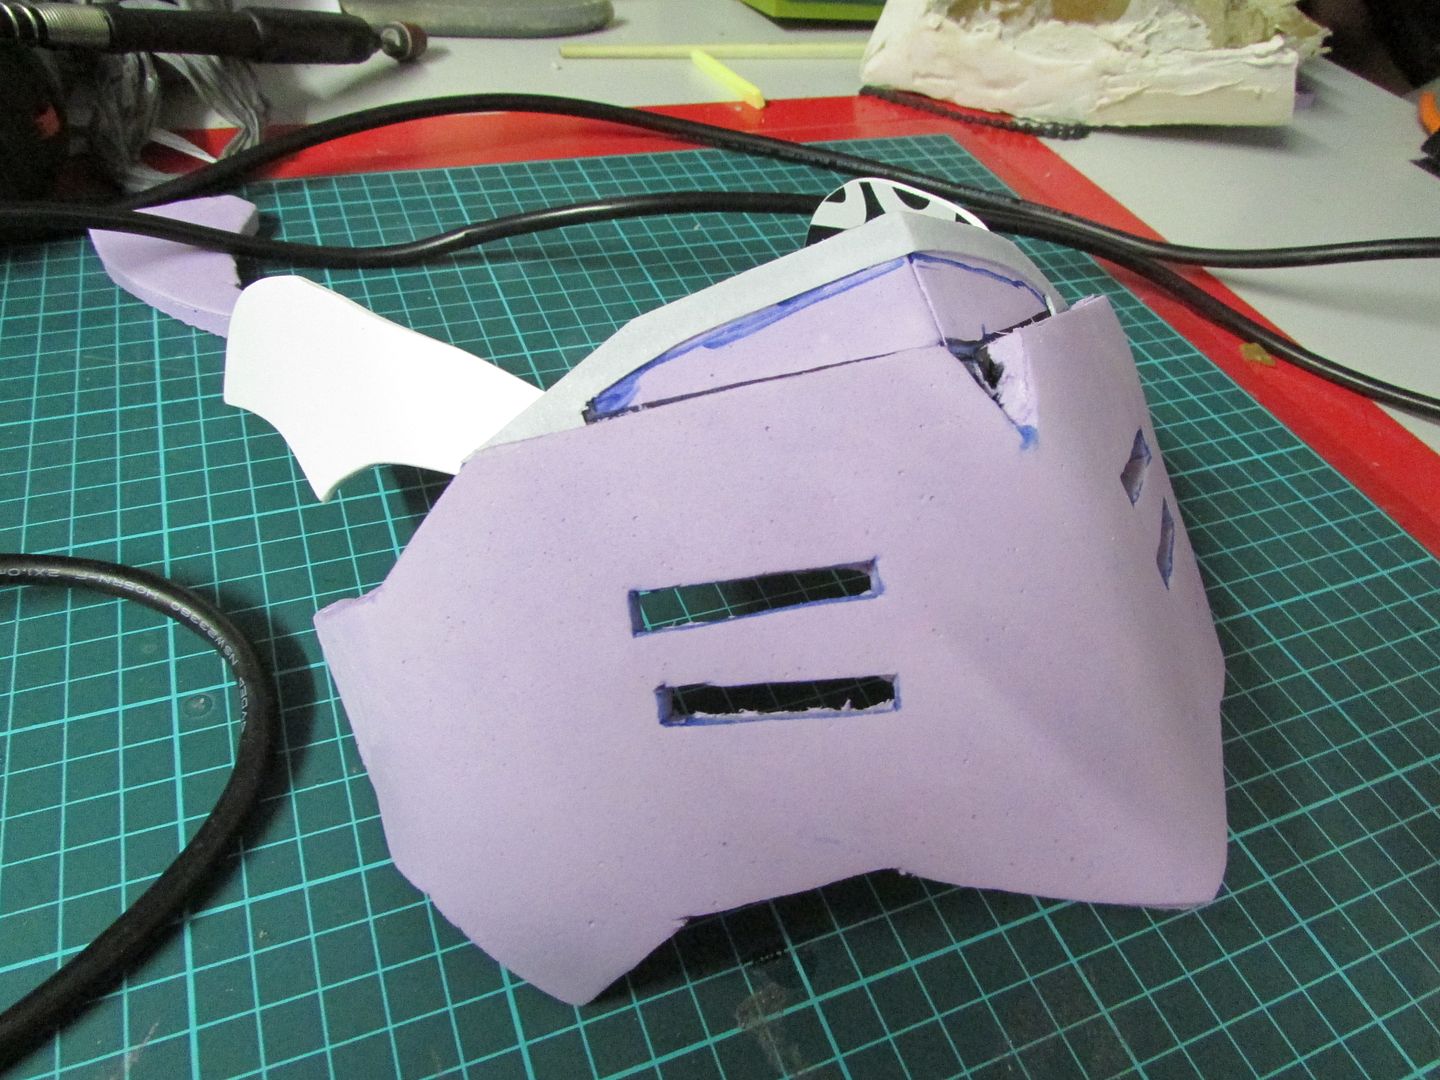
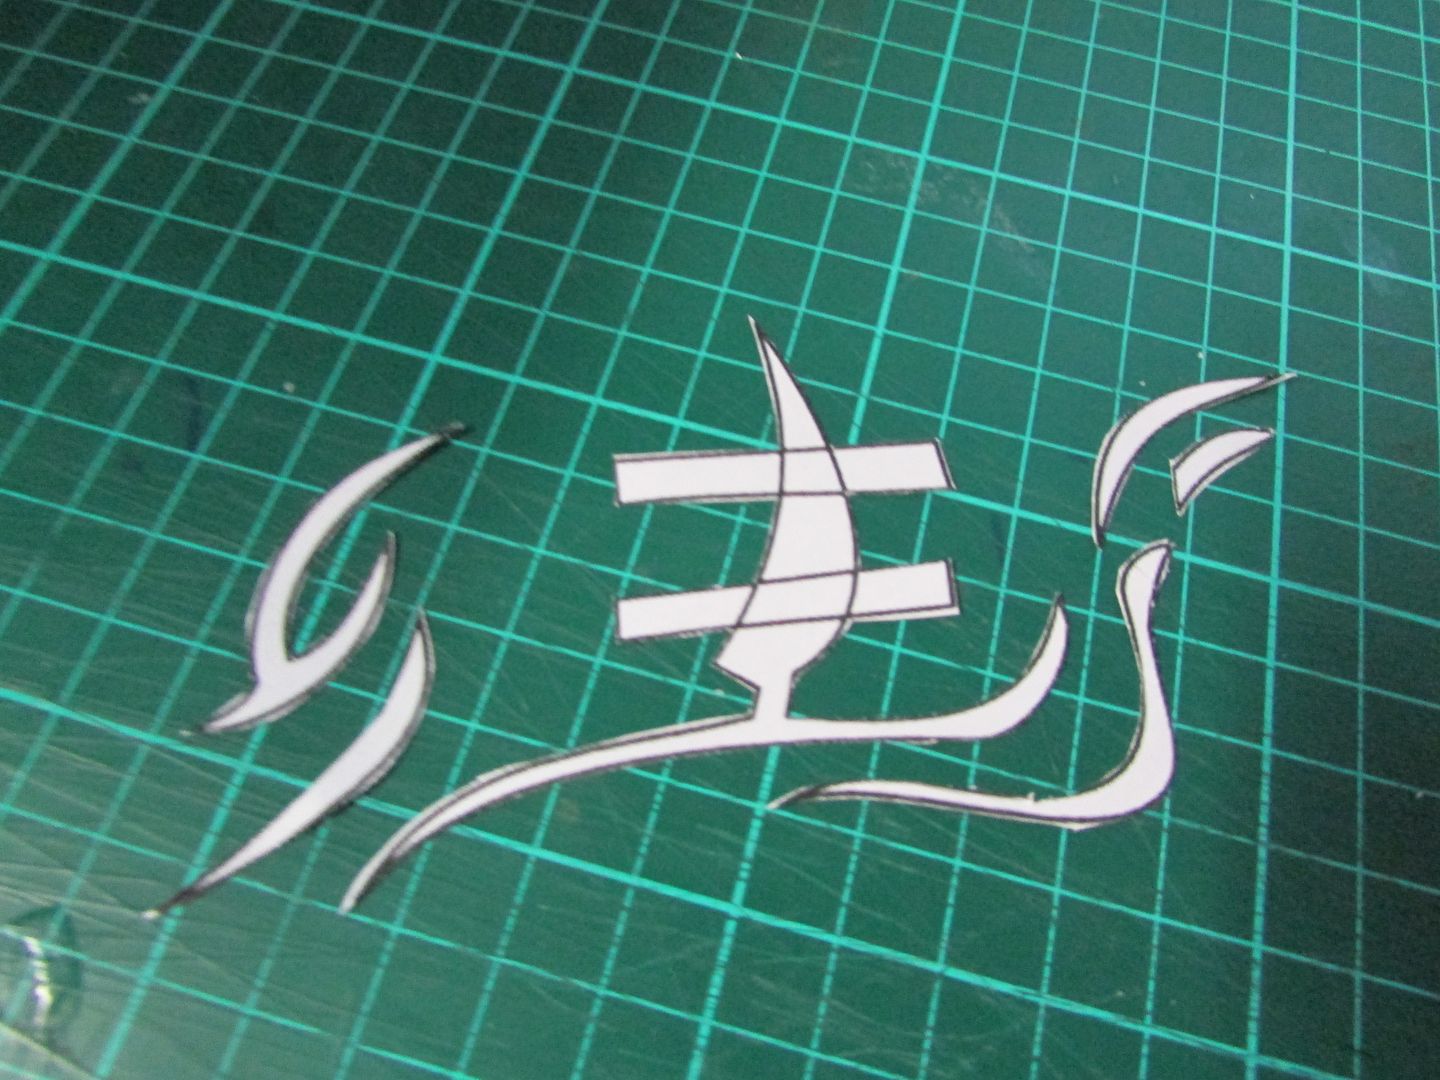
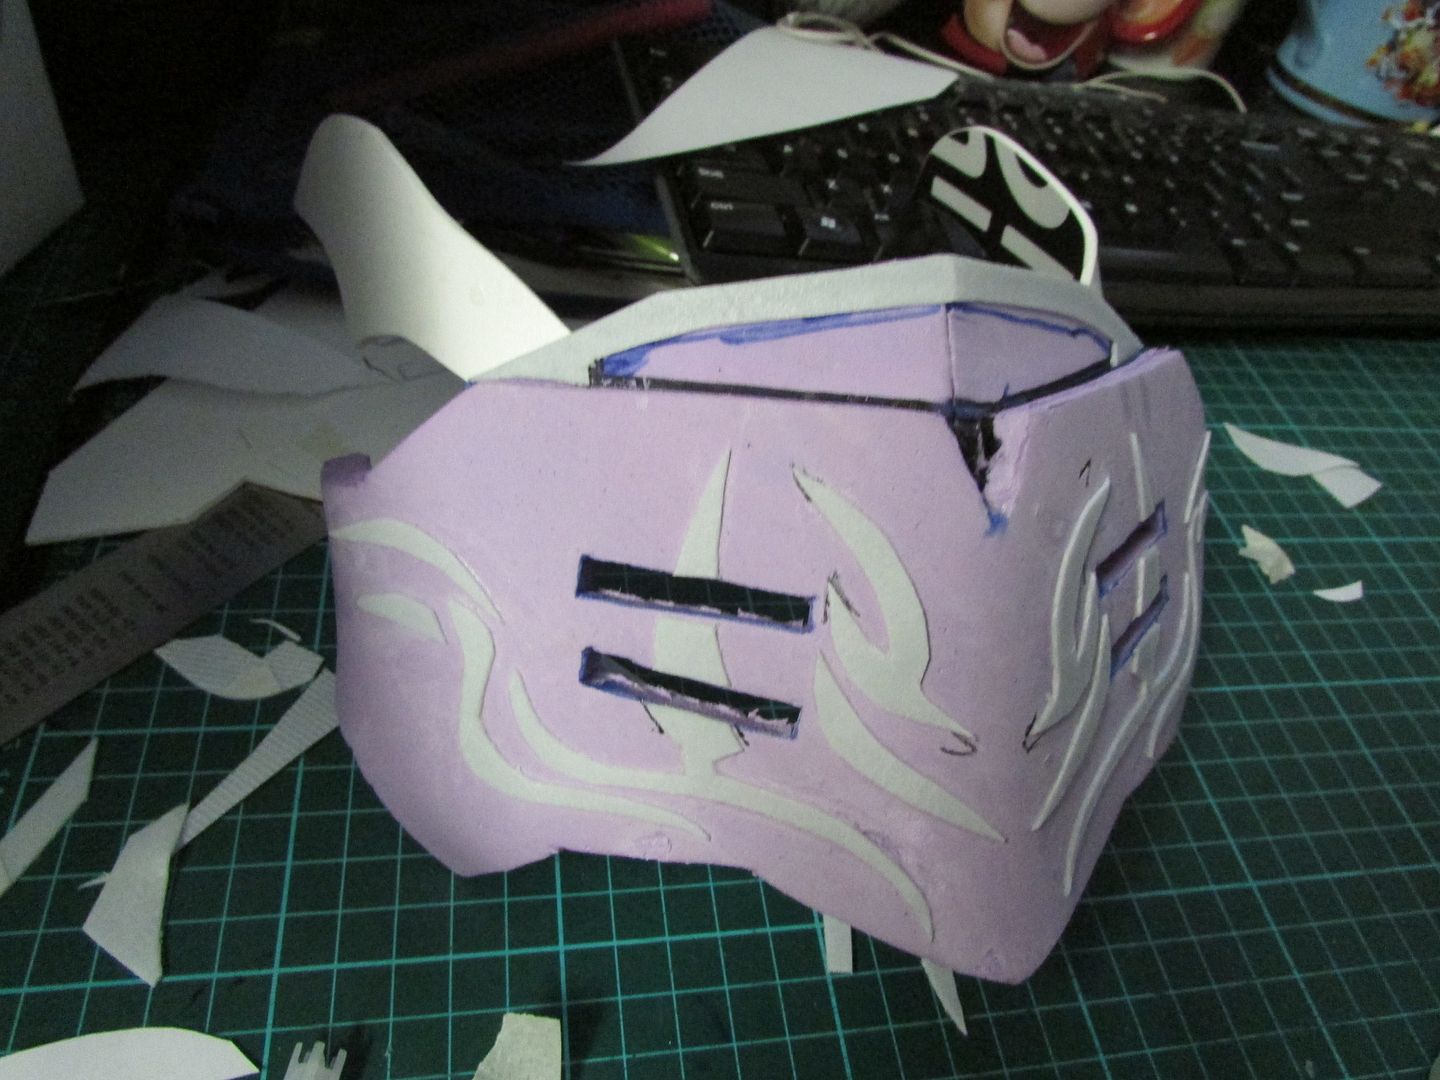
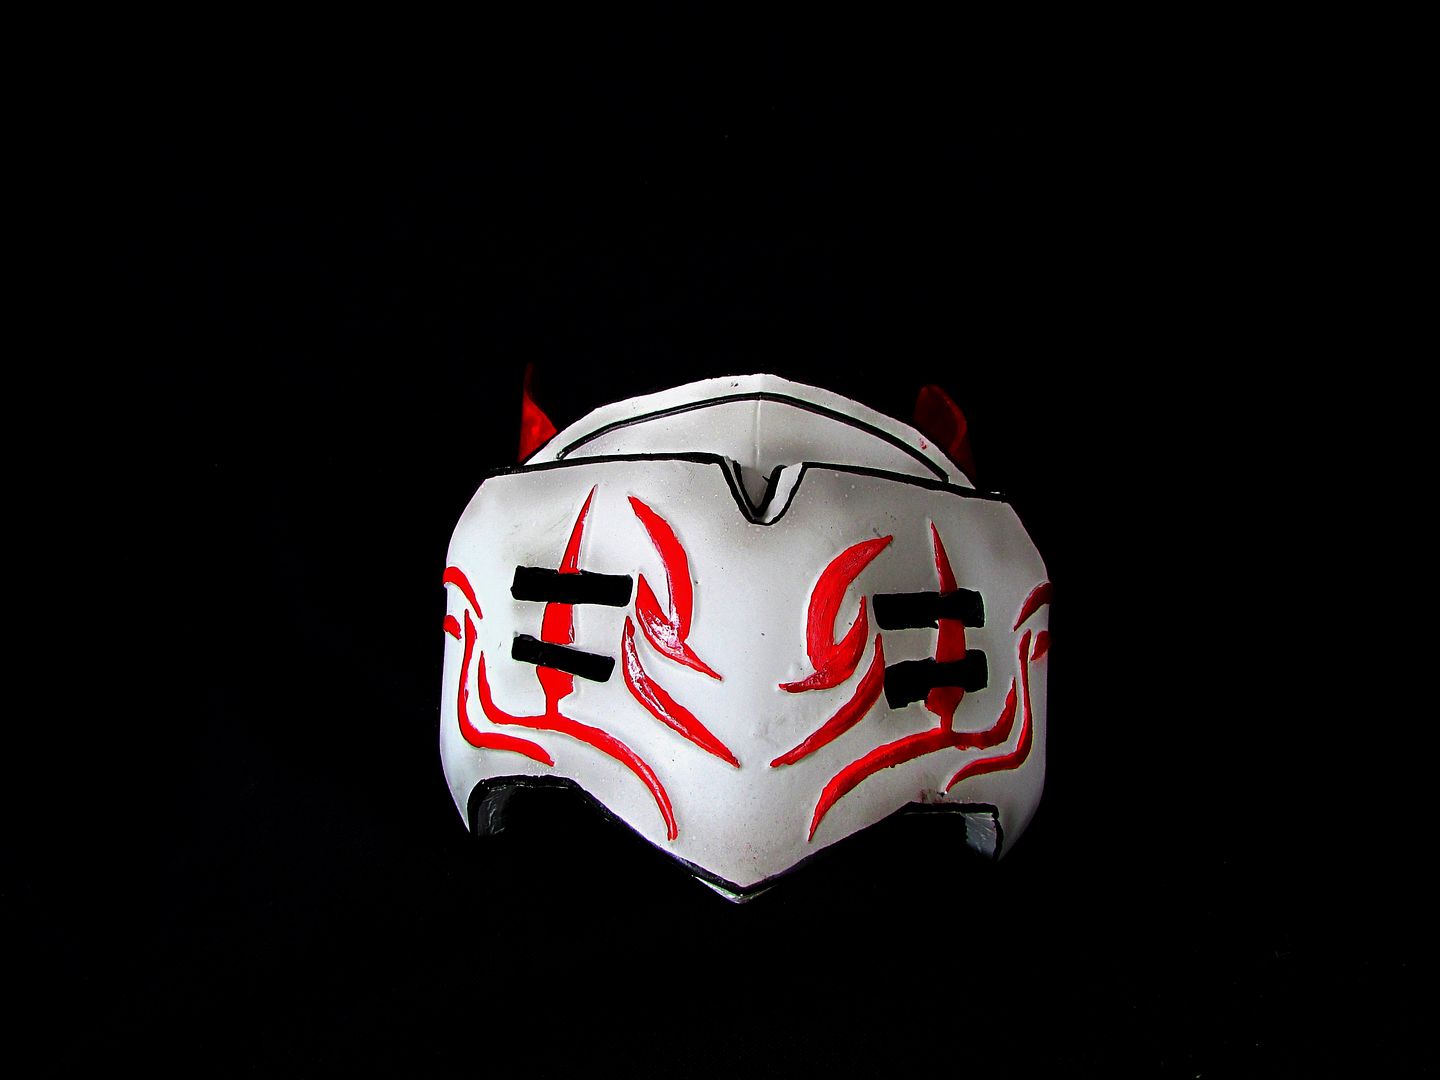
The last major parts to deal with are the ornate designs on
the mask itself. Using the templates again, I meticulously cut them out of
wondeflex carefully super glued them to the surface of the mask.
Take
great care with this part as you get only one shot with super glue and
symmetry is very easy to mess up if one piece is slightly out of place.
Trust me.
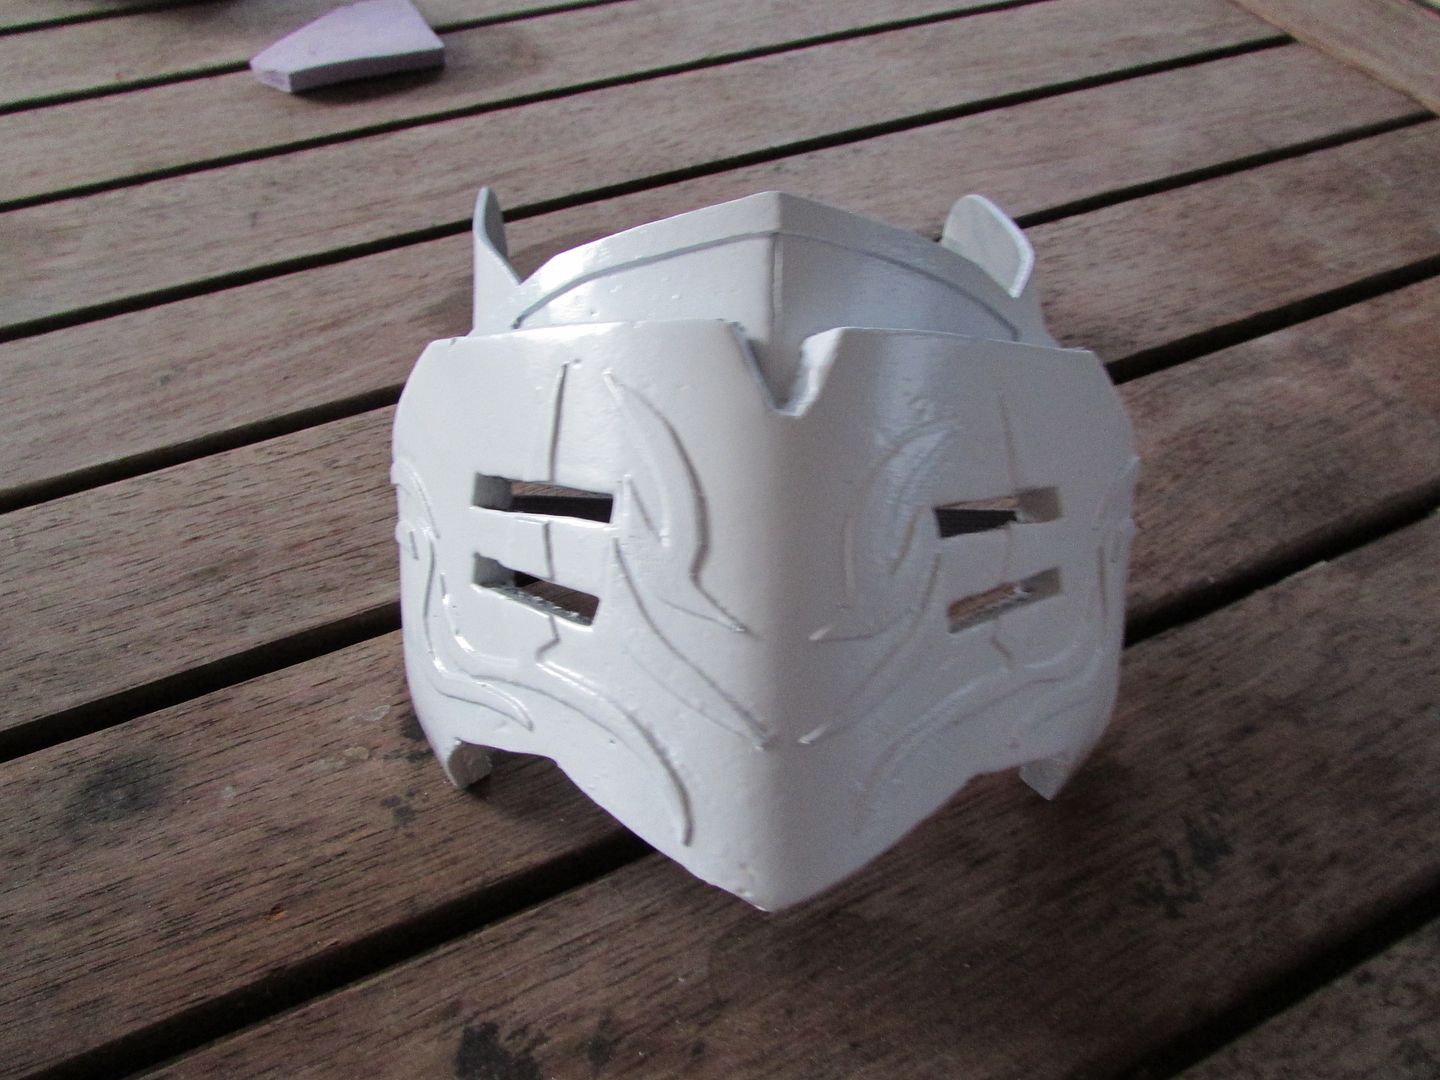
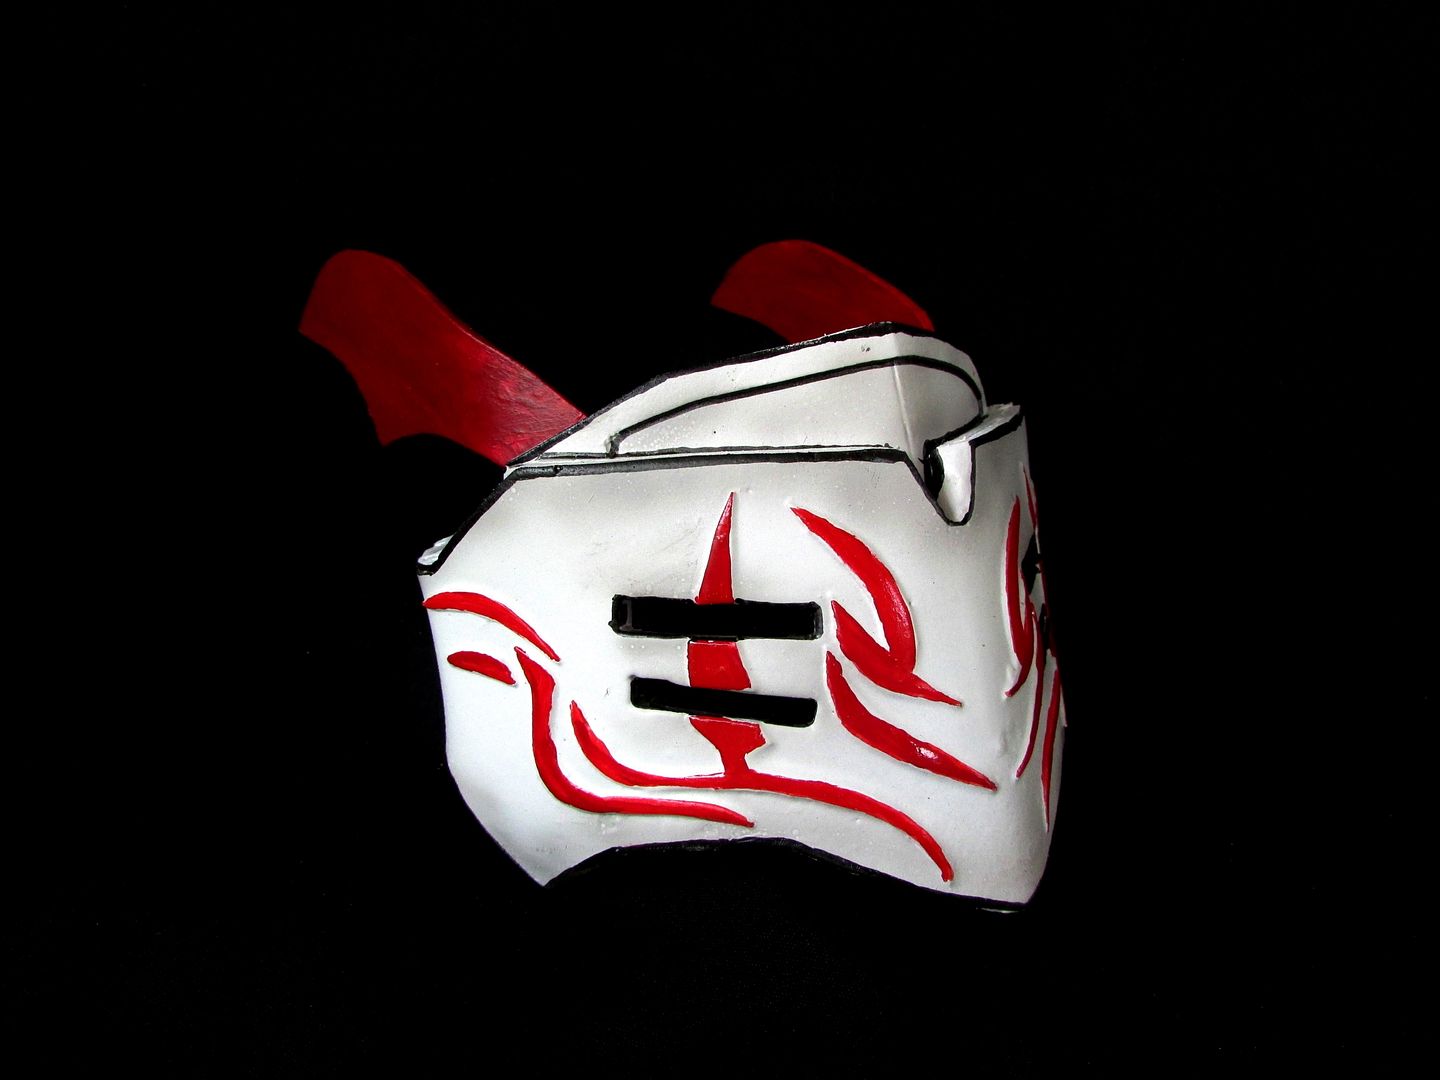
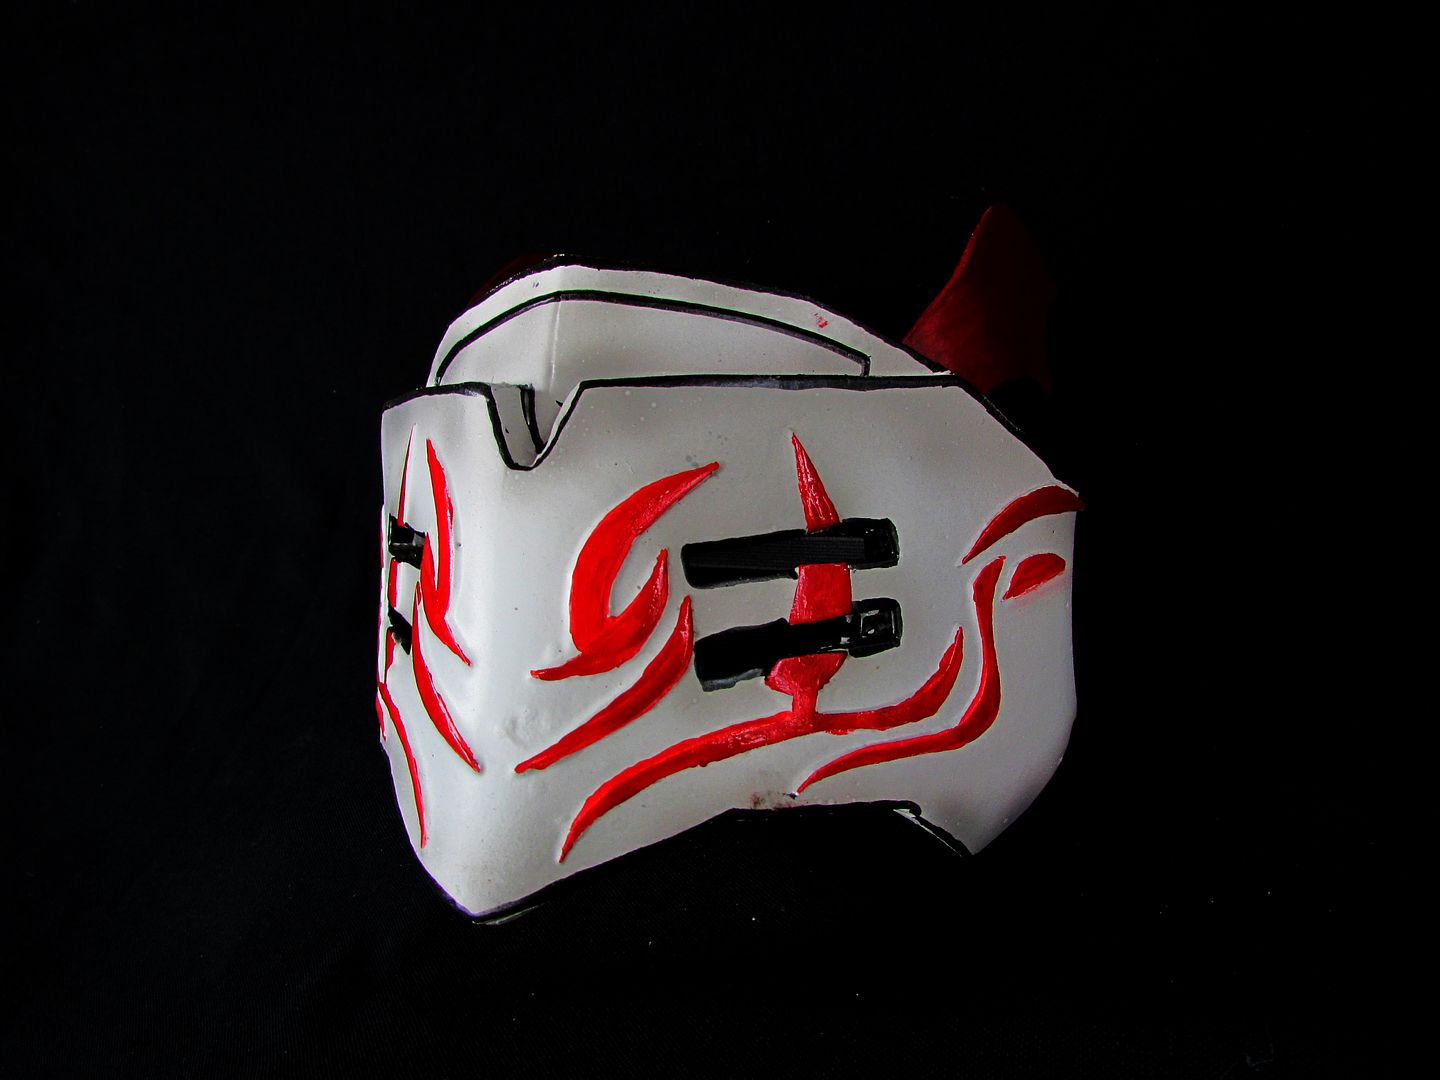
With that ordeal out of the way its now just a matter of the
paint job, with first one of grey primer followed by two of acrylic flat white spray
paint.
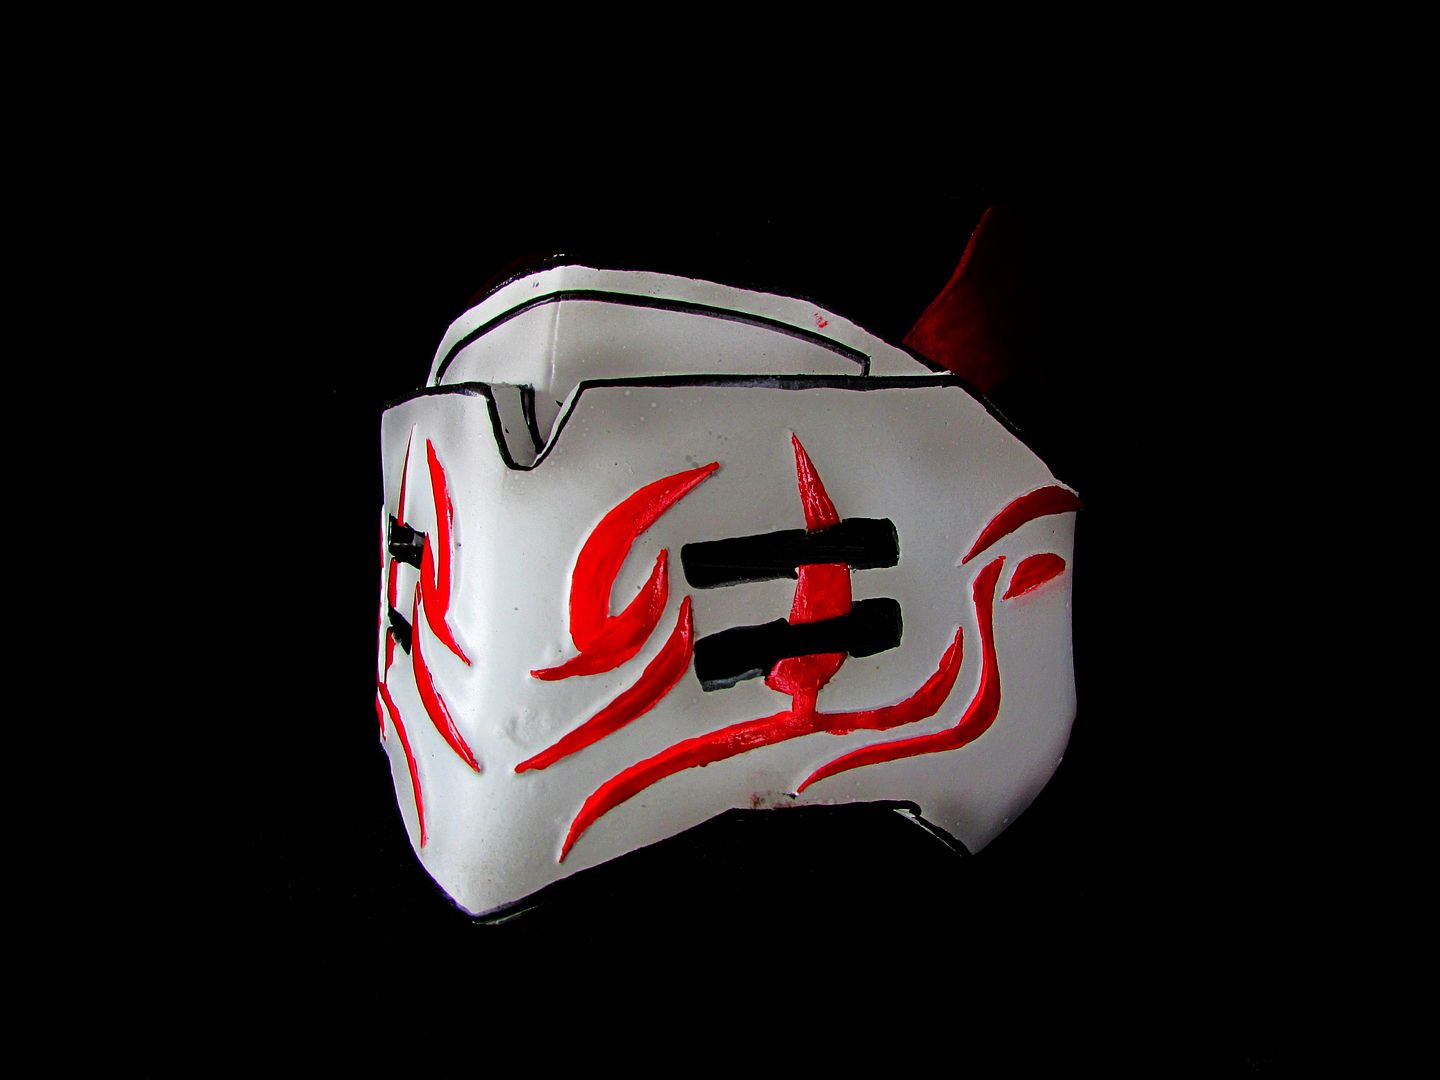
With the base white dry i then went over with an airbrush around the edging to add some depth to the mask.
and lastly some red and crimson done with acrylics for the
ears and enamel hobby paints for the details in on face.
Thanks for Reading.